Our first shared kitchen was a sink, hob and small counter top on one wall of our living/dining area, which actually seems big if you compare it to many New York City kitchens. I was excited when we moved to our current flat with its U-shaped kitchen off the living/dining area, I was very happy to be getting a huge upgrade in counters space. I mean, we’d even have room for our microwave! No more storing it on the dining room table! Hoorah.
At 8.6m2 (or 92.5 sq ft) our new kitchen will actually be much bigger than any kitchen Kay and I have shared during our relationship and while it is no American kitchen, I’m also excited about the size upgrade we’ll be getting in July.
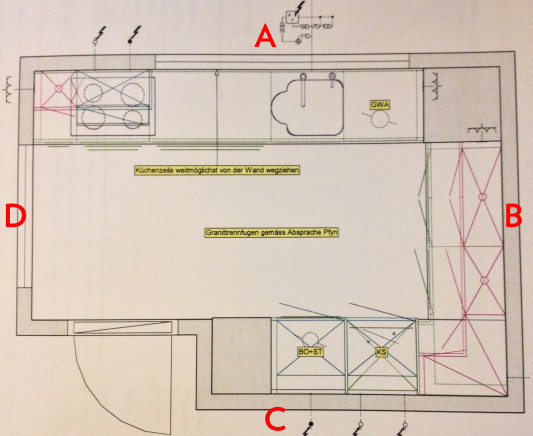
As you can see, the kitchen is actually its own room. Built into this little rectangle, we didn’t think it made sense to leave the door off and have an “open kitchen” because the kitchen is pretty closed off anyway. I admit that I’m looking forward to closing the door off from guests or sleeping spouses! (<- Usually that’s me!)
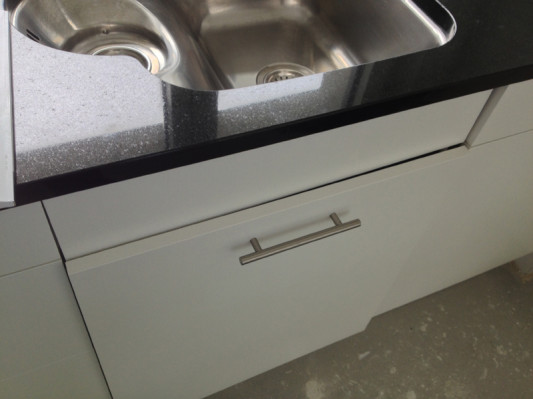
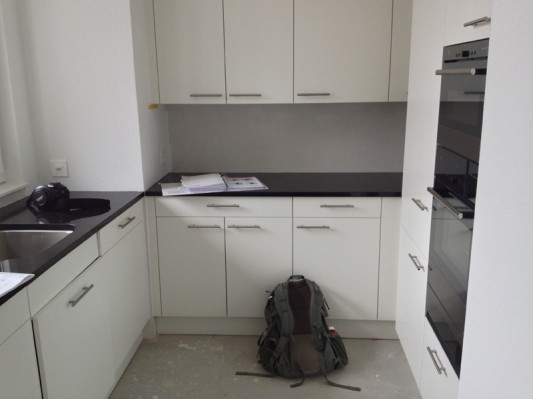
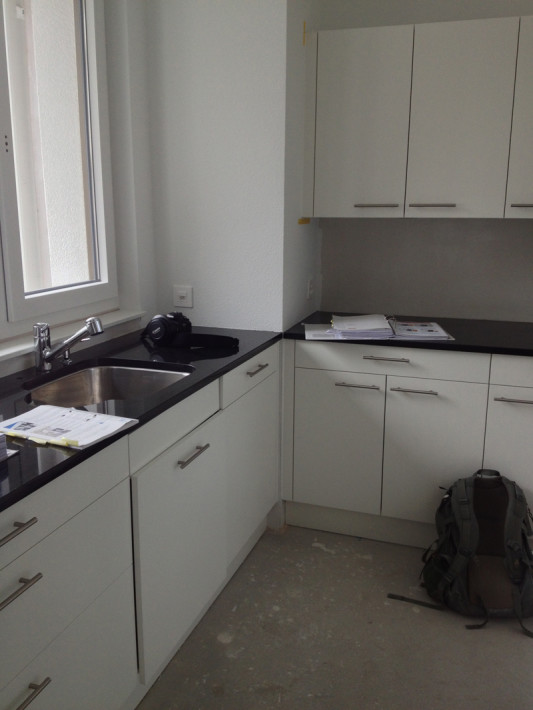
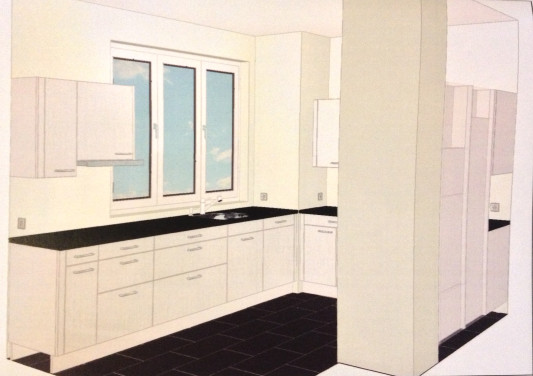
On wall A we have three windows looking out toward the inner complex, two of which will open and close (the middle one is stationary…) Our cost neutral plan came with some big drawers below the stove on the left, but we decided to upgrade the cabinetry below the sink to also be drawers because we think they’ll be handy and practical for pots and pans.
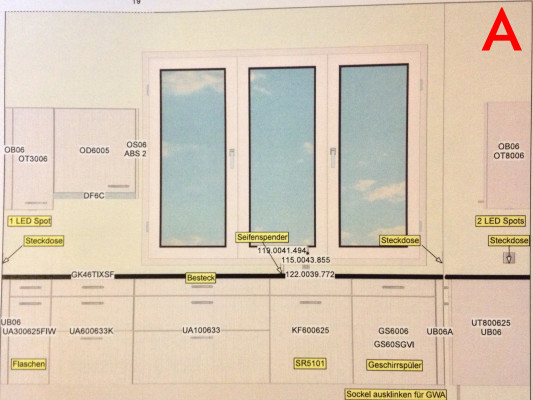
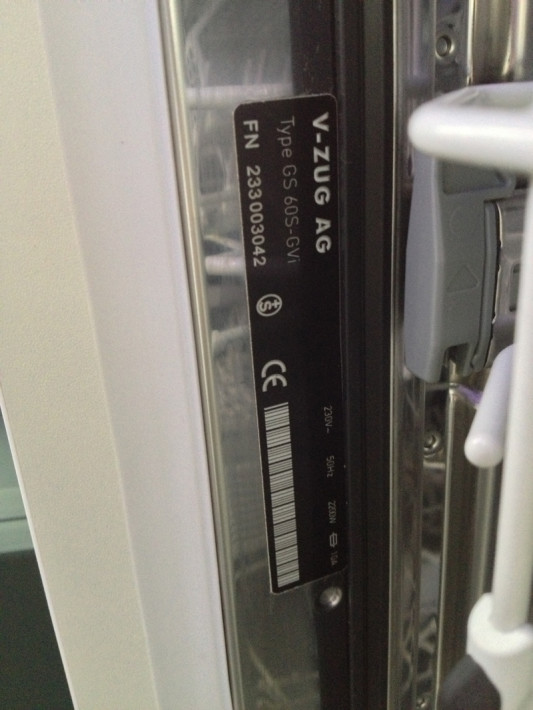
From right to left you have 3 sets of drawers, then the trash system below the sink and on the far right is the dishwasher. With the choice between Electrolux and V-Zug for kitchen appliances, we easily decided that we would go with V-Zug because the quality is much better.
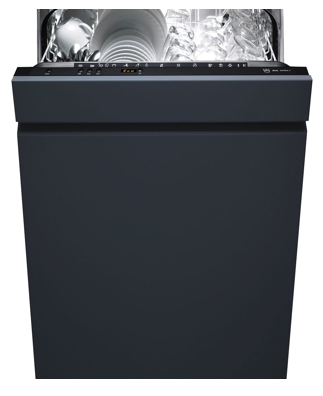
Adora S from V-Zug
We opted for a slight upgrade on the dishwasher to one of the more eco-friendly models with a few extra modes of operation. It uses less water and electricity and it has fancy features like lights telling you when it’s done. The next higher option had a 19 minute quick clean cycle, but we didn’t think that was worth an extra 700 bucks.
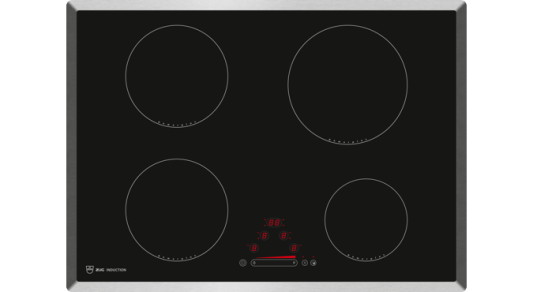
GK46TIXS stovetop from V-Zug
We did stay with the standard stove option. We debated for a few months whether or not we wanted to splurge for a ridiculously expensive wok setup, but Kay read reviews that the heating element below the wok would be flat, so it wasn’t really special to have the round wok setup anyway. That and we would have needed to re-do our range hood and cabinet setup. All in all, we stuck with the standard here.

DF-5 range hood from V-Zug
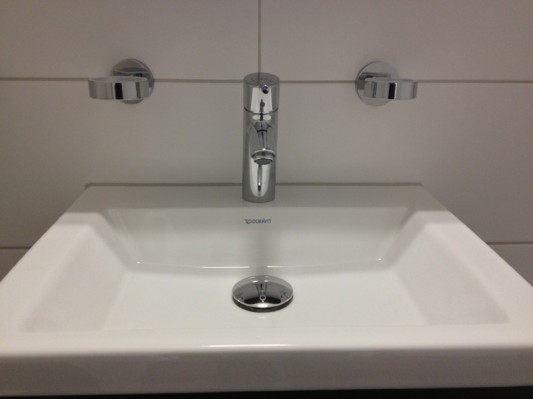
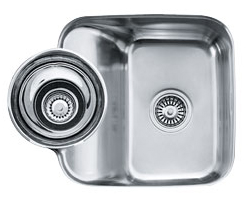
One of our bigger upgrades in the kitchen was actually with the sink. This is the standard sink that came with our flat:
Largo LAX 110 50 (35) from Franke
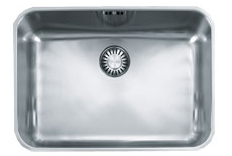
I wasn’t particularly excited about it and Kay’s parents raved about the sink they bought for their house, so they convinced us to splurge for this amazing sink:
Beach BBX 160 from Franke
Maybe it doesn’t look so amazing here… but it comes in a whole set with colanders and bowls that sit in the rounded part and a cutting board that wraps around the sink for easy veggie chopping/rinsing and a wire wrack to fit into the sink for washing.
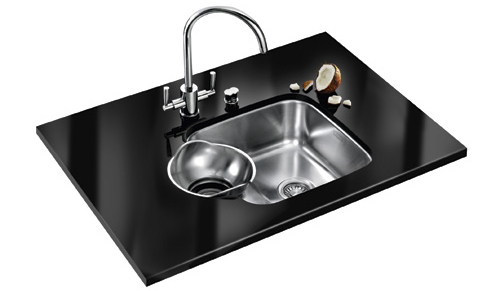
Kay’s mother really raves about how well the sink empties and how easy it is to clean, so we splurged a bit here.
Another must-have in the kitchen was a faucet with a spray hose. We had one at our old flat and it is one of the things I miss most in Zürich. Seriously. So we actually “saved” some money by getting this extendable hose faucet on the right rather than a fancier stationary faucet. (Because I plan on cooking a lot in the new flat, yo!)
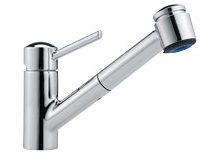
Mambo from Franke
Kay’s parents also implored how important and how handy it was to have a dish soap dispenser built into the counter top. Personally, for 137CHF I thought this was something I could live without, but we are planning on selling the place sooner rather than later, so we went for this handy, but unnecessary feature. We’ll see how much I use it!
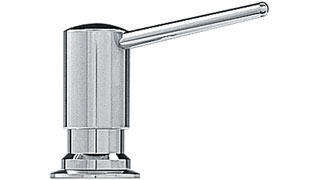
Nova soap dispenser from Franke
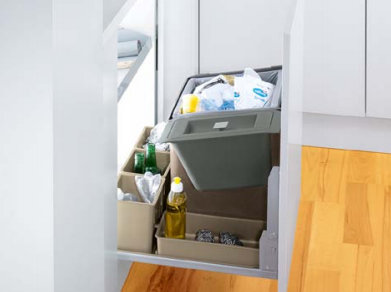
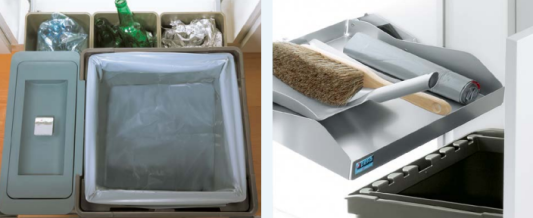
S+R 5101 from Peka-System
Every Swiss kitchen ever has the trash can under the sink. Our standar variation comes with a 35L trash can, 4.5L bio container and four bins for extras like recycling, trash bags, etc. It also includes a tray over the trash system to store other items. I am not the biggest fan of the “open” trash can system without a dedicated lid because in our current flat I feel like it stinks up the whole area underneath the sink, but since this trash system (and hopefully our complex) has a bio setup, I’m hoping we can put biodegradable things in the green container and empty it more often while leaving the 35L trash with non-stinky things.
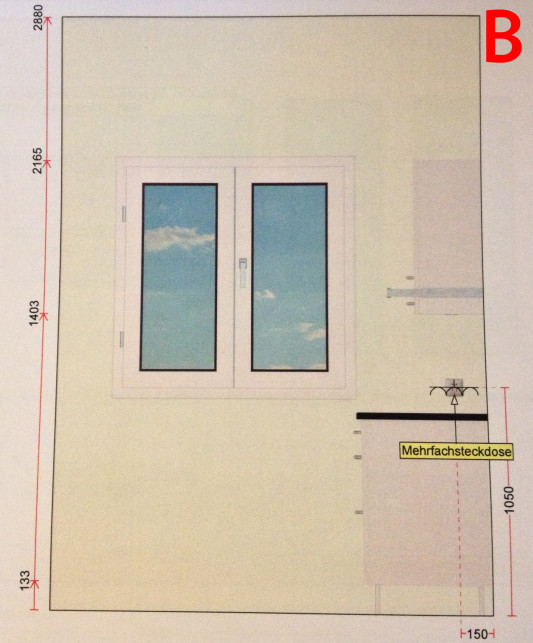
If you remember, I mentioned that we altered which side of the wall our kitchen door opens on and this was to avoid having the open door cover up the window on wall B. Kay really has his heart set on putting a breakfast table here, but I’m just not sure there’s going to be enough room with the walkway and access to the stove. “We’ll see…” I told him. 🙂
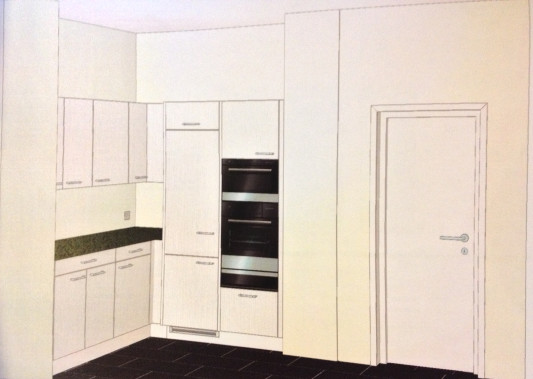
On wall C we have the ovens and a much larger fridge and freezer than what we have right now. Currently we are living with what would be considered a “dorm size” fridge/freezer in the US. I don’t know how I live with so few ice cubes… Seriously, the other day I didn’t have any ice in the house and it made me so anxious.
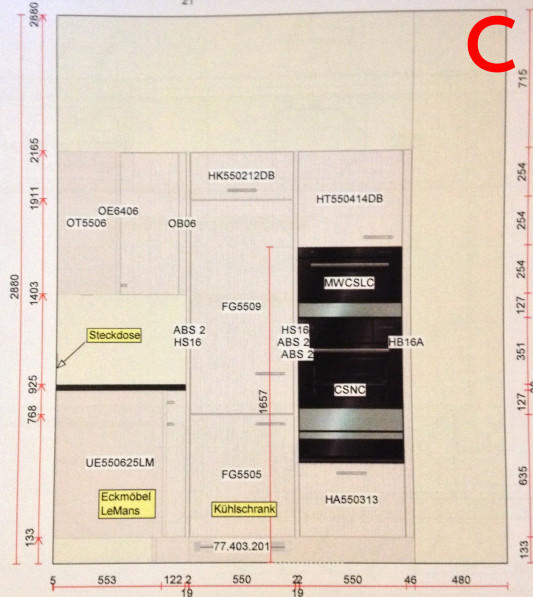
We upgraded the fridge slightly as well. There were three main V-Zug models to choose from, with the most expensive option having a decreased freezer area and a larger fridge area with a “Fresh Cool Zone” of 0ºC section for vegetables and meat. We (I) decided not to sacrifice actual freezer space for more fridge area, but we did upgrade to a slightly more eco-friendly fridge with a nice soft-touch close that will keep me from yelling at Kay to make sure he’s closed the fridge tightly!
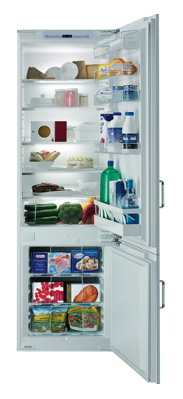
Prestige Eco from V-Zug
The place came with a planned steamer and oven, but we definitely had plans from the beginning to upgrade one of them to include a microwave feature.
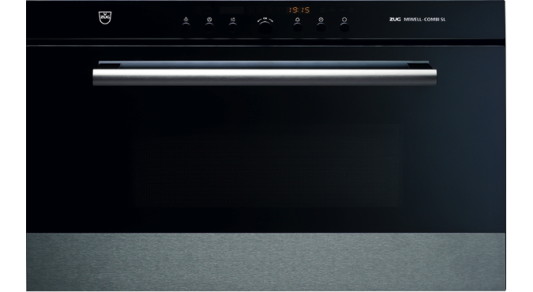
Miwell-Combi SL from V-Zug
I’m happy we’ll have the integrated microwave so that I don’t have to dedicate any countertop space for it. Maybe that means the bread maker will win a spot outside the pantry!
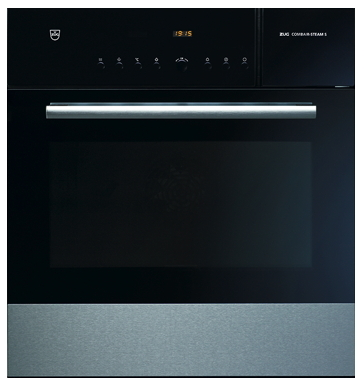
Combair-Steam S from V-Zug
After months of having things settled, I also decided that in the end, I did want the fancy built-in temperature control for meat in the steamer oven. Now when we cook things like turkey, we’ll be able to stick a meat thermometer into the oven and it will adjust the temperature of the oven until the meat is cooked to the desired temperature. The steamer oven also comes with a warming drawer so you can put your plates in there before serving food. 🙂
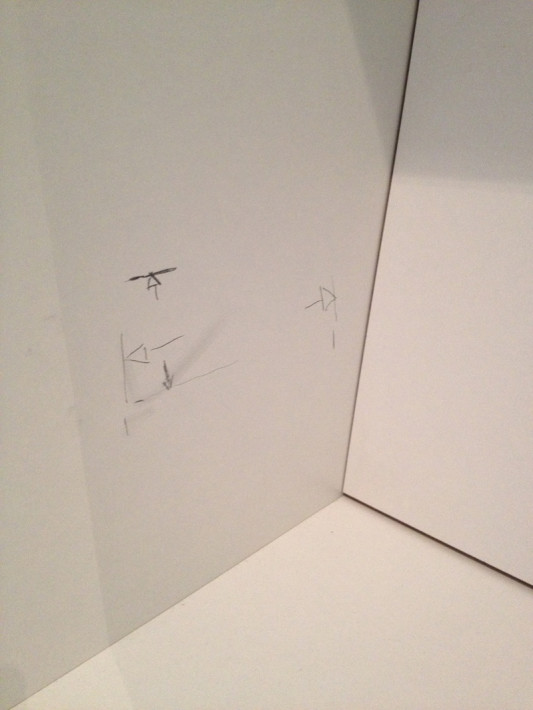
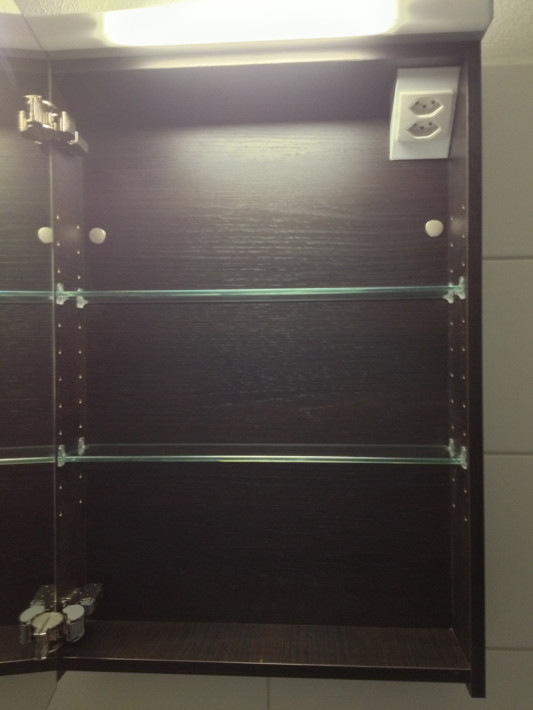
Wall D is where we decided we must add an electrical outlet in each corner so we can plug in coffee makers, toasters, blenders, and more.
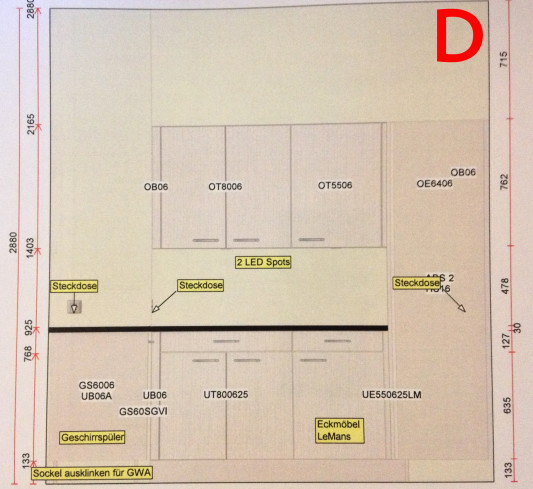
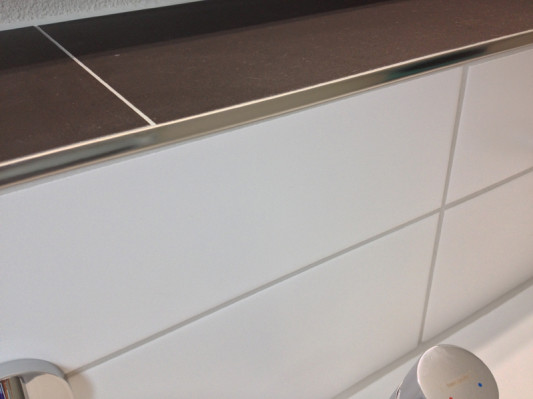
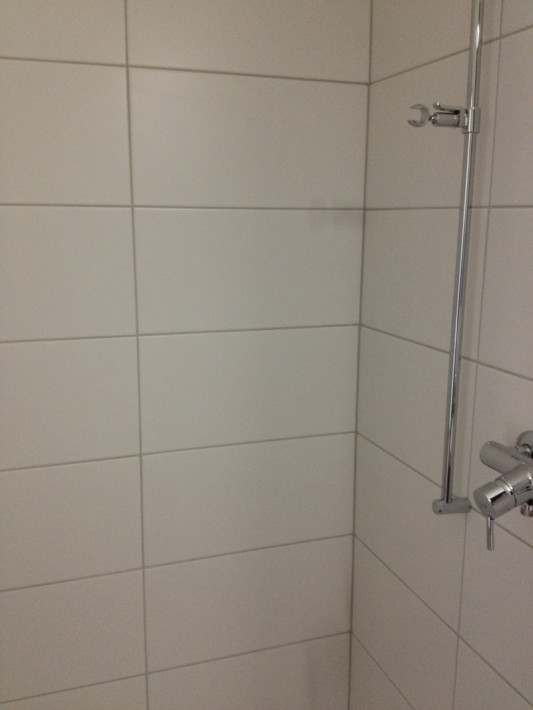
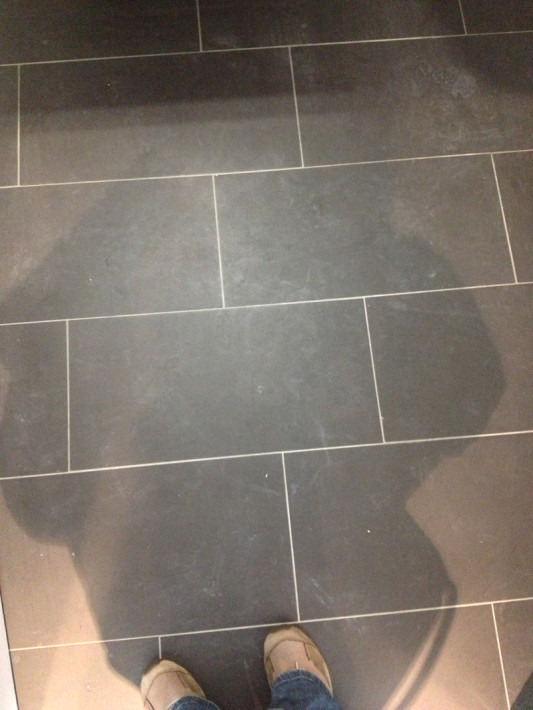
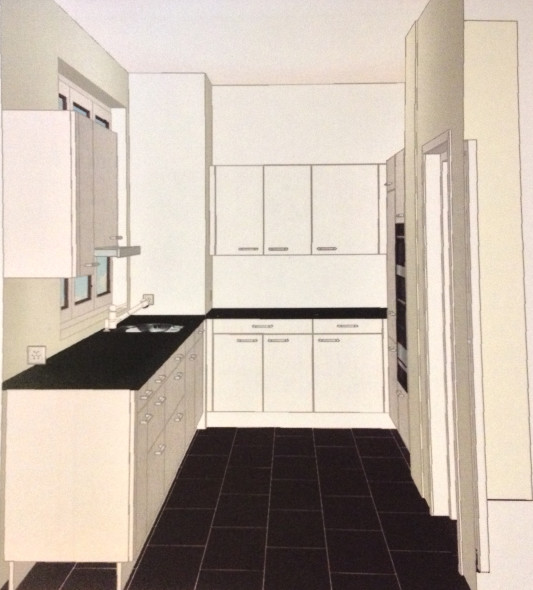
As you can probably tell from the photos so far, the kitchen place mocked up how our kitchen will look in our chosen materials. We opted for the very white, very Swiss wooden cabinets, white back splash and walls, dark black “Nero” granite, and dark, almost black tile on the floor. We also raised all the countertop heights by a few cm so they fit better for taller people. I find most of the standard countertop heights in Switzerland to be really short and uncomfortable to work at, as if they were made for petite people, which is strange considering how tall many Swiss are.
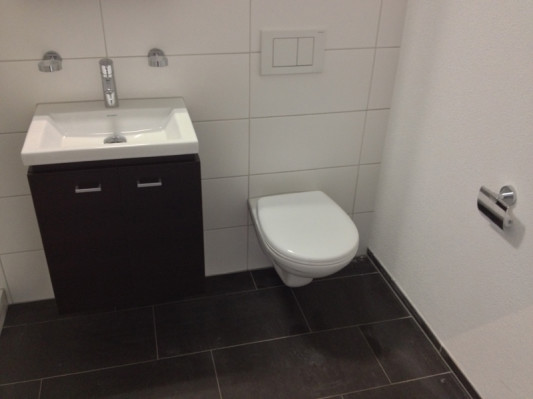
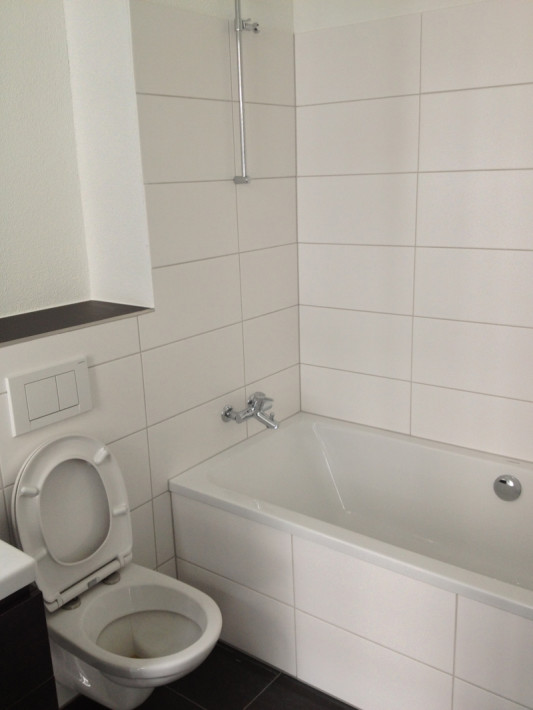
We wanted everything to be very classic, timeless and “Swiss” because we don’t want some neon green cabinets stopping people from buying our flat in a few years. I can’t tell you how many people had blue bathtubs and toilets in their houses and it was such a turnoff.
I was so excited to see the 3d model of what our space will look like. It’s nothing too crazy, but I think I’ll really like this kitchen. The only thing that disturbs me is that the cabinets don’t go to the ceiling, so I know I’ll be up there dusting from time to time. But adding extra cabinets to fill up the space would have cost an arm and a leg, so we’ll wait and do that for a forever home.
Kay and I debated a bit about the hue of the LED spots, but finally he gave in and let me have my warm red tones instead of the blue tones, under the condition that he can put blue toned LEDs in the living room. I just didn’t think blue hues make a kitchen and the food look inviting!
With any luck, I might be able to work a small 60cm X 60 cm bar table in the kitchen for Kay to have breakfast at on the days he gets up by himself…
Want to catch up?

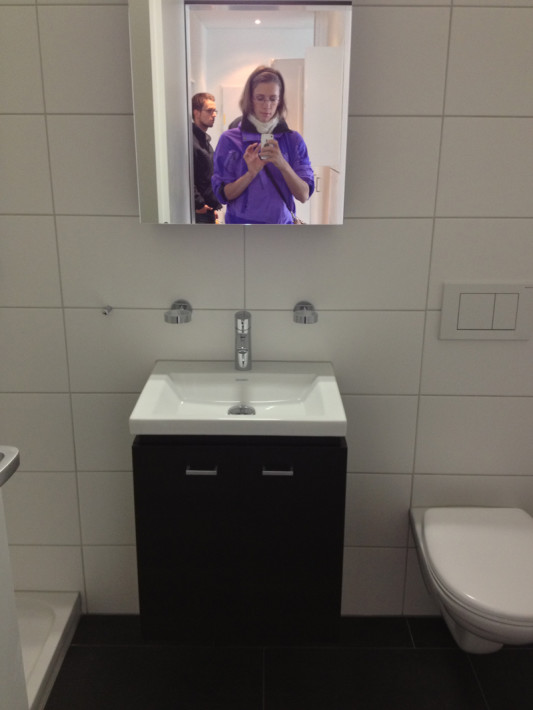
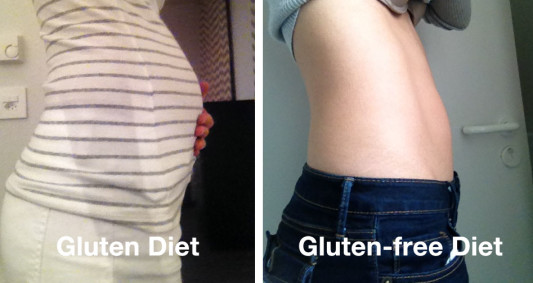 I had never felt so uncomfortable in my own body before and I became self-conscious when I looked in the mirror. I felt fat and I felt ugly inside.
 Kay happened to be across the world for work during these weeks which made my anxiety and depression worse. Instead of reaching out for friends, I isolated myself in my house and wandered from room to room each night reading ingredients and crying. I cried more than I had in a long, long time.
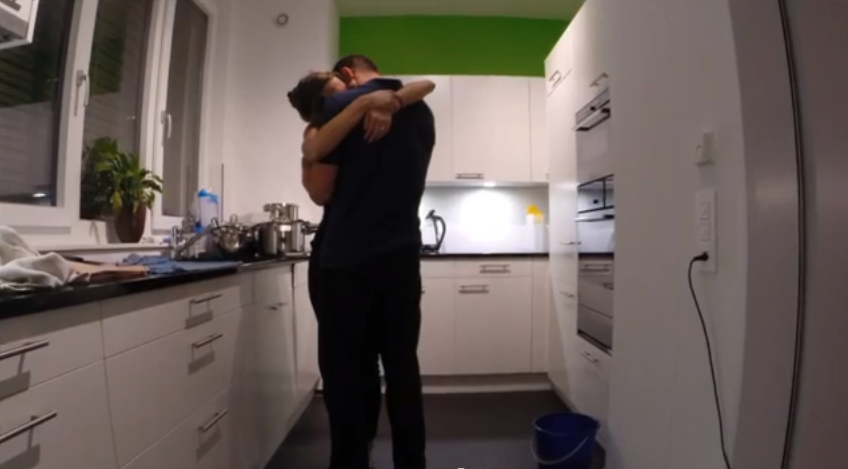 I’m glad I documented my process, because this photo says it all. It has all my hurt and pain and Kay there, holding me together and loving me all the same. It reminds me how much I love him back.