After our first jaunt sport climbing on our own, several weeks passed by with either busy weekends or terrible weather. When I finally spotted a good forecast, I started mentally planning that I would not be sleeping in on Saturday, but getting up to go climbing instead.
Kay was surprised by my sudden “Let’s go climbing before it’s too late!!” plan on a Friday evening, but he was delighted that I suggested it because the weather was spectacular and a day climb fit in well with our other plans that weekend.We headed back to the same wall where we took our first course. I remember being intimidated to start our first top-roping climb and some parts where I climbed too far past the next anchor point and had to climb downwards. Nooot fun. This time we seemed to zip up the wall in record speed with our new confidence in the materials and our technique. It’s always really hard to show the grade, because the incline feels so steep when you are on it, but shows up flat in photos. This part below was pretty steep and really scared me the first time we did it. This time, it was pretty painful because both Kay and I were getting killer blisters in our shoes and dealing with very painful feet while climbing.
The view at the top was pretty nice. 🙂It’s fun to look down on views like this while perched against a rock wall.
We also tried to take some selfies to show the vertical drop. Not that successful. Kay started packing up the rope and then we began the long descent down.Throwing the rope out.It actually took way longer to abseil down than climb up because on the way up we climbed using the full length of the rope attached to one another, and with abseiling, we could only use the half length of the rope, one at a time.Happy about a successful climb. 🙂
After our last climbing course, Kay wanted to buy a set of quick draws and some more carabiners so that we could go climbing on our own, but we still had the problem of how to get there. Most climbing spots in Switzerland are only accessible by car and Kay just has his motorbike.
Kay was worried that if we would leave our bike gear by the bike, it would get stolen, yet it would really be a lot to hike up with to the climbing areas.That’s when I came up with the brilliant idea of buying a Pacsafe bag to attach to the bike. I’ve known about Pacsafe for years since reading about them in my subscription to Outdoor Photographer years ago, and it was the perfect solution for us to take all the gear off and safely lock it up while we hiked and climbed.The weather was so beautiful this weekend. Sunny, warm, but not hot, and with a cool breeze running along the hills sometimes.After a short hike, we reached the climbing area around Mythen where there are several routes from 3a-7ish climbing grades. We stuck to the 3-4 levels to get used to doing it on our own.Kay at the top of the second route above. Below was the view when I climbed up myself.Some succulents growing near our last route.The last route was actually pretty tough for us. Kay started first and got stuck at one point, and when I went up a little while later, I almost didn’t make it past the same tough point. But I kept thinking, “Kay can do it, so can I!” 🙂
Here he is at the top. The view was definitely worth it, even with the weather closing in.Selfie at the top too!Kay preparing the rope to abseil down.View from up there looking down on Vierwaldstättersee. It was pretty breathtaking.I went down first and Kay followed. I am getting the hang of this abseiling by yourself thing.In fact, abseiling might be one of my favorite parts of climbing. It sure is the laziest part. 😉
Back down again, Kay was pretty smiley. And handsome. Don’t forget that!One last selfie and it was time to head back on the bike. The ride back down the curvy hill was certainly easier than the way up. On the way up, I felt like I was in danger of falling off because of the heavy backpack, but on the way down I just needed to make sure that I did not dive into Kay.We are hoping that we’ll be able to get some more climbing done this summer, but things are starting to get tight. Only a couple more weeks until Kay is off for the army and weekends are filling up left and right.
In some ways, this summer feels like the last summer because next year Kay will be in a different country. Ever since the temperatures peaked to HOT, we’ve been spending night after night outside enjoying fresh air and everything gorgeous Switzerland has to offer in the summer, from swimming in the lakes and rivers to climbing in the mountains.
(Walking past the Sihl river on a warm night.)
Every day it’s warm enough at lunch, I also head to the lake for a quick dip and swim in the lake. It’s really heaven on Earth.Now that Kay is “in” his school, the stress of applications is over and we are really trying to maximize our time together.
(Bürkliplatz, on the way to Bade Enge for my birthday)
For instance, after we took our second climbing course in June, we decided to order a set of express (quick draws) and some carabiners. Now with our other gear, we have everything we need to head to the mountains and climb all on our own for the rest of the summer. 🙂My cute boy on my birthday. We probably won’t see each other on either of our birthdays next year.Evening sun.Below we were swimming at Obere Letten, a public swimming bath at the Limmat river in Zurich where you can jump into the river, take a float or swim, and then pop out. We stopped by shortly on my birthday before dinner and movies. It was glorious.
Sushi in the park near Limmatplatz. Everyone was playing in the park and enjoying themselves. With the warm weather, there’s really a lively feel about the city.
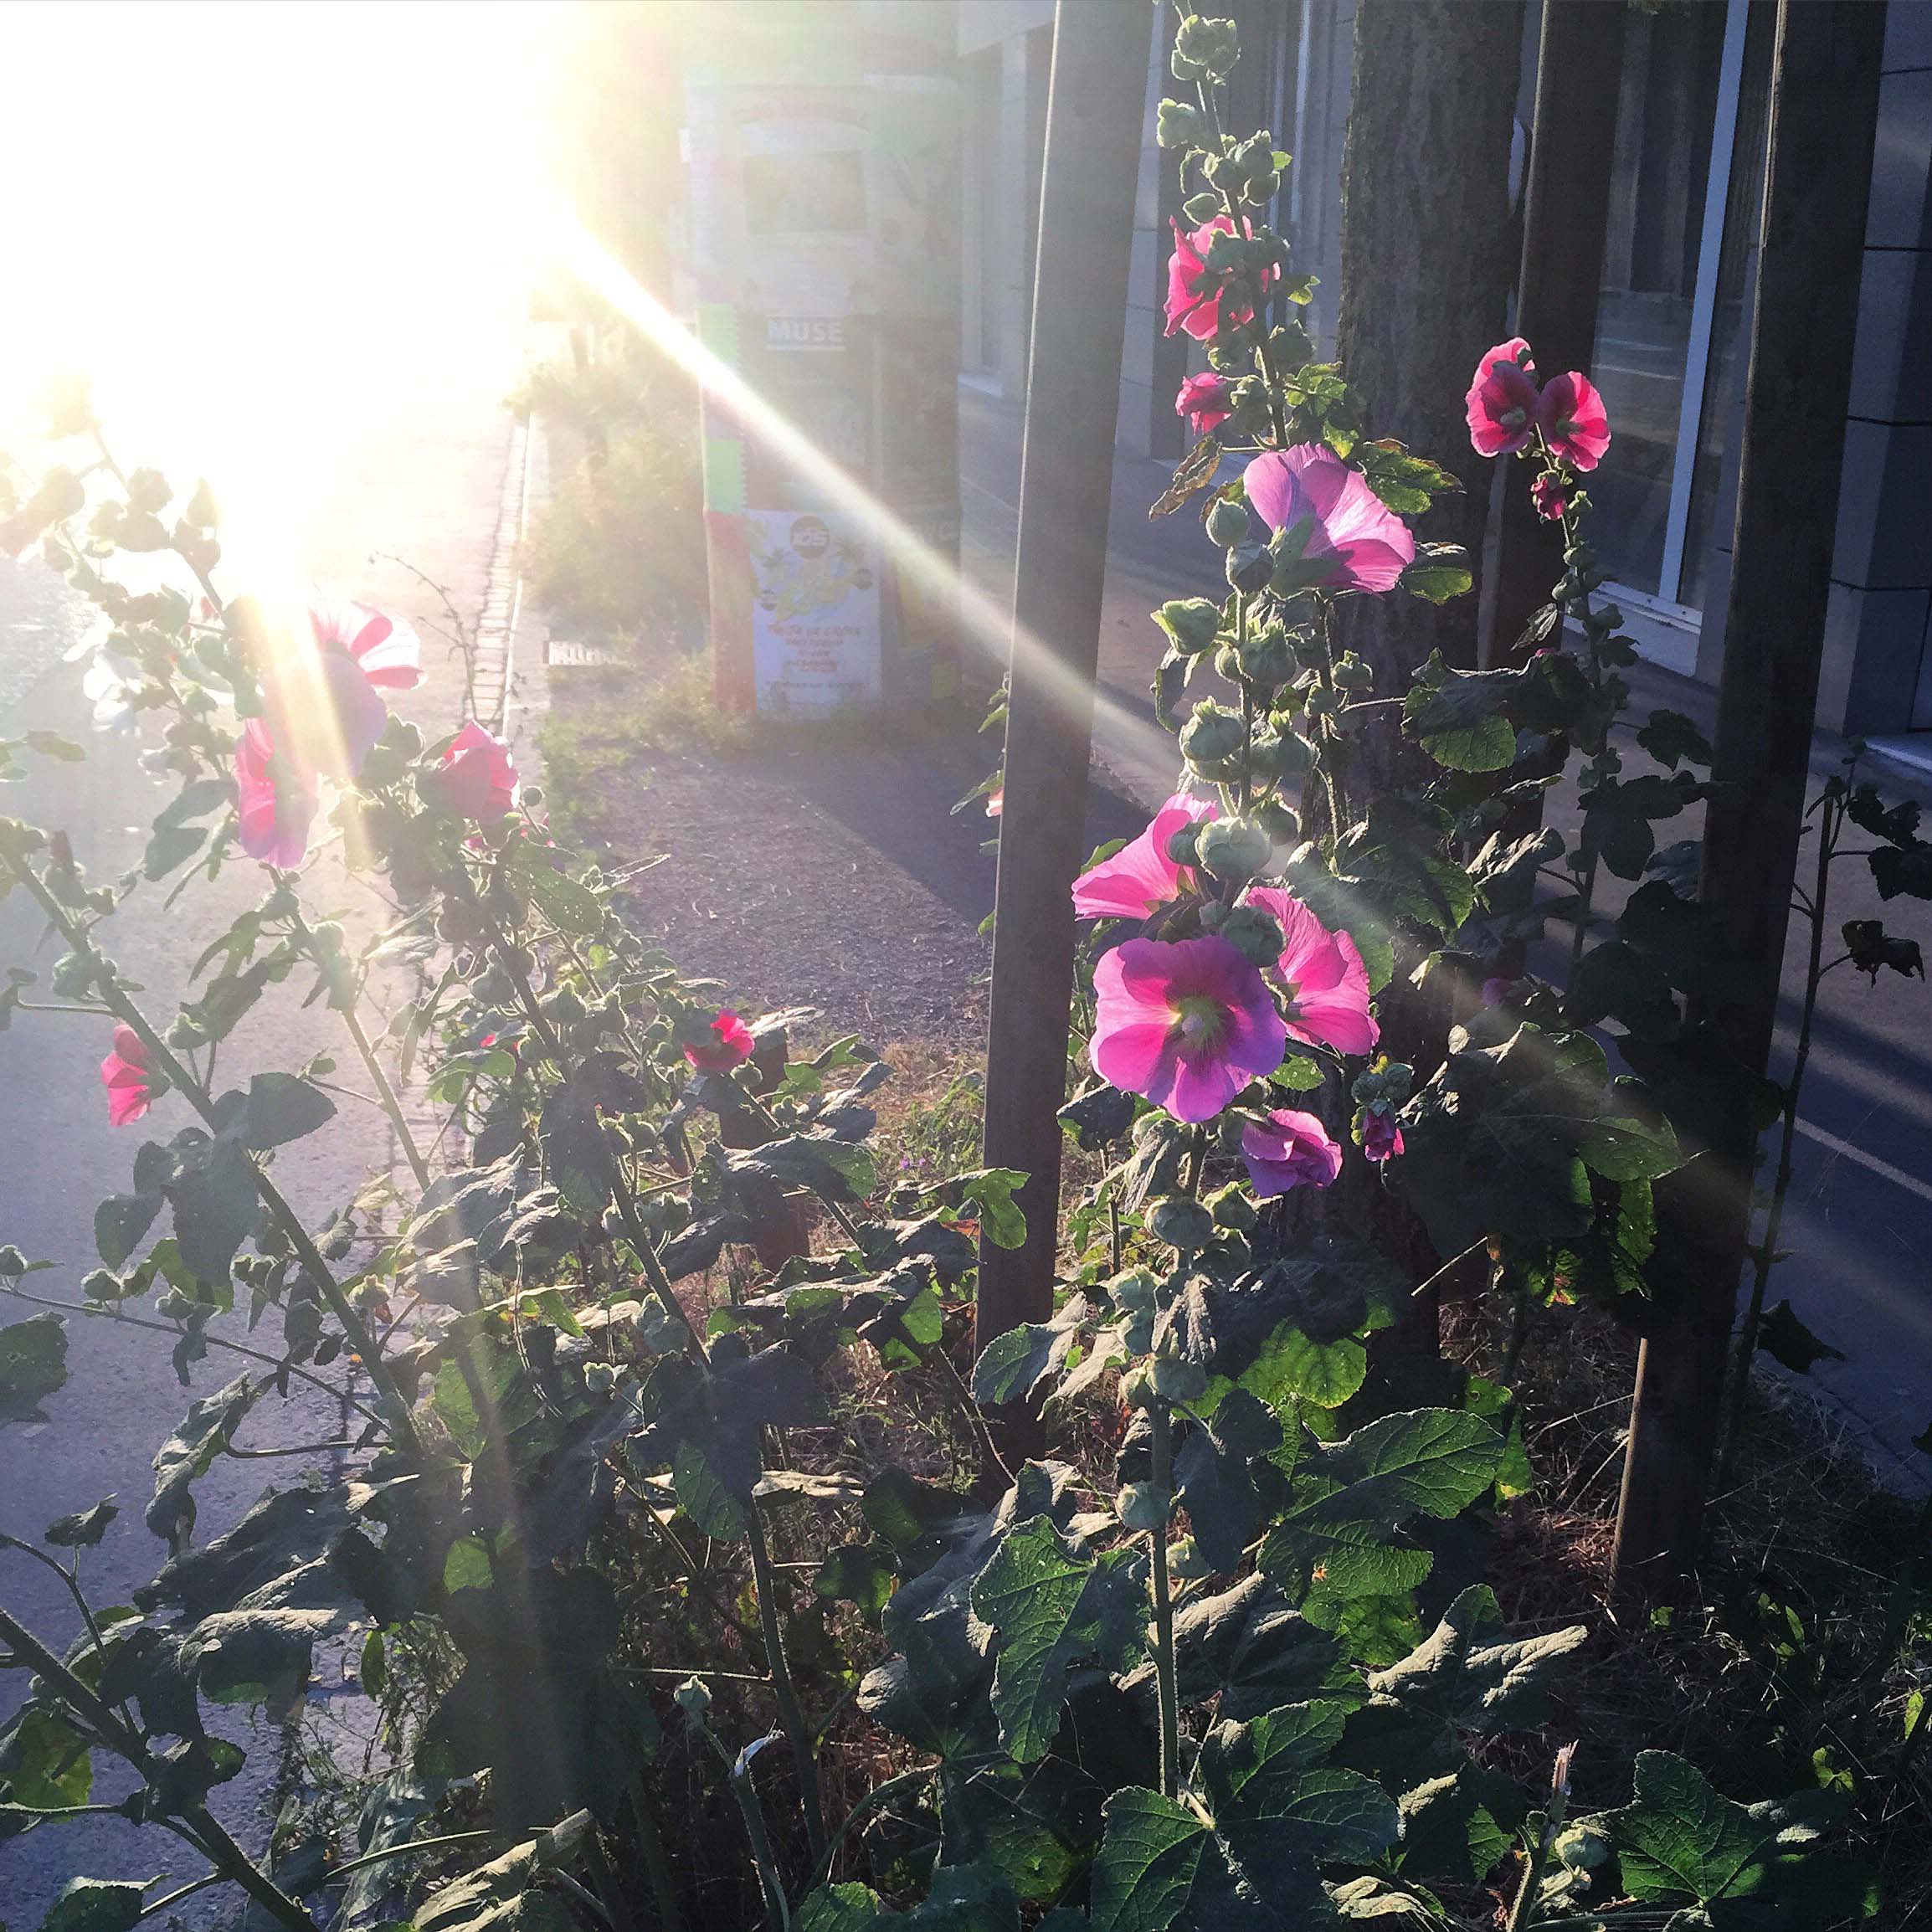
I’m also obsessed with all these flowers planted around many towns around Zurich and in the city. I didn’t notice them last year, so they must be new, but they are beautiful.
Between all the swimming, weekend activities, socializing, and planning for the future, life is very, very busy at the moment!
Are you enjoying summer in your city to the fullest?
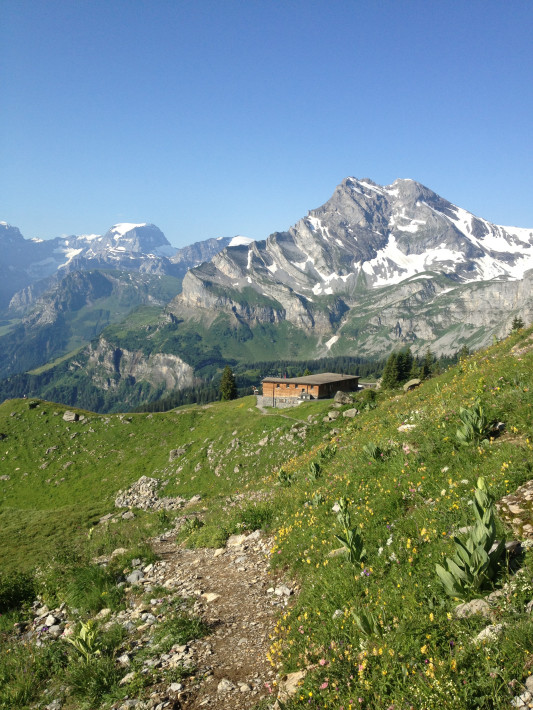
On our second weekend in the new flat, we headed back to Braunwald again to try out my birthday present – climbing gear – and went to do some via ferrata climbing.
Below is the start of the short hike from the Braunwald station up to the start of the via ferrata.
I was having some trouble at the start… my newish climbing sticks were having trouble staying open and my point and shoot wasn’t taking pictures on my SD card, so I ended up using the iphone, which was a bit of a pain while climbing.
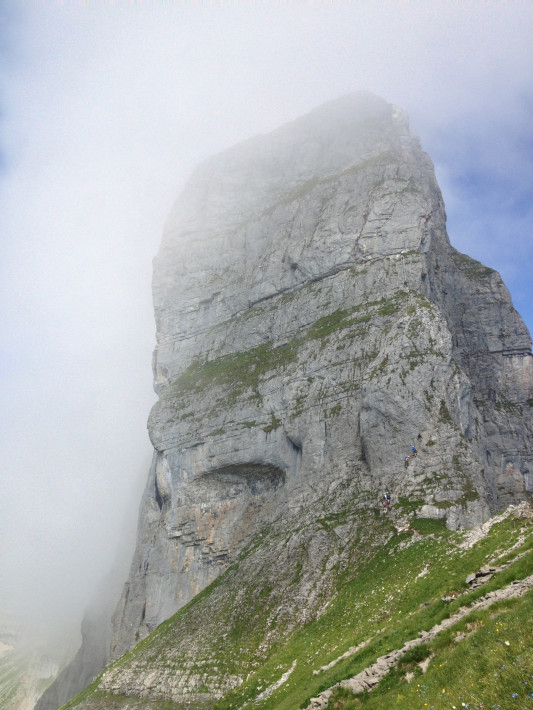
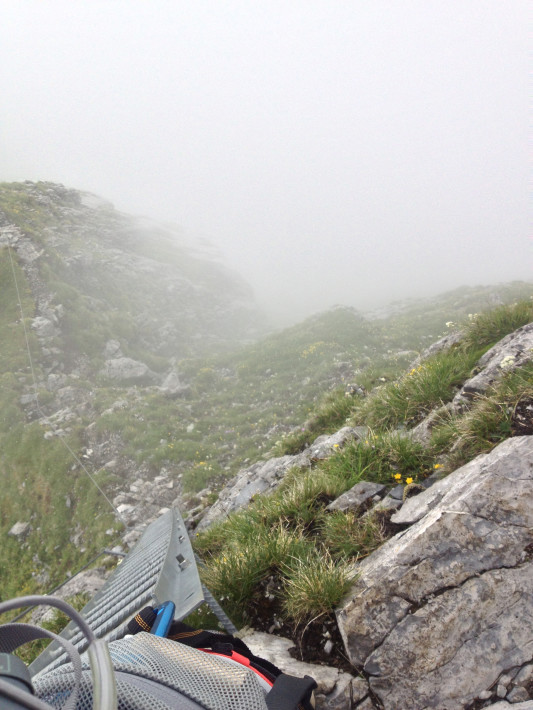
And while we started without a cloud in the sky, I joked to Kay that when we got to the top we’d be covered in fog/clouds. Well lookie here!
*Shakes fist at mountain* Why?? Every time! Sigh.
At least these clouds were coming and going, but you could see as the day warmed up that air was pressing up from the valley and wrapping around the mountains.
It actually made for nice climbing though. When the sun was out it got a bit too hot, but when a cloud would encompass you, you would be covered in a nice cool mist. It was very refreshing!
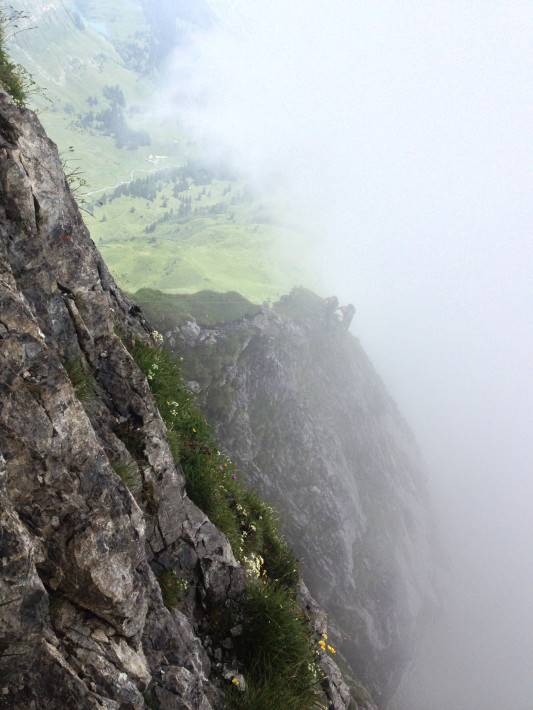
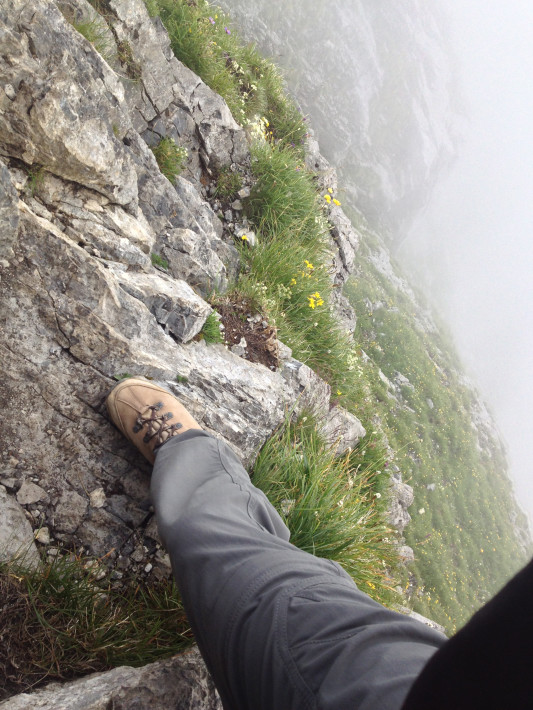
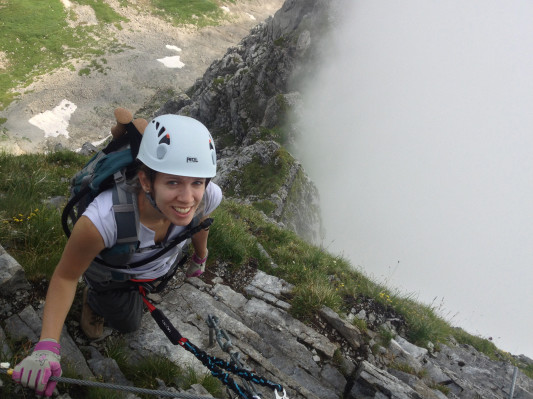
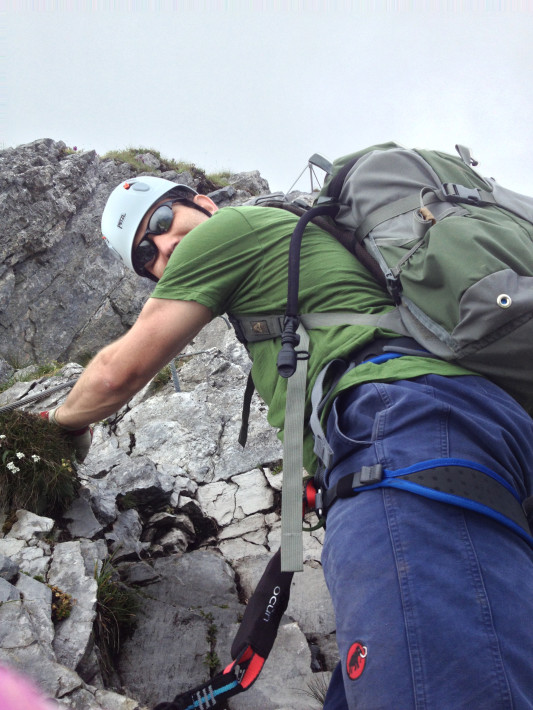
Mind you, I was only taking pictures with the iPhone during the non-scary, stable-footing areas. So if you think any of these are scary, imagine what I was doing when I was too nervous to take the phone out for fear of dropping it!
It was actually right before this shot below when we started the red-line (intermediate) trail that there was a part Kay said was a bit “tricky”. Well, apparently tricky to Swiss = freaky to non-Swiss. It was just a little overhang wraparound that had some “tricky” footing and nothing really below it besides a huge drop, so I had some panic moments as I struggled to overcome my fear and find the footing around it.
Of course with via ferrata, you are hooked in the whole time with your two clips, but still… I didn’t necessarily want to fall 10m and hang by some rope and wire with no real footing to recover. That would have freaked me the eff out.
Actually we took a look at the start of the black trail (expert) and I decided that it would be too difficult for me that day, but on the descent we started hearing screams from the black trail. It sounded like a woman screaming for her life, but Kay thought it was a little boy who was climbing with an older man we saw.
Still, it is very disconcerting to hear shrieking echoing around the mountains! It really sounded like whoever it was, they were having a hysterical breakdown.
“Are you OK?” asked my sweet husband intermittently. Usually he asked during times when I was in fact pretty scared and trying to keep going.
Or maybe I was just taking a picture break. 🙂
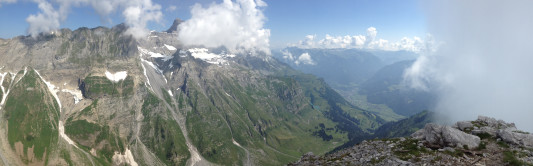
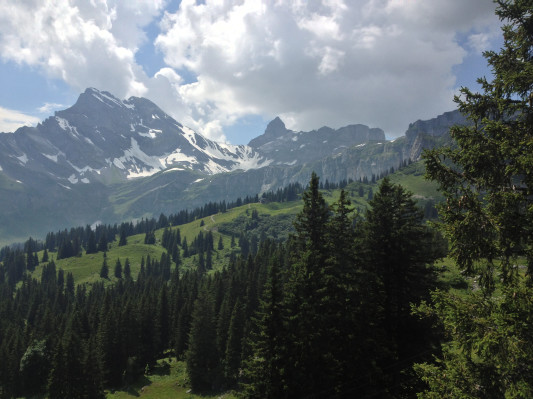
Those white patches in the back are actually snow. Normally I think the snow is all gone at this level, but we had a really terrible spring and late start to summer, so there was still a fair amount of snow around the top, but not on the trails.
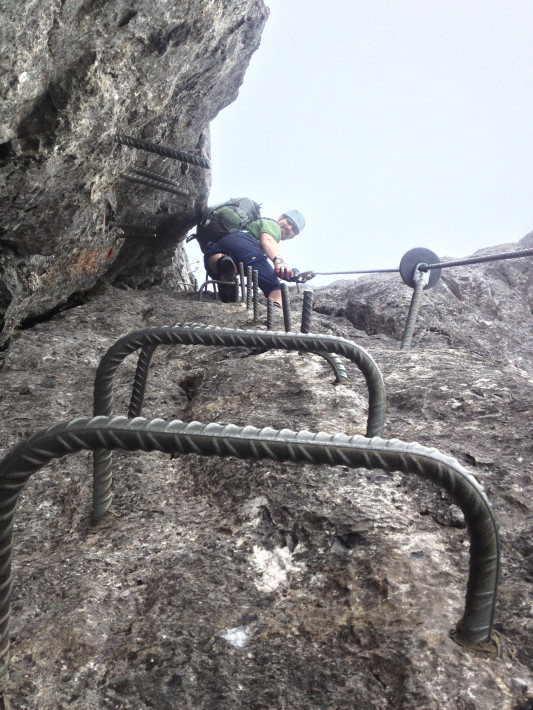
By the way, can you tell that I totally picked out the same helmet as Kay? Matchy matchy. He hates it. 🙂
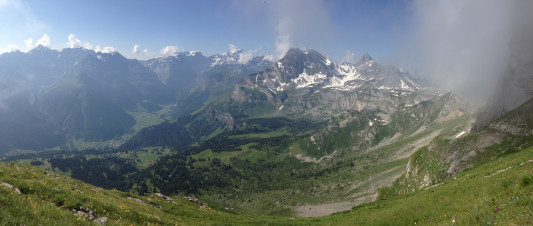
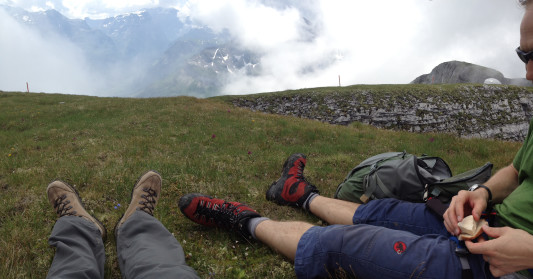
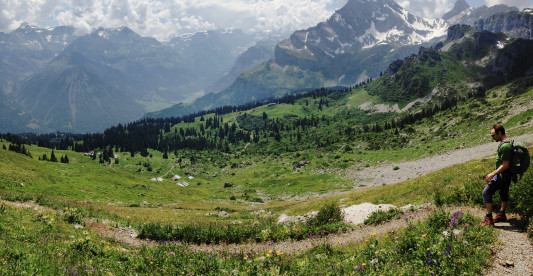
Panorama view at the top of the red trail, where we decided to have lunch in a nice grassy area.
The way down was fairly steep and there was not so much to grab on to… we actually had to hold onto the wire a fair amount which made Kay nervous. At the very end there was something like a a 30m/100ft ladder to climb down, also suspended over basically nothing, where at the end you would climb to the left and further down. Descending that was also pretty freaky, although less so than the other area because at least on a ladder I know where to put my feet!
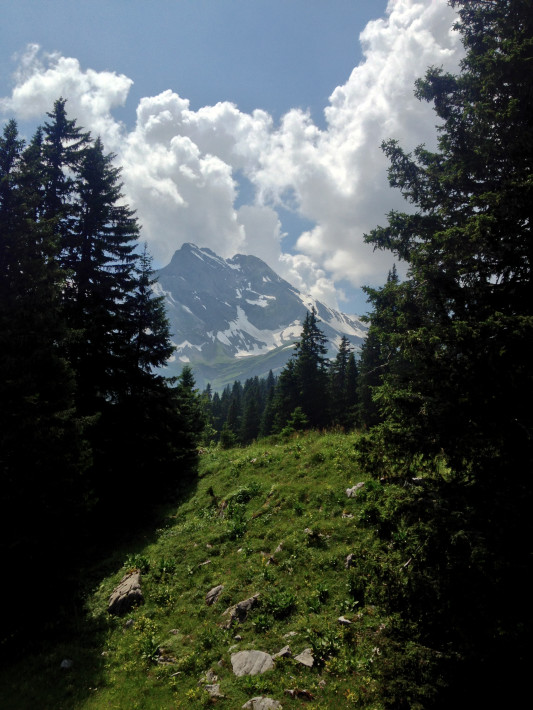
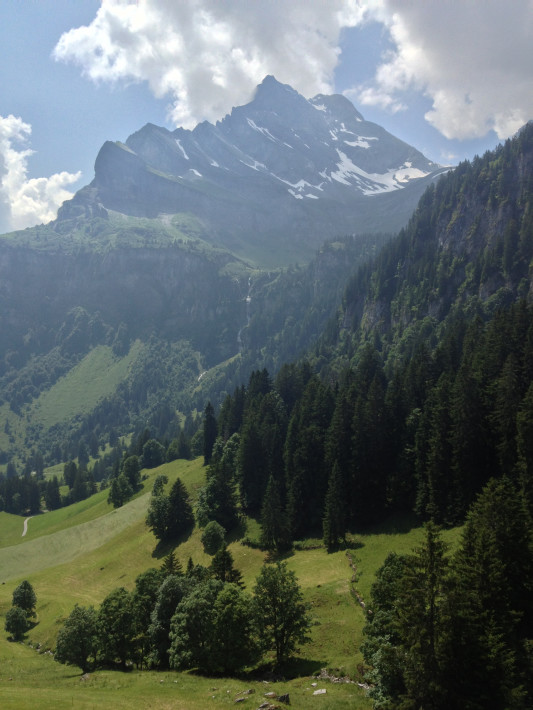
Then we hiked back to the cable lift and rode down with these beautiful views.
I love the mountains! Why don’t we visit them more often?
There was also a magical waterfall on the way down. I could almost get used to living up here if it wasn’t so far away from reality.
For now I think we’ve agreed that we should try out some more red lines before I attempt a black line. I’m sure Kay would be fine, but the look of the start of the trail made me nervous. Another day!
Kay and I have been hiking more in the past few years and the more we hike, the more I learn about myself and what I can handle. We learned pretty quickly that I cannot handle carrying a lot, especially when we climb steep uphill. As soon as the incline hits, my speed drops to a snail’s pace.
Here I am, trailing behind Kay on the Kalalau trail in Hawaii.
On our first few major hikes together, I was always carrying too much and would inevitably give my camera or even my whole pack to Kay when it got tough, which made the hike more difficult for him. With this in mind, we stripped down what I’m allowed to carry (if anything) to the essentials.
For day trips, we often head out with with 1-2 packs. Kay takes his small Camelbak (on the left above) that carries water, our jackets, snacks, sunglasses cases and wallets. If it’s a long hike, I take the even smaller Camelbak hydration pack (on the right above) that carries a bladder, but not much else. I can fit my debit card and a pack of tissues in and that’s about it, but it’s great because I don’t have to chase after Kay to give me a sip of water when I’m dying. I only have to chase him if I want some dextrose.
On more intense day trips, Kay upgrades to his Mystery Ranch backpack to carry cooking gear and I borrow his Camelbak to carry my jacket and things.
The problem is that when we go on city trips we often both would like a small pack to carry our cameras and jackets. So I’m looking for a pack that I can use for hiking as well as city trips and as a carryon when flying.
So what am I interested in? I headed to Transa with my camera in it’s Kata Access-18 PL bag to check out all the bags they have.
This Meru pack was pretty light weight and comfortable, which would definitely be a plus for carryon weight restrictions. It fit my camera, even in it’s Kata Access-18 PL bag, and it had a handy mesh pocket on the outside that would be good for storing a jacket quickly. The main compartment had zipper entry divided in two for organization and space for a hydration system. The pack was a bright blue and there were no other options for colors at the store.
It did not have compression straps that I could use to attach my hiking poles to the bag, nor did it have a rain cover (what about my camera!?) and it did not have a spacer mesh to separate the pack from your back and keep your back from heating up your water… (Bleagh!) But for 79CHF, the pack is relatively affordable.
The version I saw at the store was such a lovely colour. Light grey with teal blue accents for the logo. Very girly in my opinion. There was also another raspberry option that I thought was a bit ugly.
The Crea Element has a very sturdy hip belt and I really liked the mesh suspension system. Normally when we walk, the Camelback is in the backpack against your back and it heats up. Usually your first sip of water is cold because it’s the water left in the hose, but then you get a mouthful of warm water thereafter. It’s kinda gross in the summer.
This pack also had a wonderful built-in detachable rain cover. I love the rain cover built into my Lowepro camera bag because it is really handy, but on this pack I also loved that it is detachable so that if you needed to take it out to store some extra things when you are flying for example, you can detach the rain cover and store it separately, or remove it to dry if needed. Genius!
In addition to the rain cover, the Crea Element comes with a waste bag and a “women’s necessity bag”. With the top lid pockets, this gives you a fair amount of options for organizing things.
Unfortunately though, this pack is only about 20L and it did not fit my Kata bag with the camera. I could try to use Kay’s small crumpler bag which really only houses the camera and one lens, but I worried that maybe 20L is really too small to fit much, especially when flying.
The Creon Element is a bigger 25L version of the Crea Element (oddly for the same price…), but unfortunately it does not come in the pretty grey/blue that the smaller pack does. It’s pretty obvious that the smaller pack is for women and the larger pack is for men. This pack comes in a putrid green, blue that wasn’t at the store or black with a horrid red Mammut logo. In my opinion, the red is really screaming, “Hey, I’m an expensive brand, look at me!” It looks worse in real life than it does in the photo.
When it comes down to it, I will choose my pack based mainly on functionality, but obviously I don’t want to walk around with a really ugly pack. This pack also had the suspension system, removable rain cover and it also had just enough room for my Kata bag. Both Mammut bags also have dedicated trekking pole straps that look pretty sturdy. (They are also for ice picks apparently…)
It is questionable if I could fit the Kata camera pack and the Camelbak hydration system in at the same time. Another flaw about the Mammut bags is that they are both drawstring, which is not quite as easy to get in and out of as zippered packs. The Creon Element does not come with the women’s necessity bag and it had less pockets in the top compartment, so overall it seemed a bit more primitive than the Crea Element.
While I was trying to find the Mammut backpacks for sale in the States, I came across Osprey packs for women. I went back to Transa and it turns out they only have the Stratos series for men in supply, but the men’s packs have many of the same features as the women’s. I spent about 45 minutes trying them out, so I think it gave me a pretty good idea about what the Sirrus series would be like.
The Sirrus series all have mesh suspension systems, although it looks like the pack is held a little closer to the back than the Mammut bags, especially at the top and bottom of the pack where they attach. I’m not sure how that would affect airflow, considering that Mammut boasts some “chimney effect” with theirs. This is a 24L zippered pack with easy access, but only one small pocket on the front that houses the detachable rain cover. Small point – the rain covers on the Sirrus/Stratos packs attach with velcro and the Mammut ones have a clip. I feel like the clips are sturdier and the velcro seems a bit cheaper, even though the Osprey packs cost more money in Swiss francs.
The Osprey bags also have compression straps on the side, but Osprey also has a system for storing your trekking poles on the go that looks really cool. I almost always hike with poles (Grandma!) so I’m really interested in this part, but I’ve read some reviews that in the summer the poles rub against your arm when you store them this way, so I’m not sure how effective the system actually is.
Sirrus packs come in turquoise and purple, but again, I’m not a big fan of this shade of purple.
Kay had me convinced that the 20L Mammut pack was way too small, especially for air travel, so I started looking at some of Osprey’s larger 36L packs.
Osprey also designed the Sirrus packs with hip belts made for women so they fit better around a woman’s curves. They also have special shoulder straps so that the backpack doesn’t dig into your breasts when you are walking. I noticed when I tried on the Mammut Creon Element, I had to put the chest strap all the way at the top and the bag still felt a bit like it wasn’t designed for me.
Both the 24L and the 36L Osprey packs have hipbelt pockets that are absent on the Mammut packs. I’ve been jealous that Kay has hipbelt pockets his Mystery Ranch backpack that are not on my Mystery Ranch pack. They would be so helpful for storing tissues, lip balm and lens cleaning clothes on hikes. I blow my nose ALL the time! There is even a little pocket on one of the shoulder straps. I’m sure if Kay had one, he would love to store his GPS in it.
In addition, this pack has a drawstring opening with a pack lid that has two zippered compartments. It also has a second front pocket in addition to a much roomier rain cover pocket than the 24L.
It seems like it’s always a big question of how the camera fits in the pack and whether I have the camera in a camera bag (for protection) and whether that fits as well. If I go for a smaller 24L size, I may run into issues with getting things to fit when I fly, but at the same time, most 34-36L packs exceed carryon requirements so I’m sort of stuck.
I’m also still not the biggest fan of drawstring bags because you really have to take them completely off to dig around in them, but can I really survive flying with only 24L? Maybe I should just follow Kay’s example and buy two day packs. Hah!
Do you have a laundry list of requirements for your backpack?

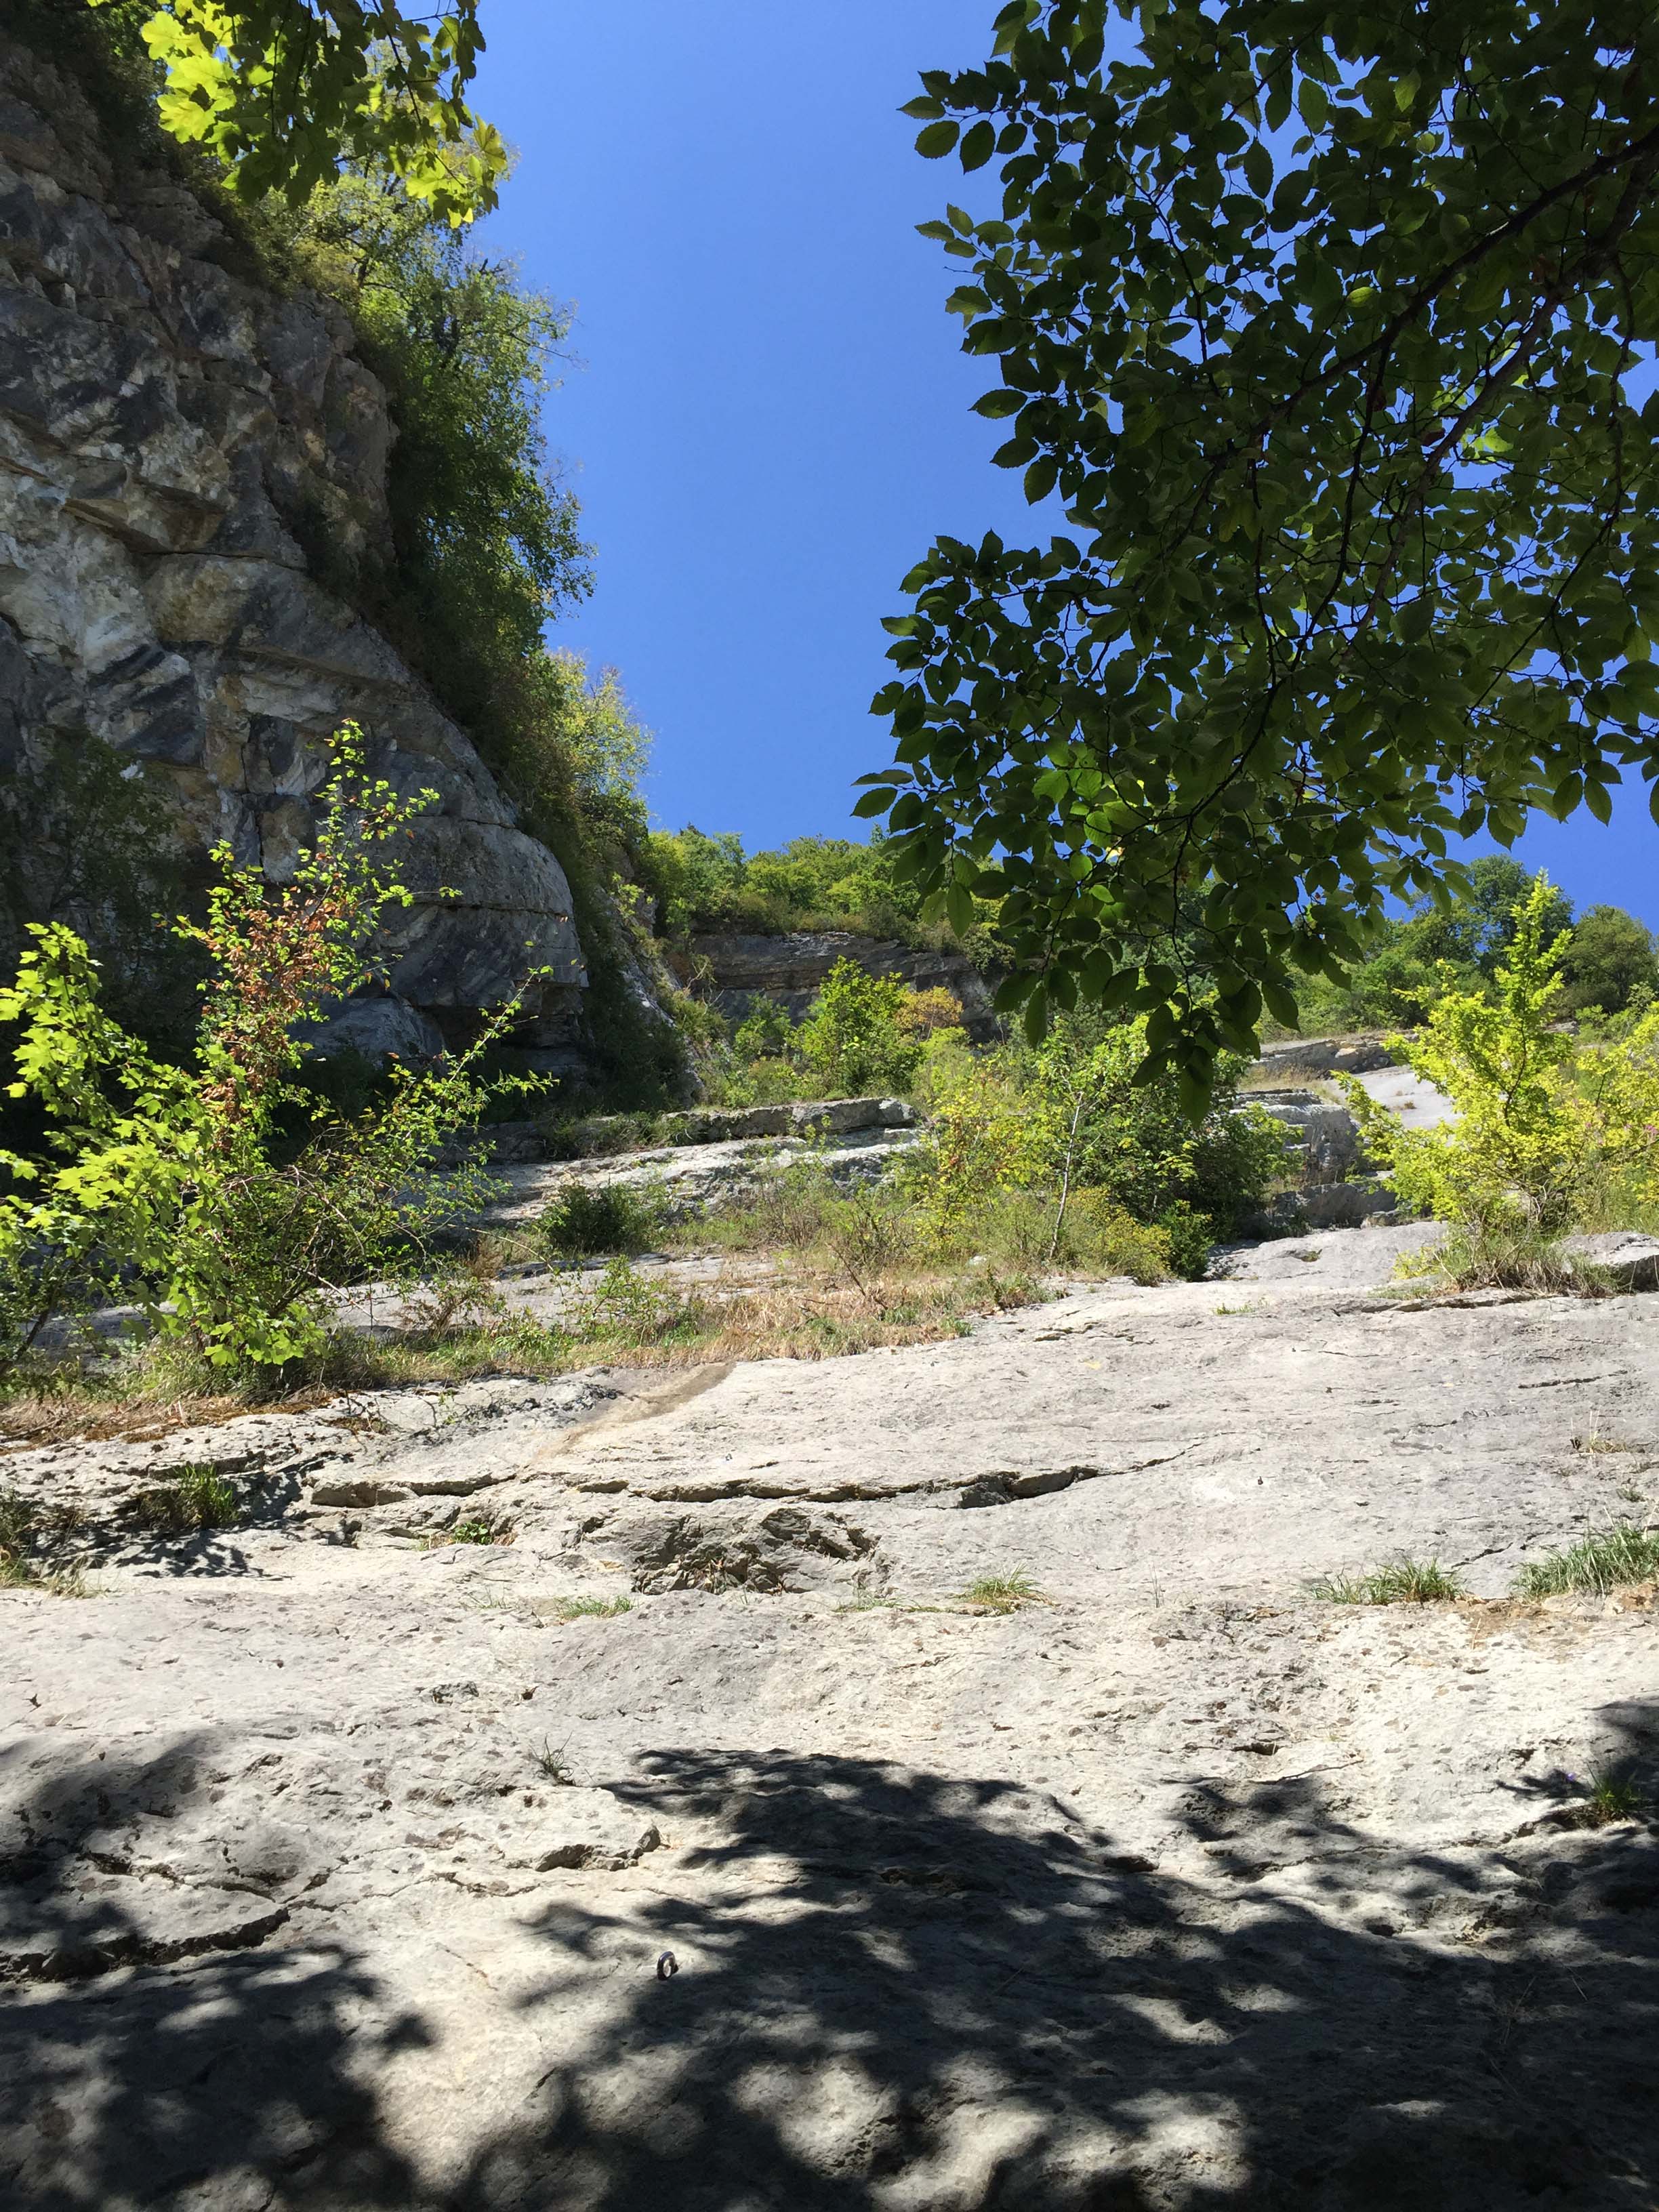 We headed back to the same wall where we took our first course. I remember being intimidated to start our first top-roping climb and some parts where I climbed too far past the next anchor point and had to climb downwards. Nooot fun.
 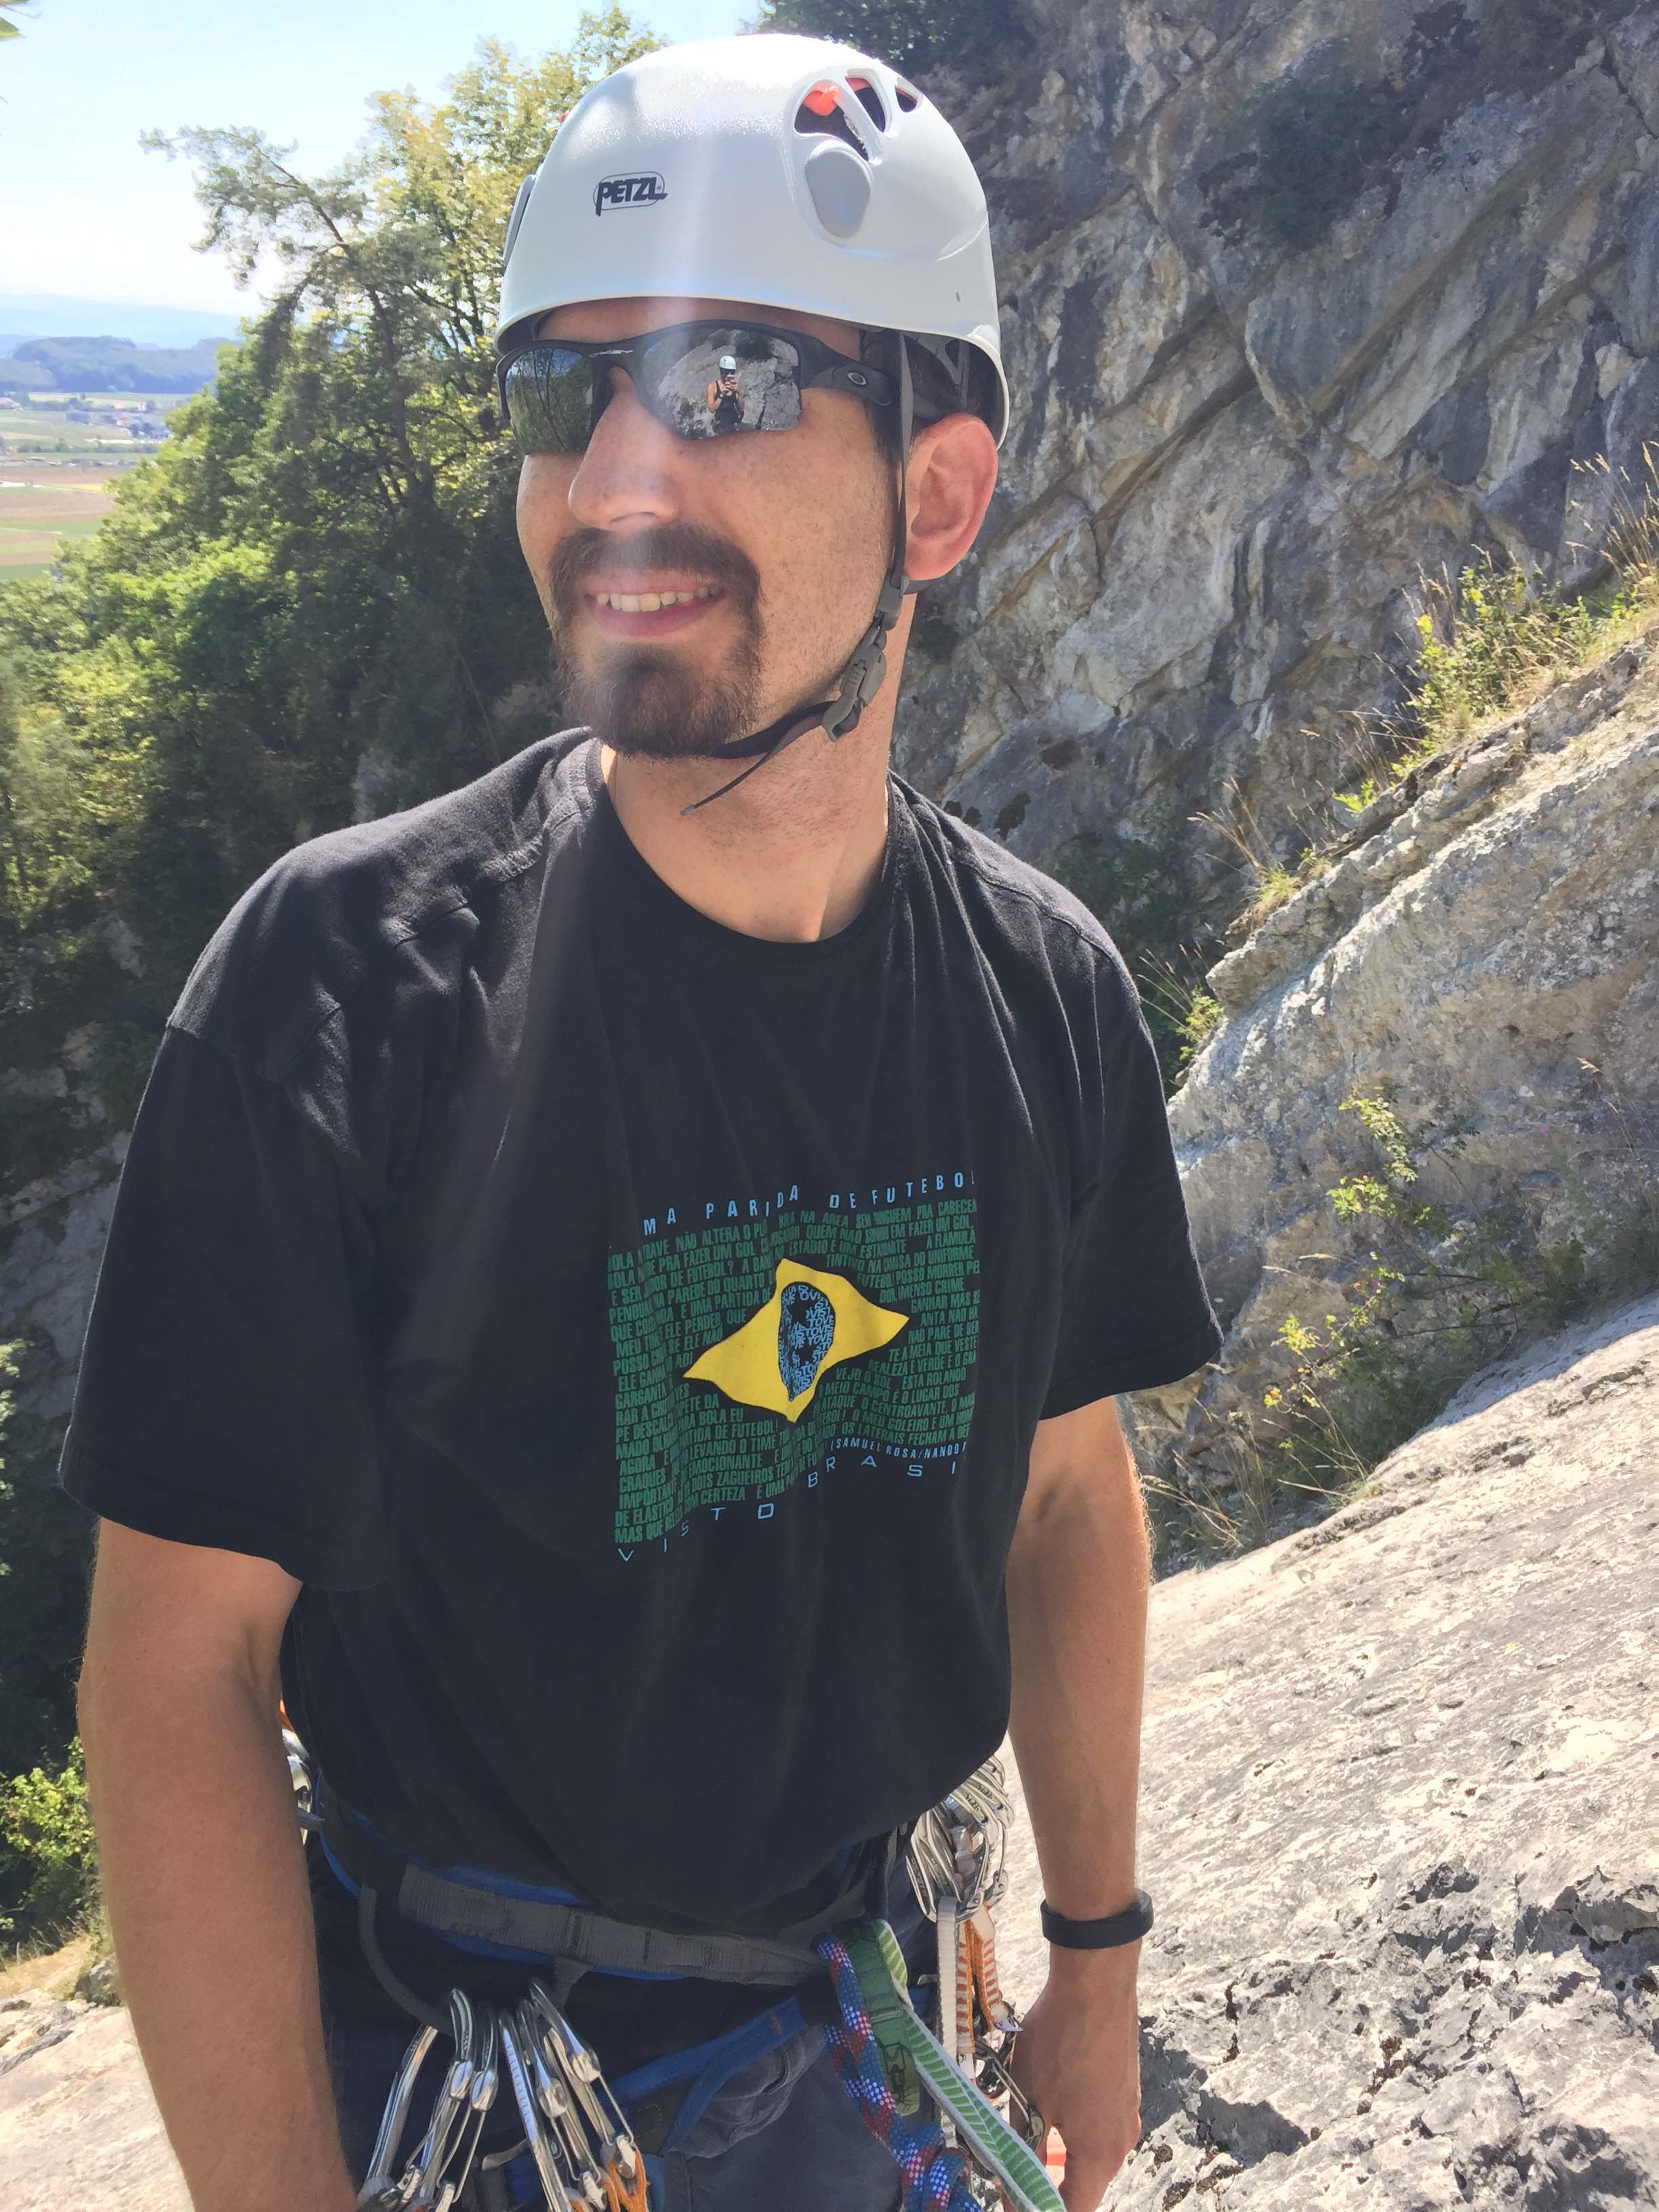 This time we seemed to zip up the wall in record speed with our new confidence in the materials and our technique.
 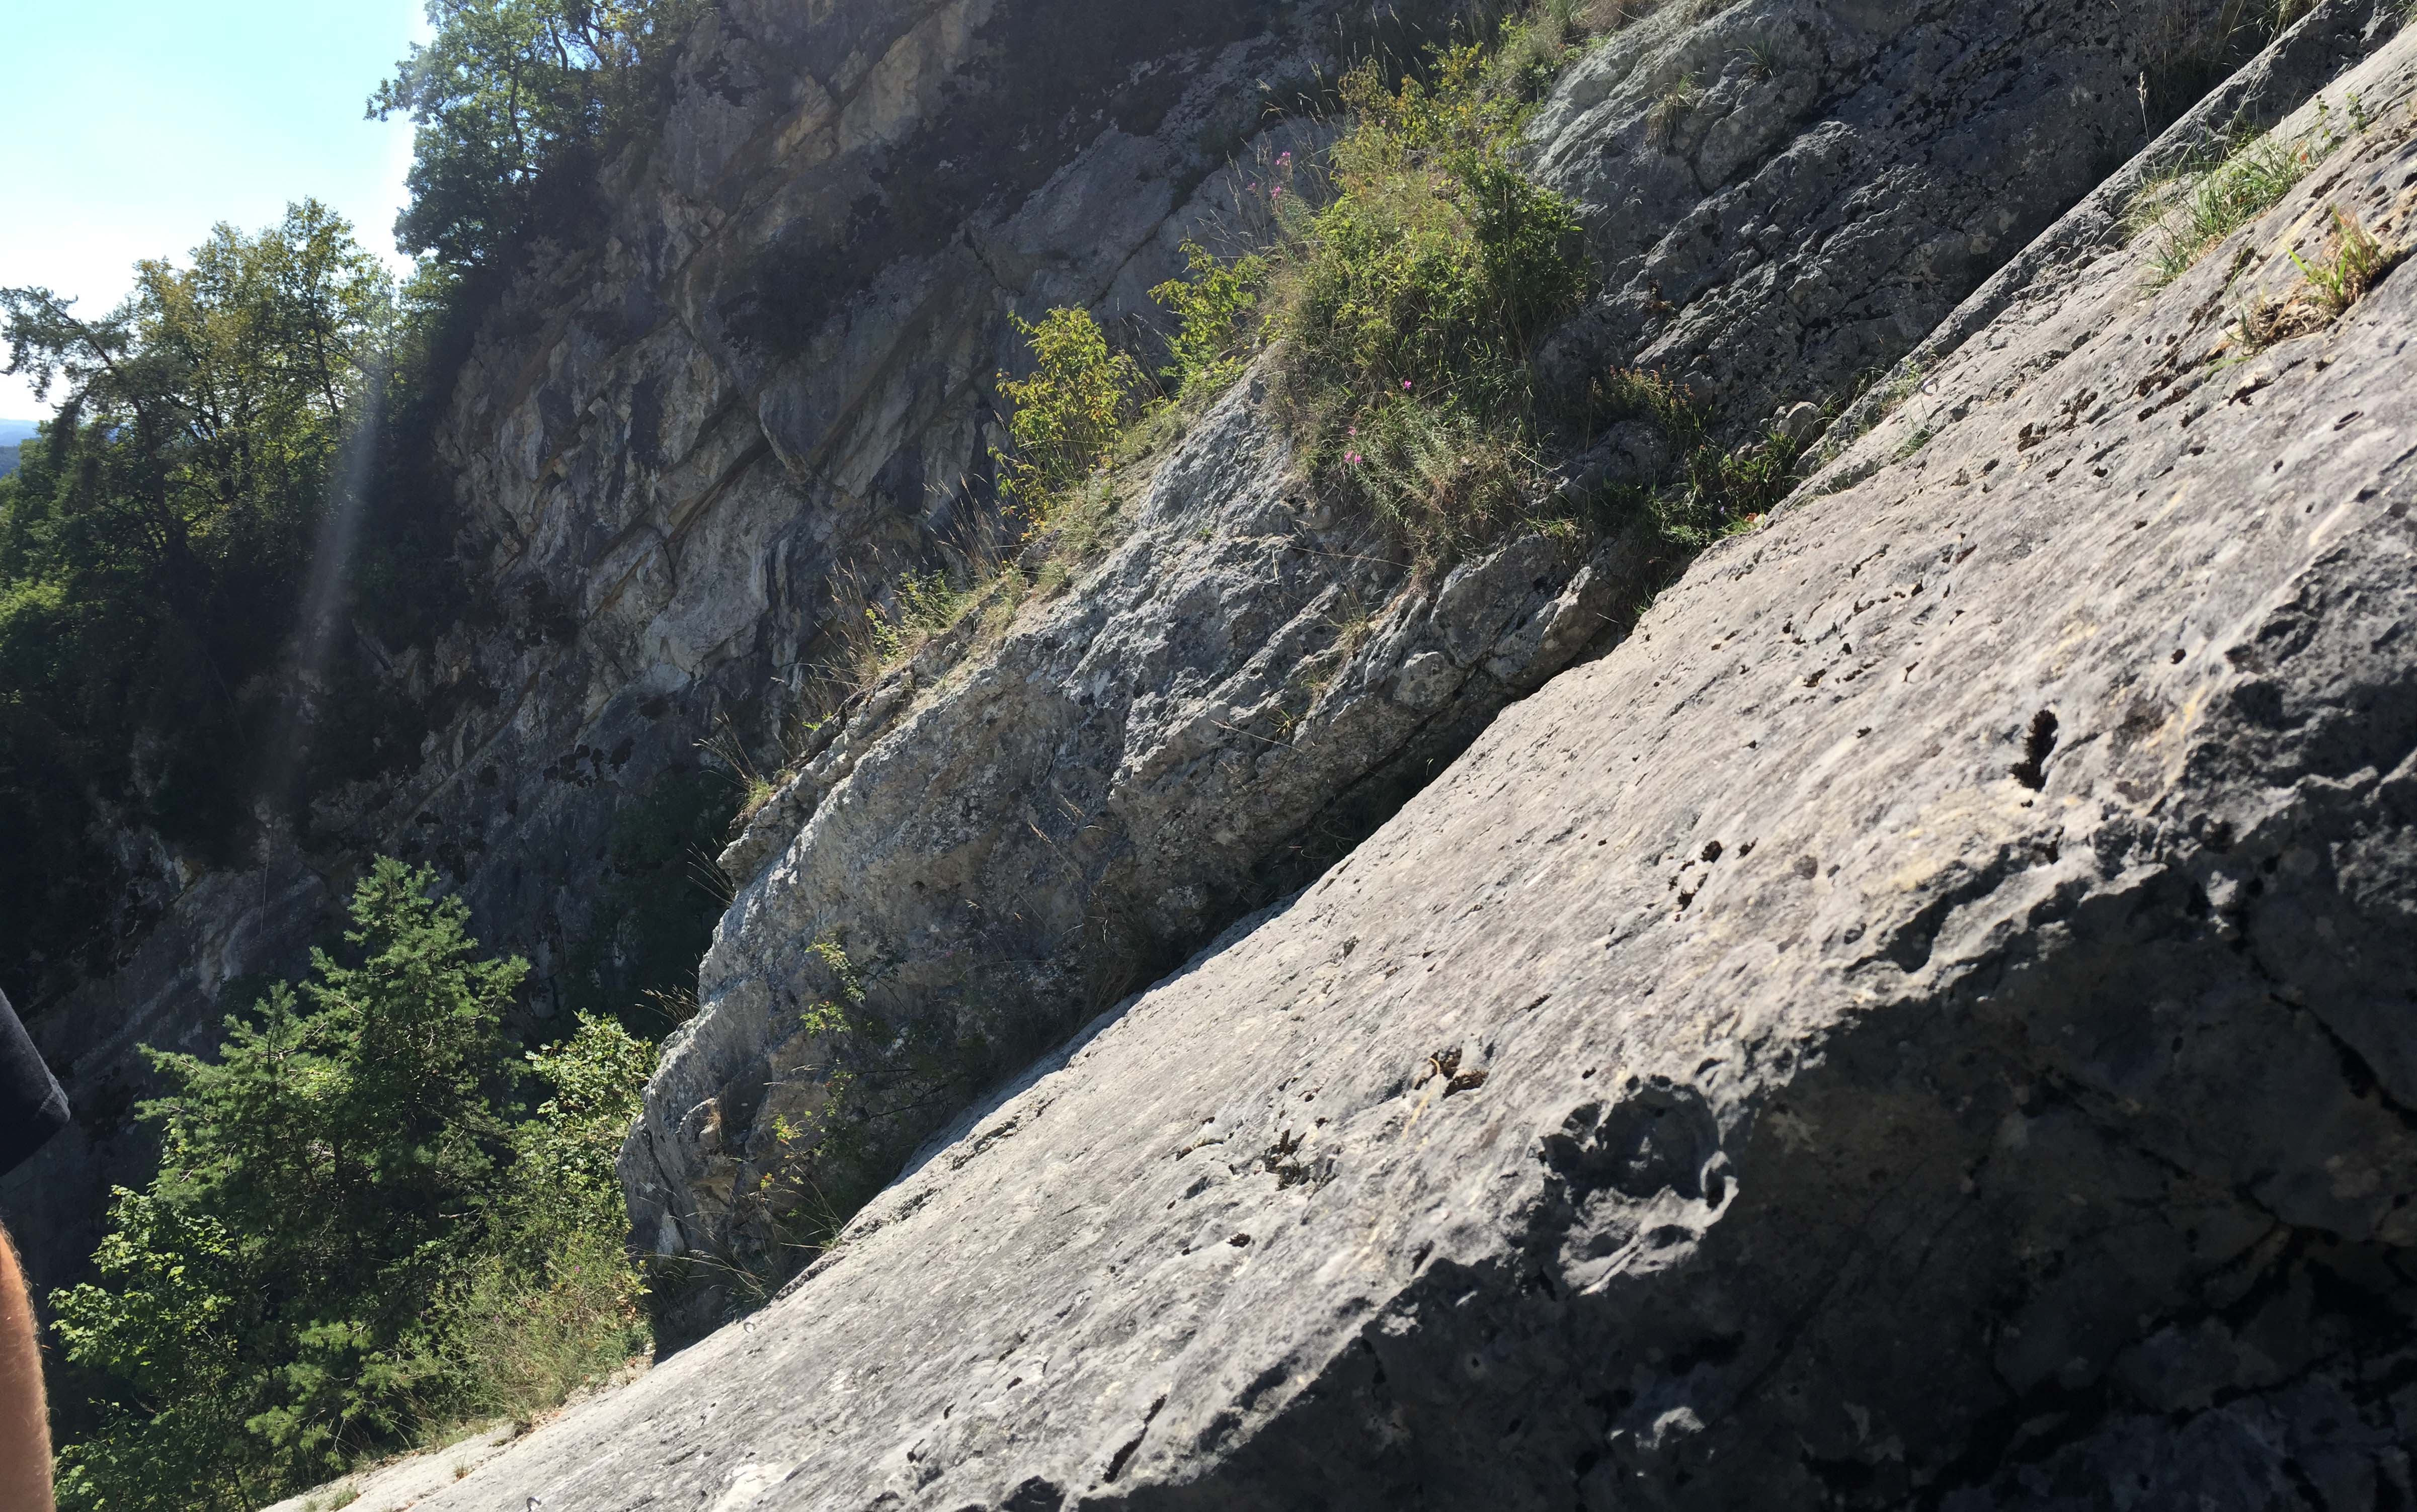 It’s always really hard to show the grade, because the incline feels so steep when you are on it, but shows up flat in photos. This part below was pretty steep and really scared me the first time we did it.
 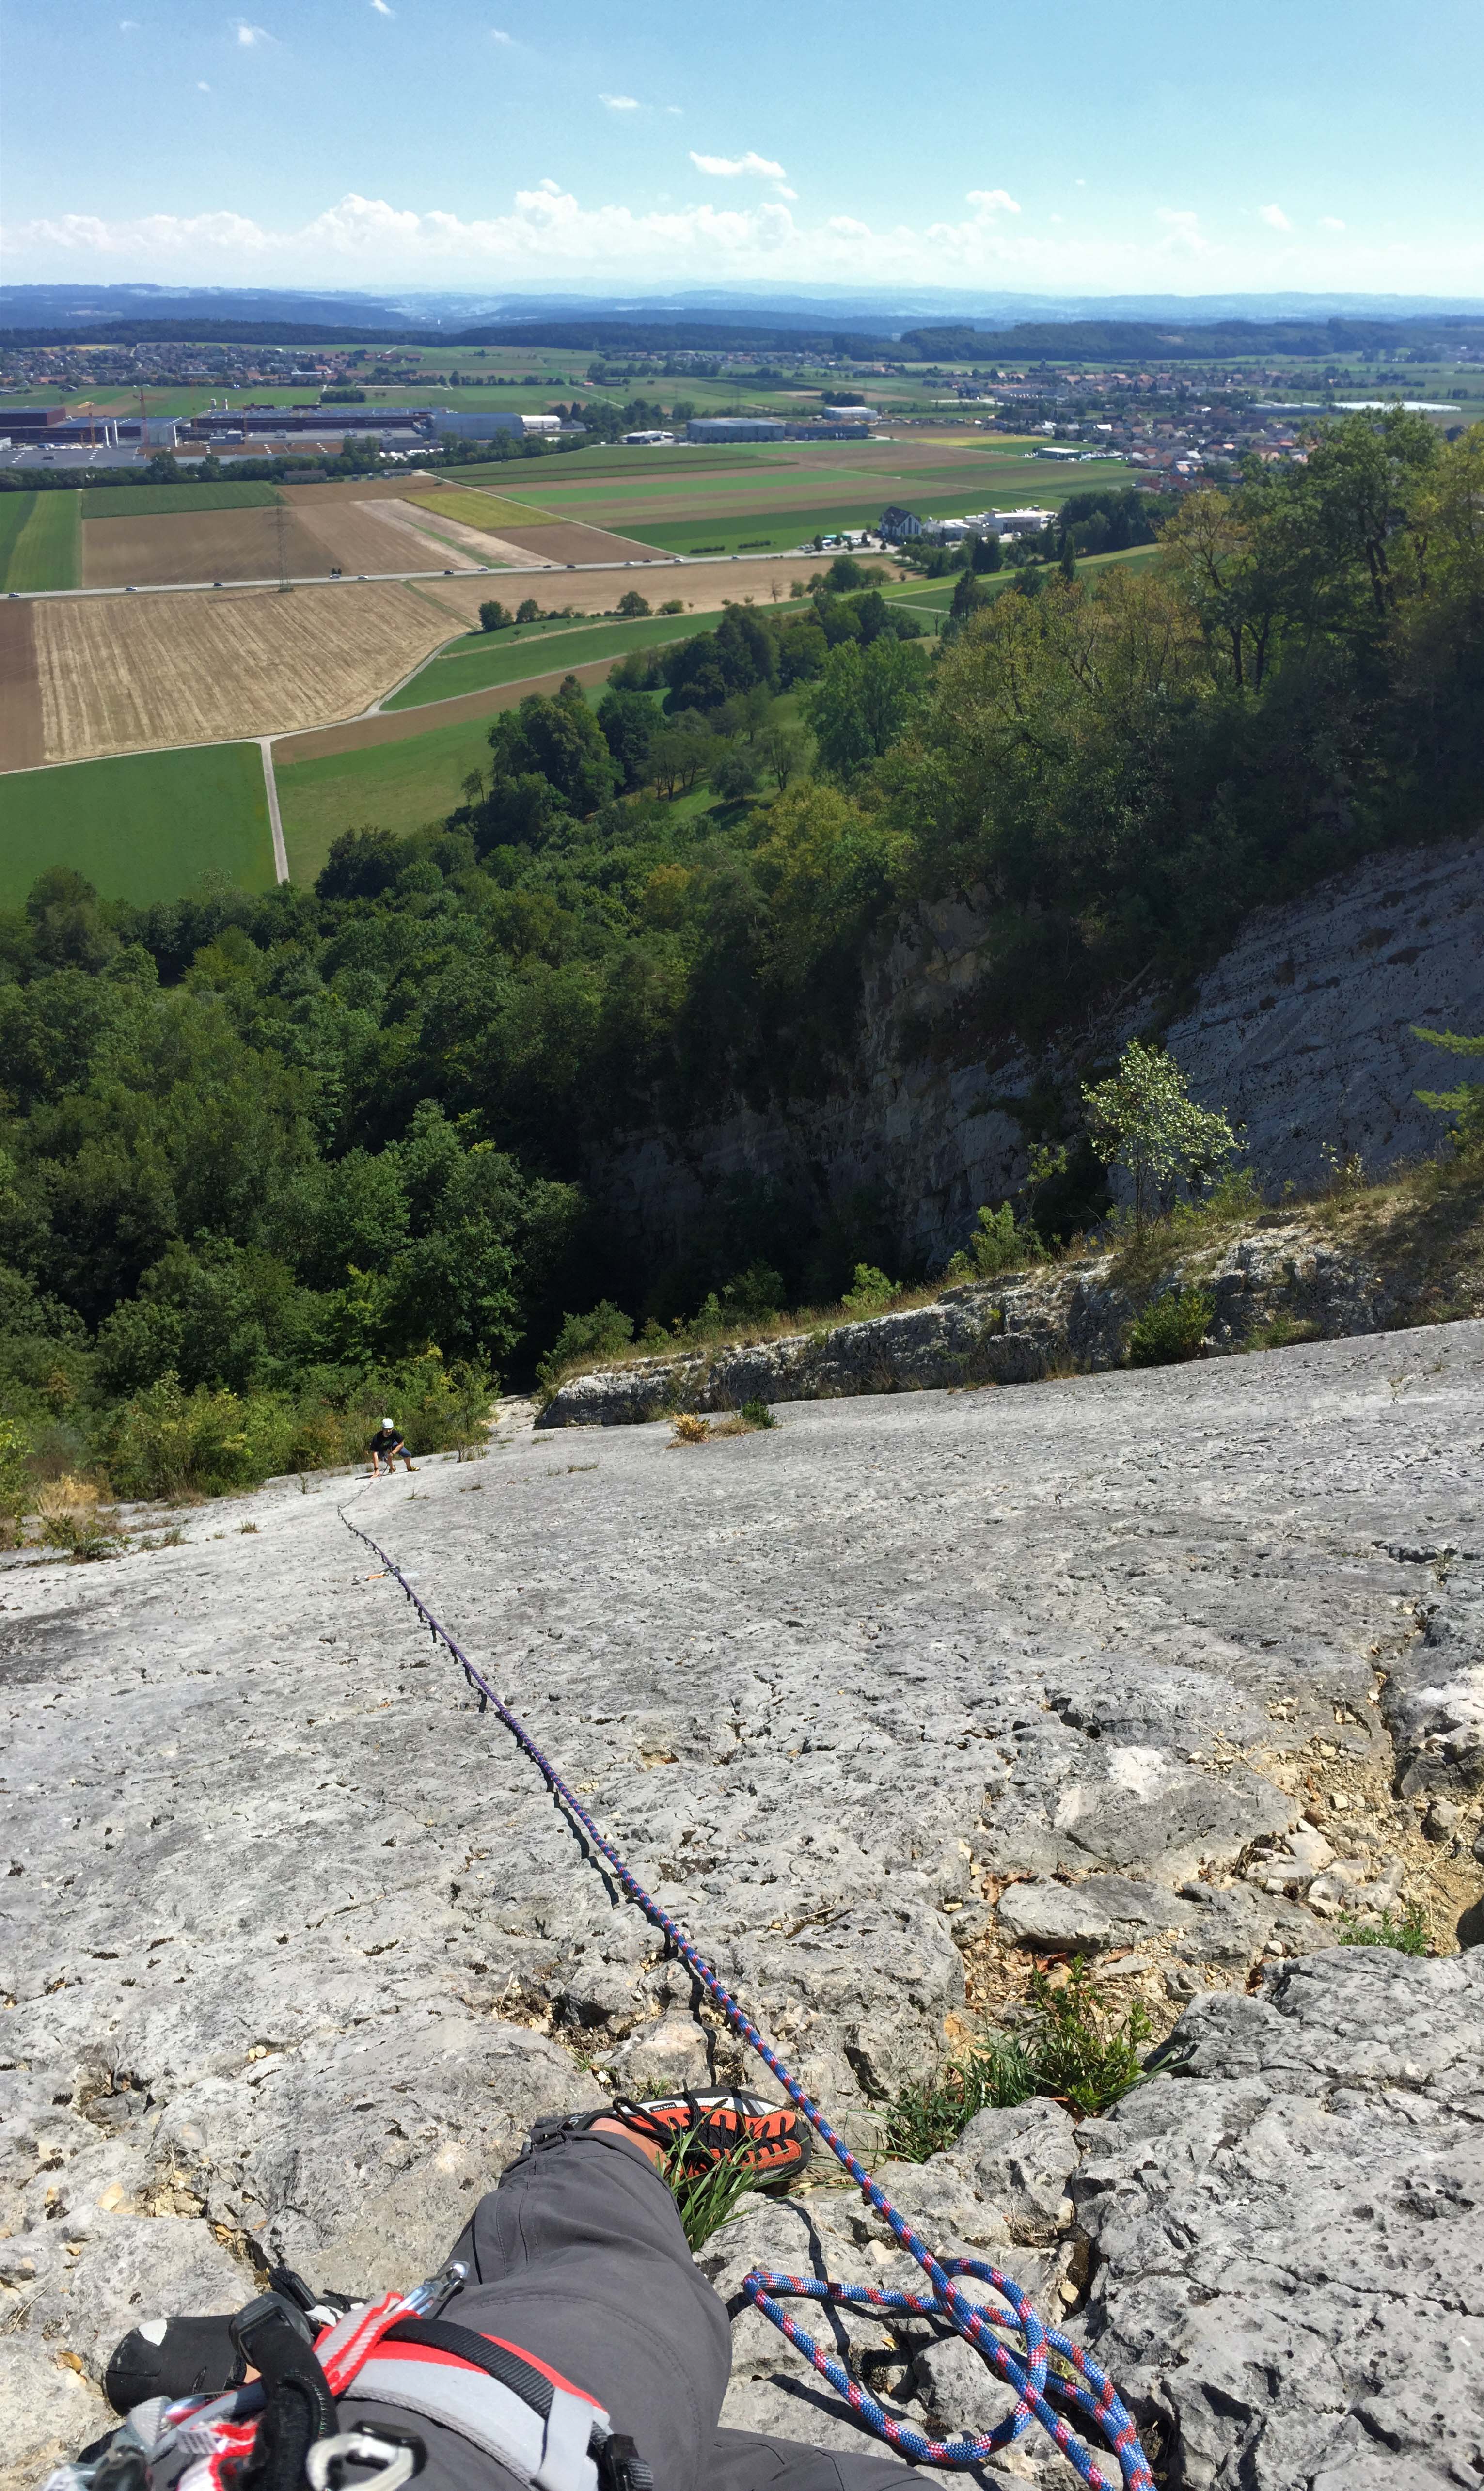 This time, it was pretty painful because both Kay and I were getting killer blisters in our shoes and dealing with very painful feet while climbing.
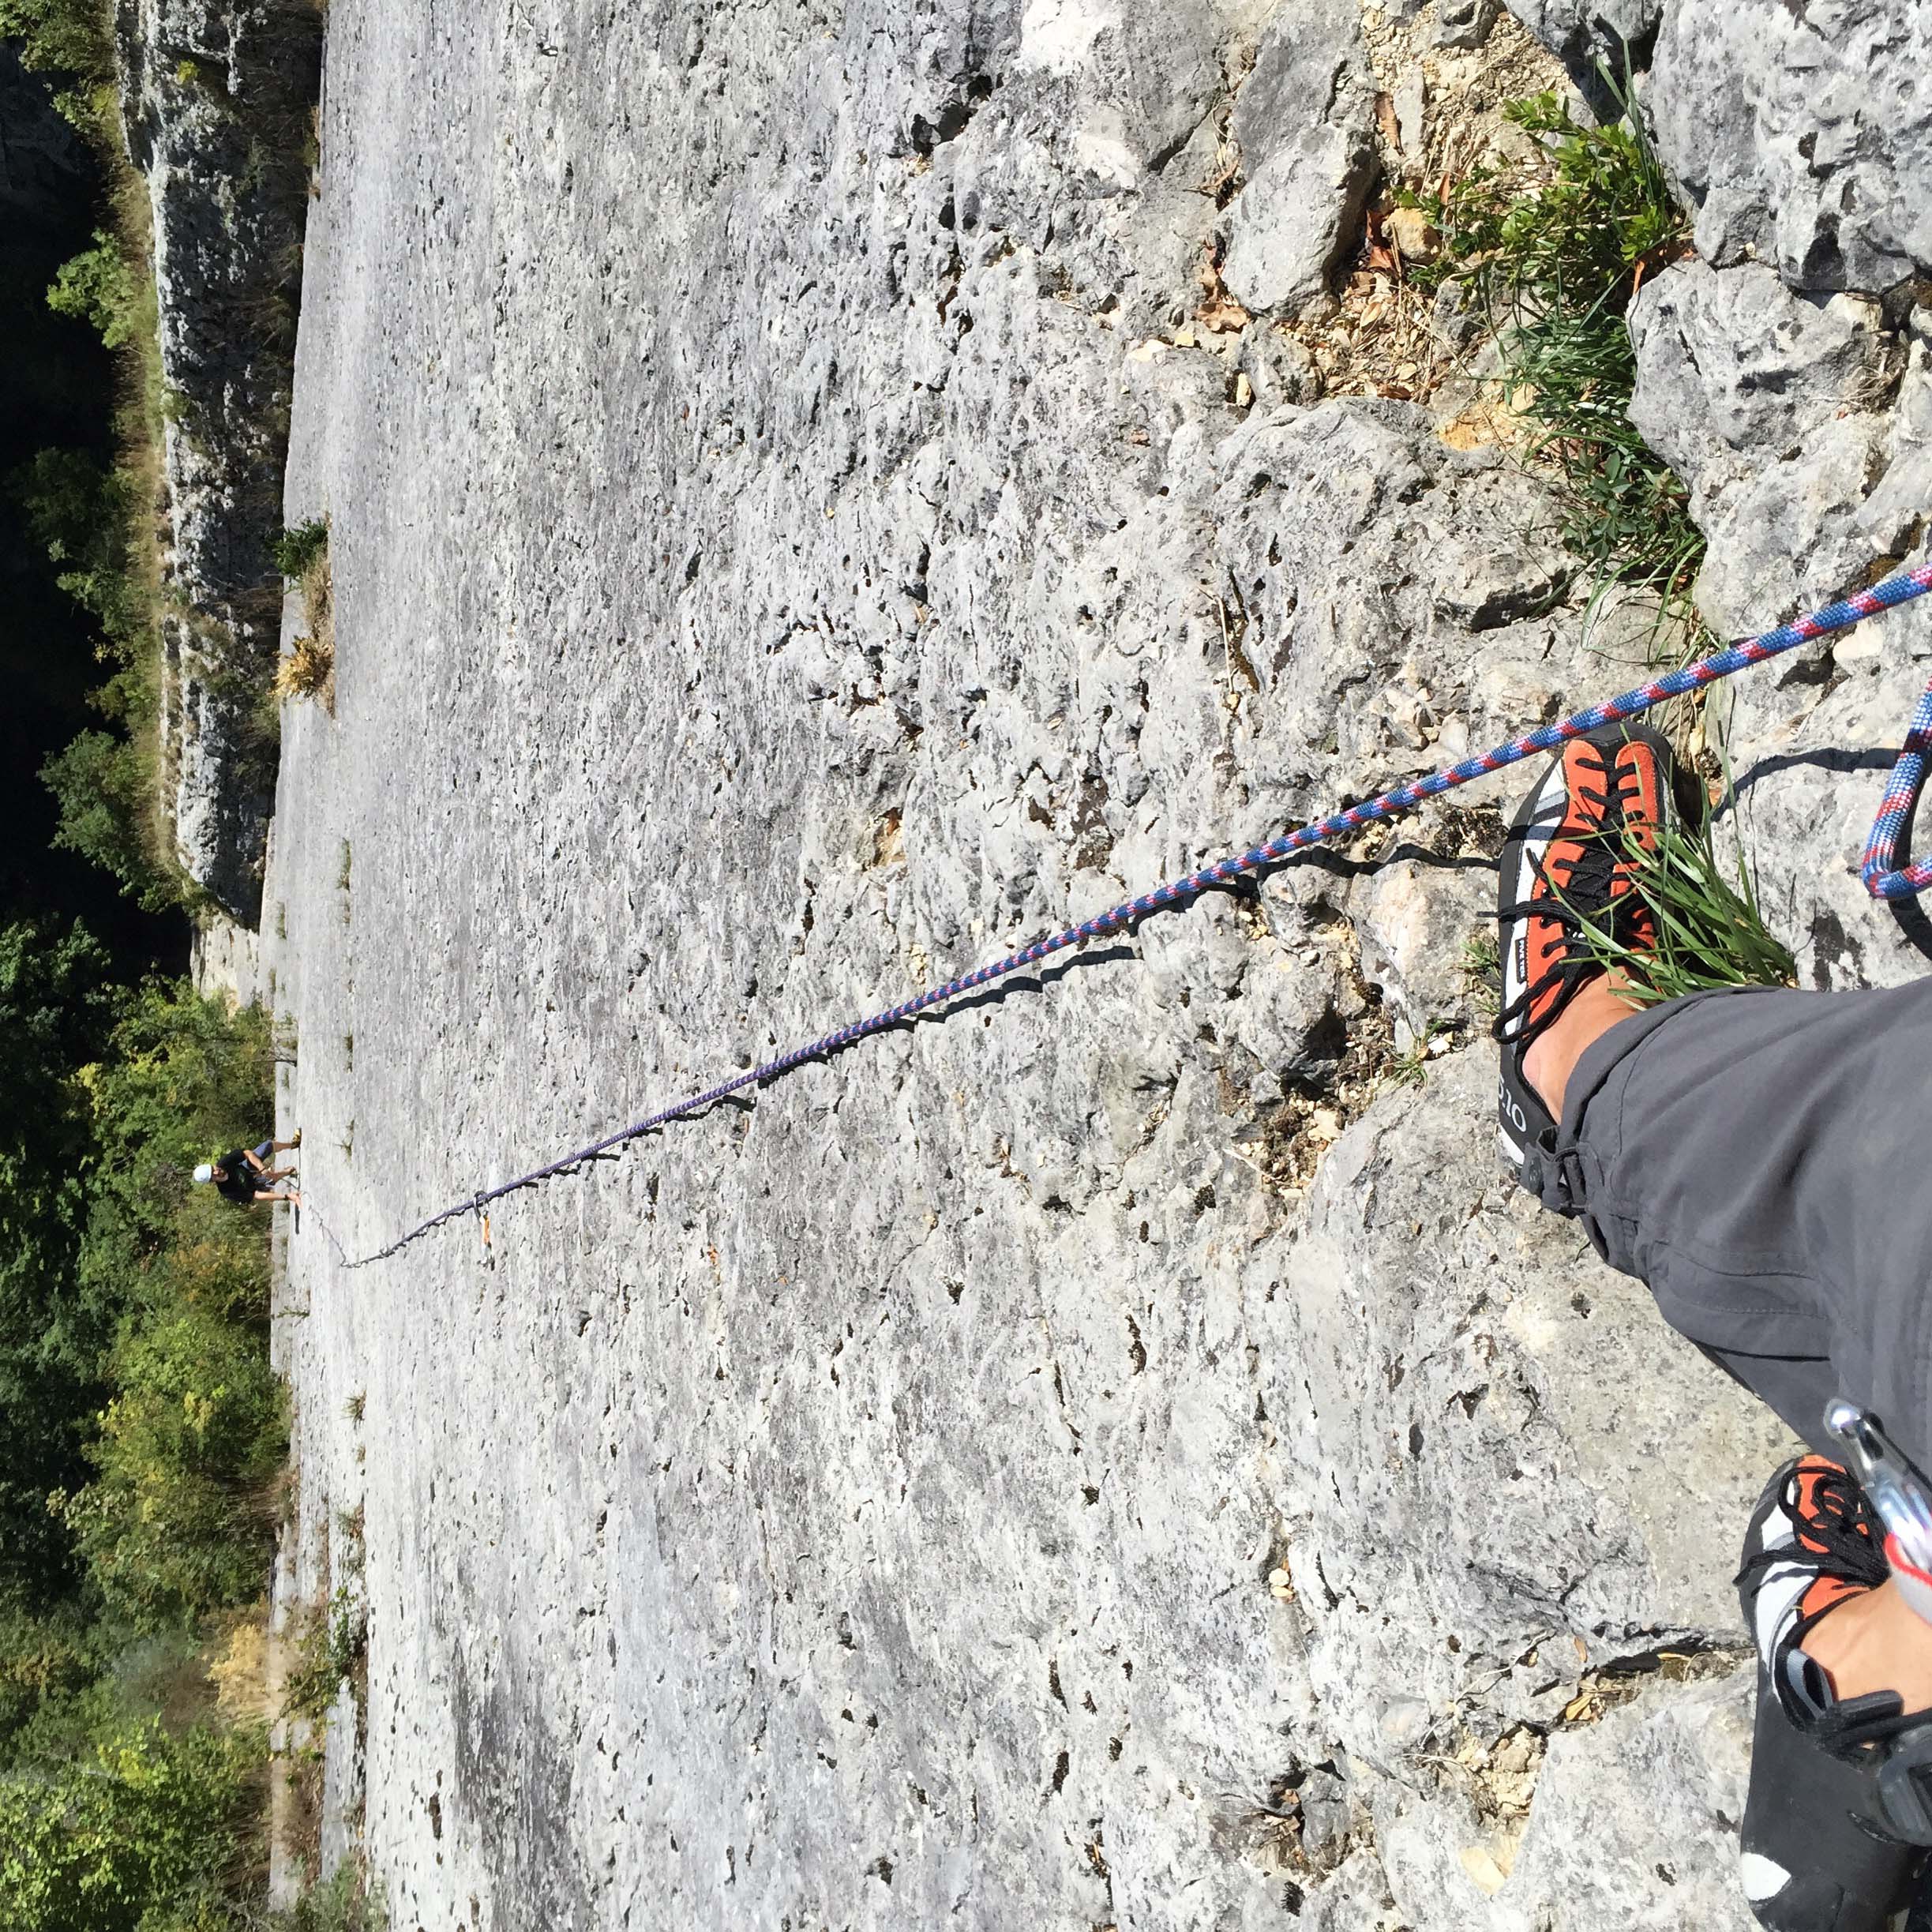
 The view at the top was pretty nice. 🙂
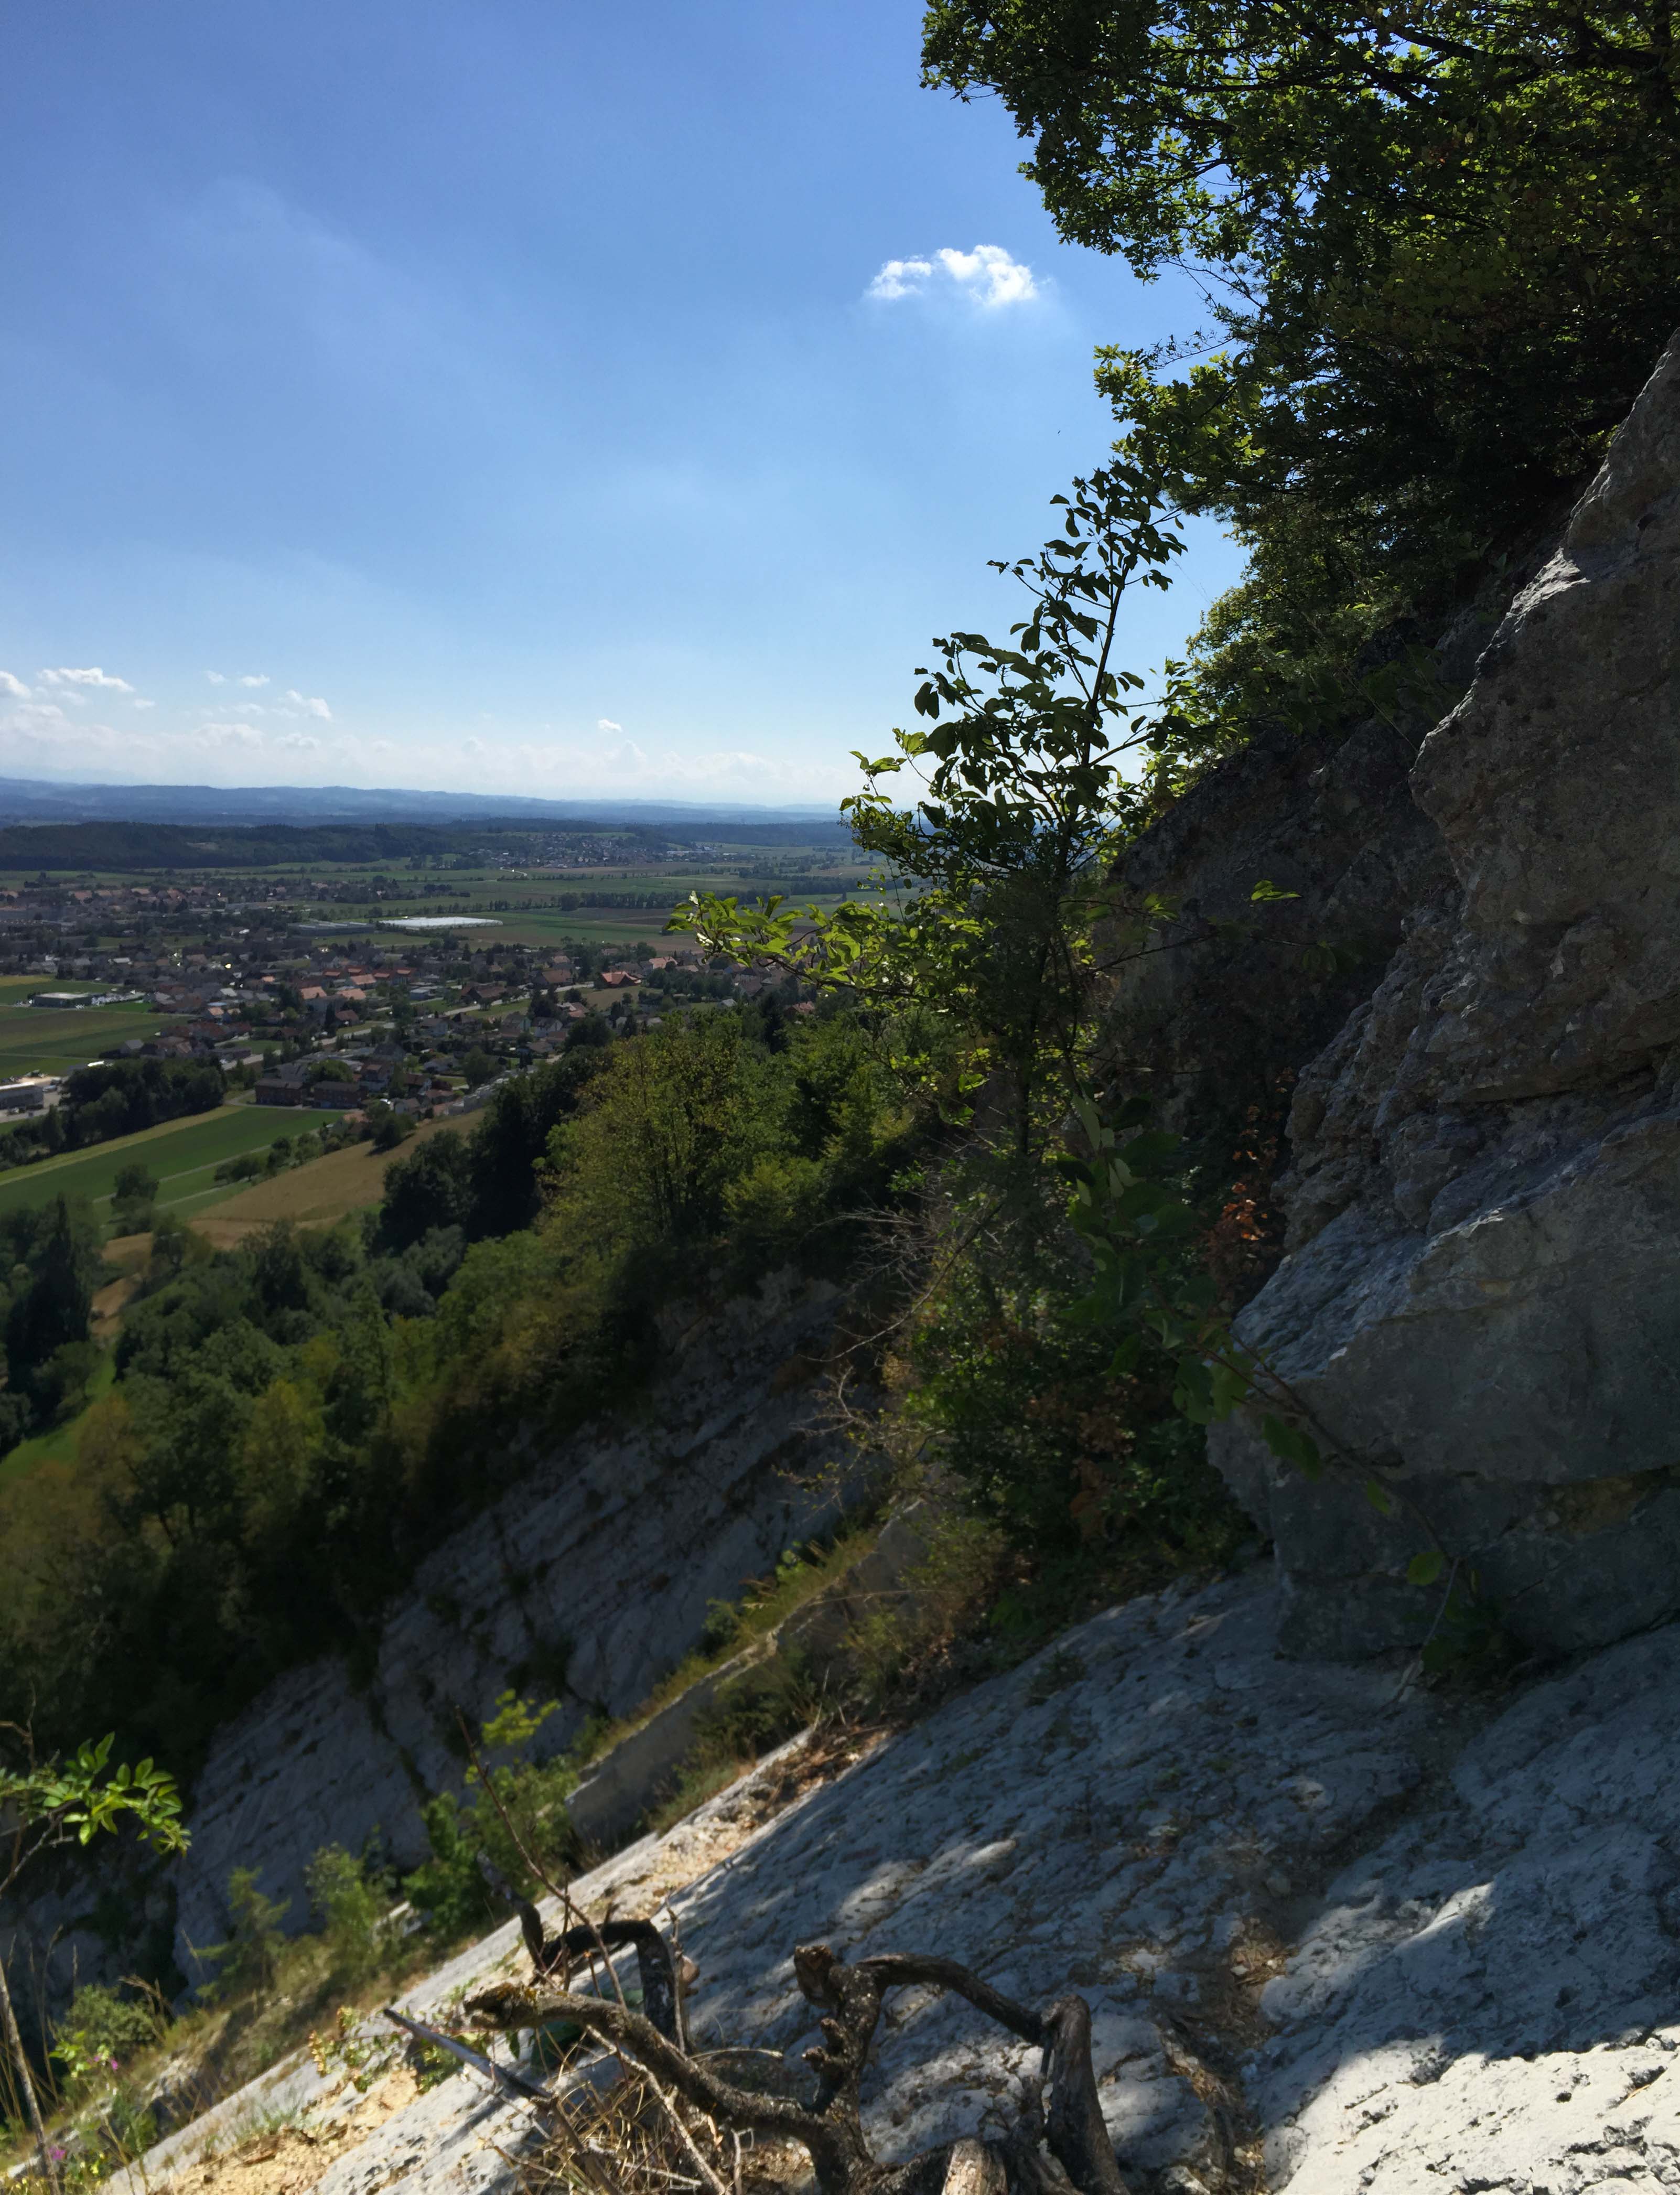 It’s fun to look down on views like this while perched against a rock wall.
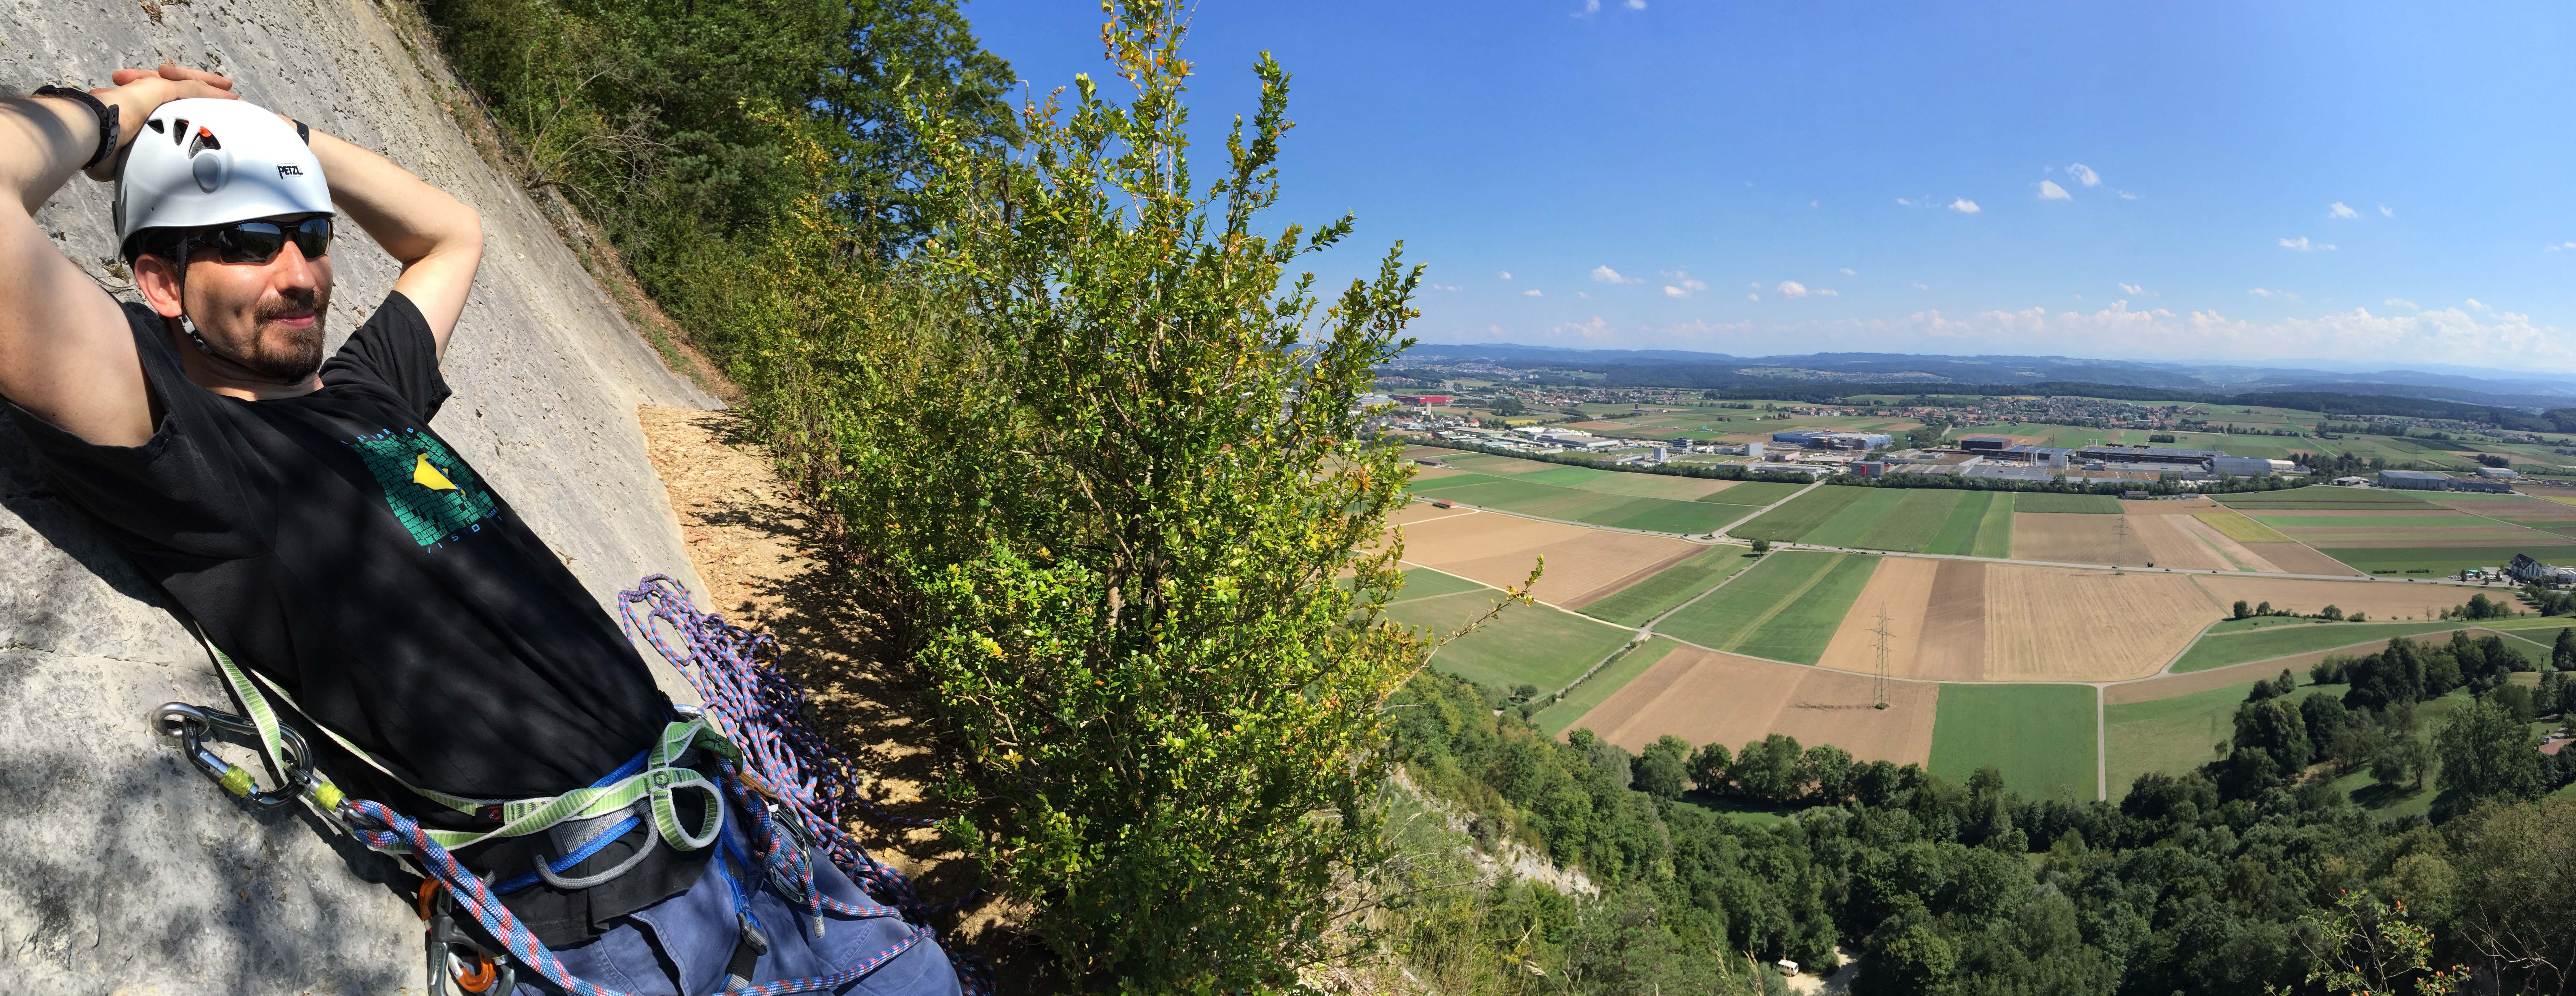
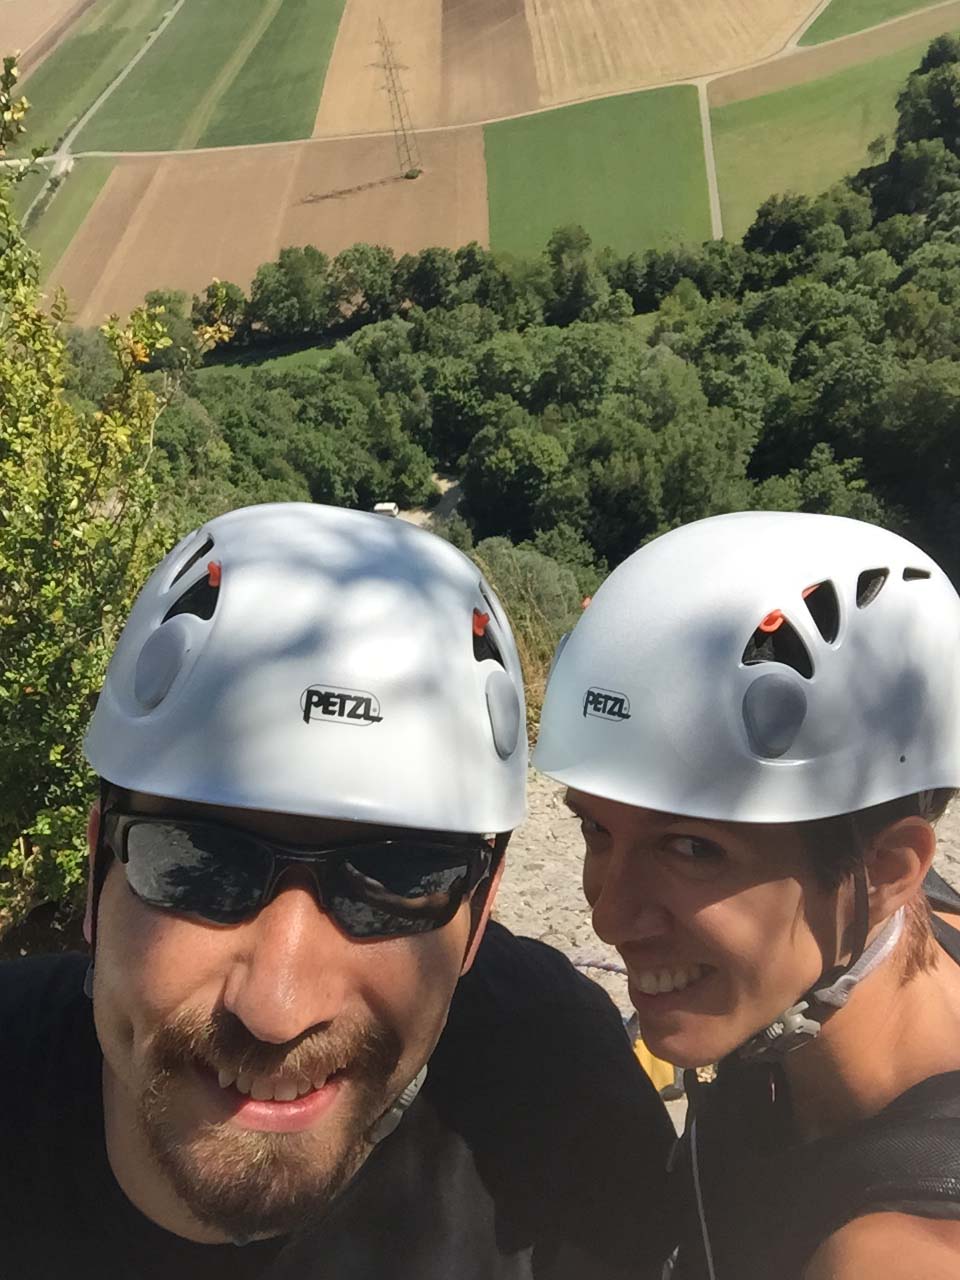 We also tried to take some selfies to show the vertical drop. Not that successful.
 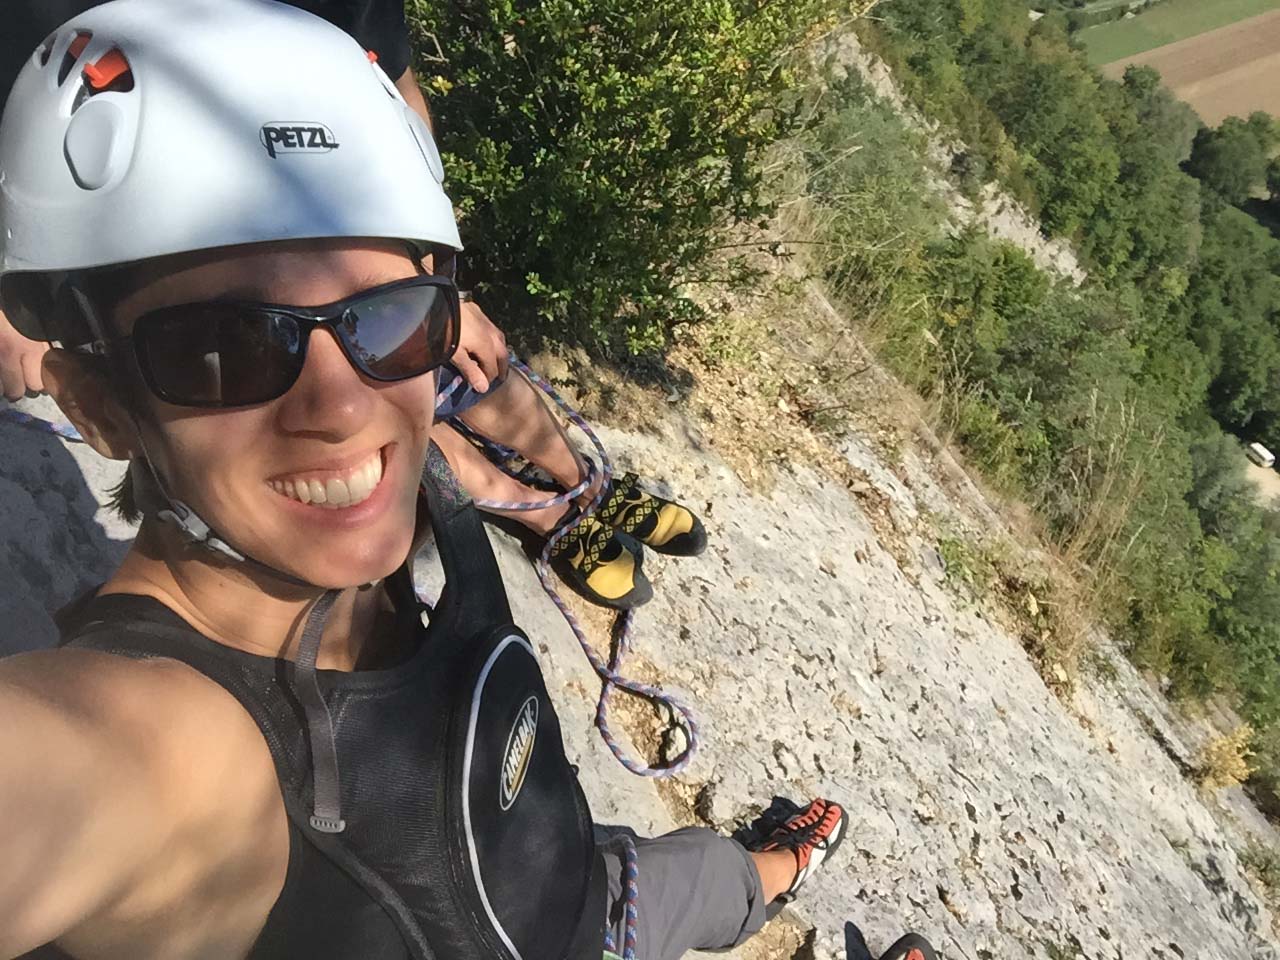 Kay started packing up the rope and then we began the long descent down.
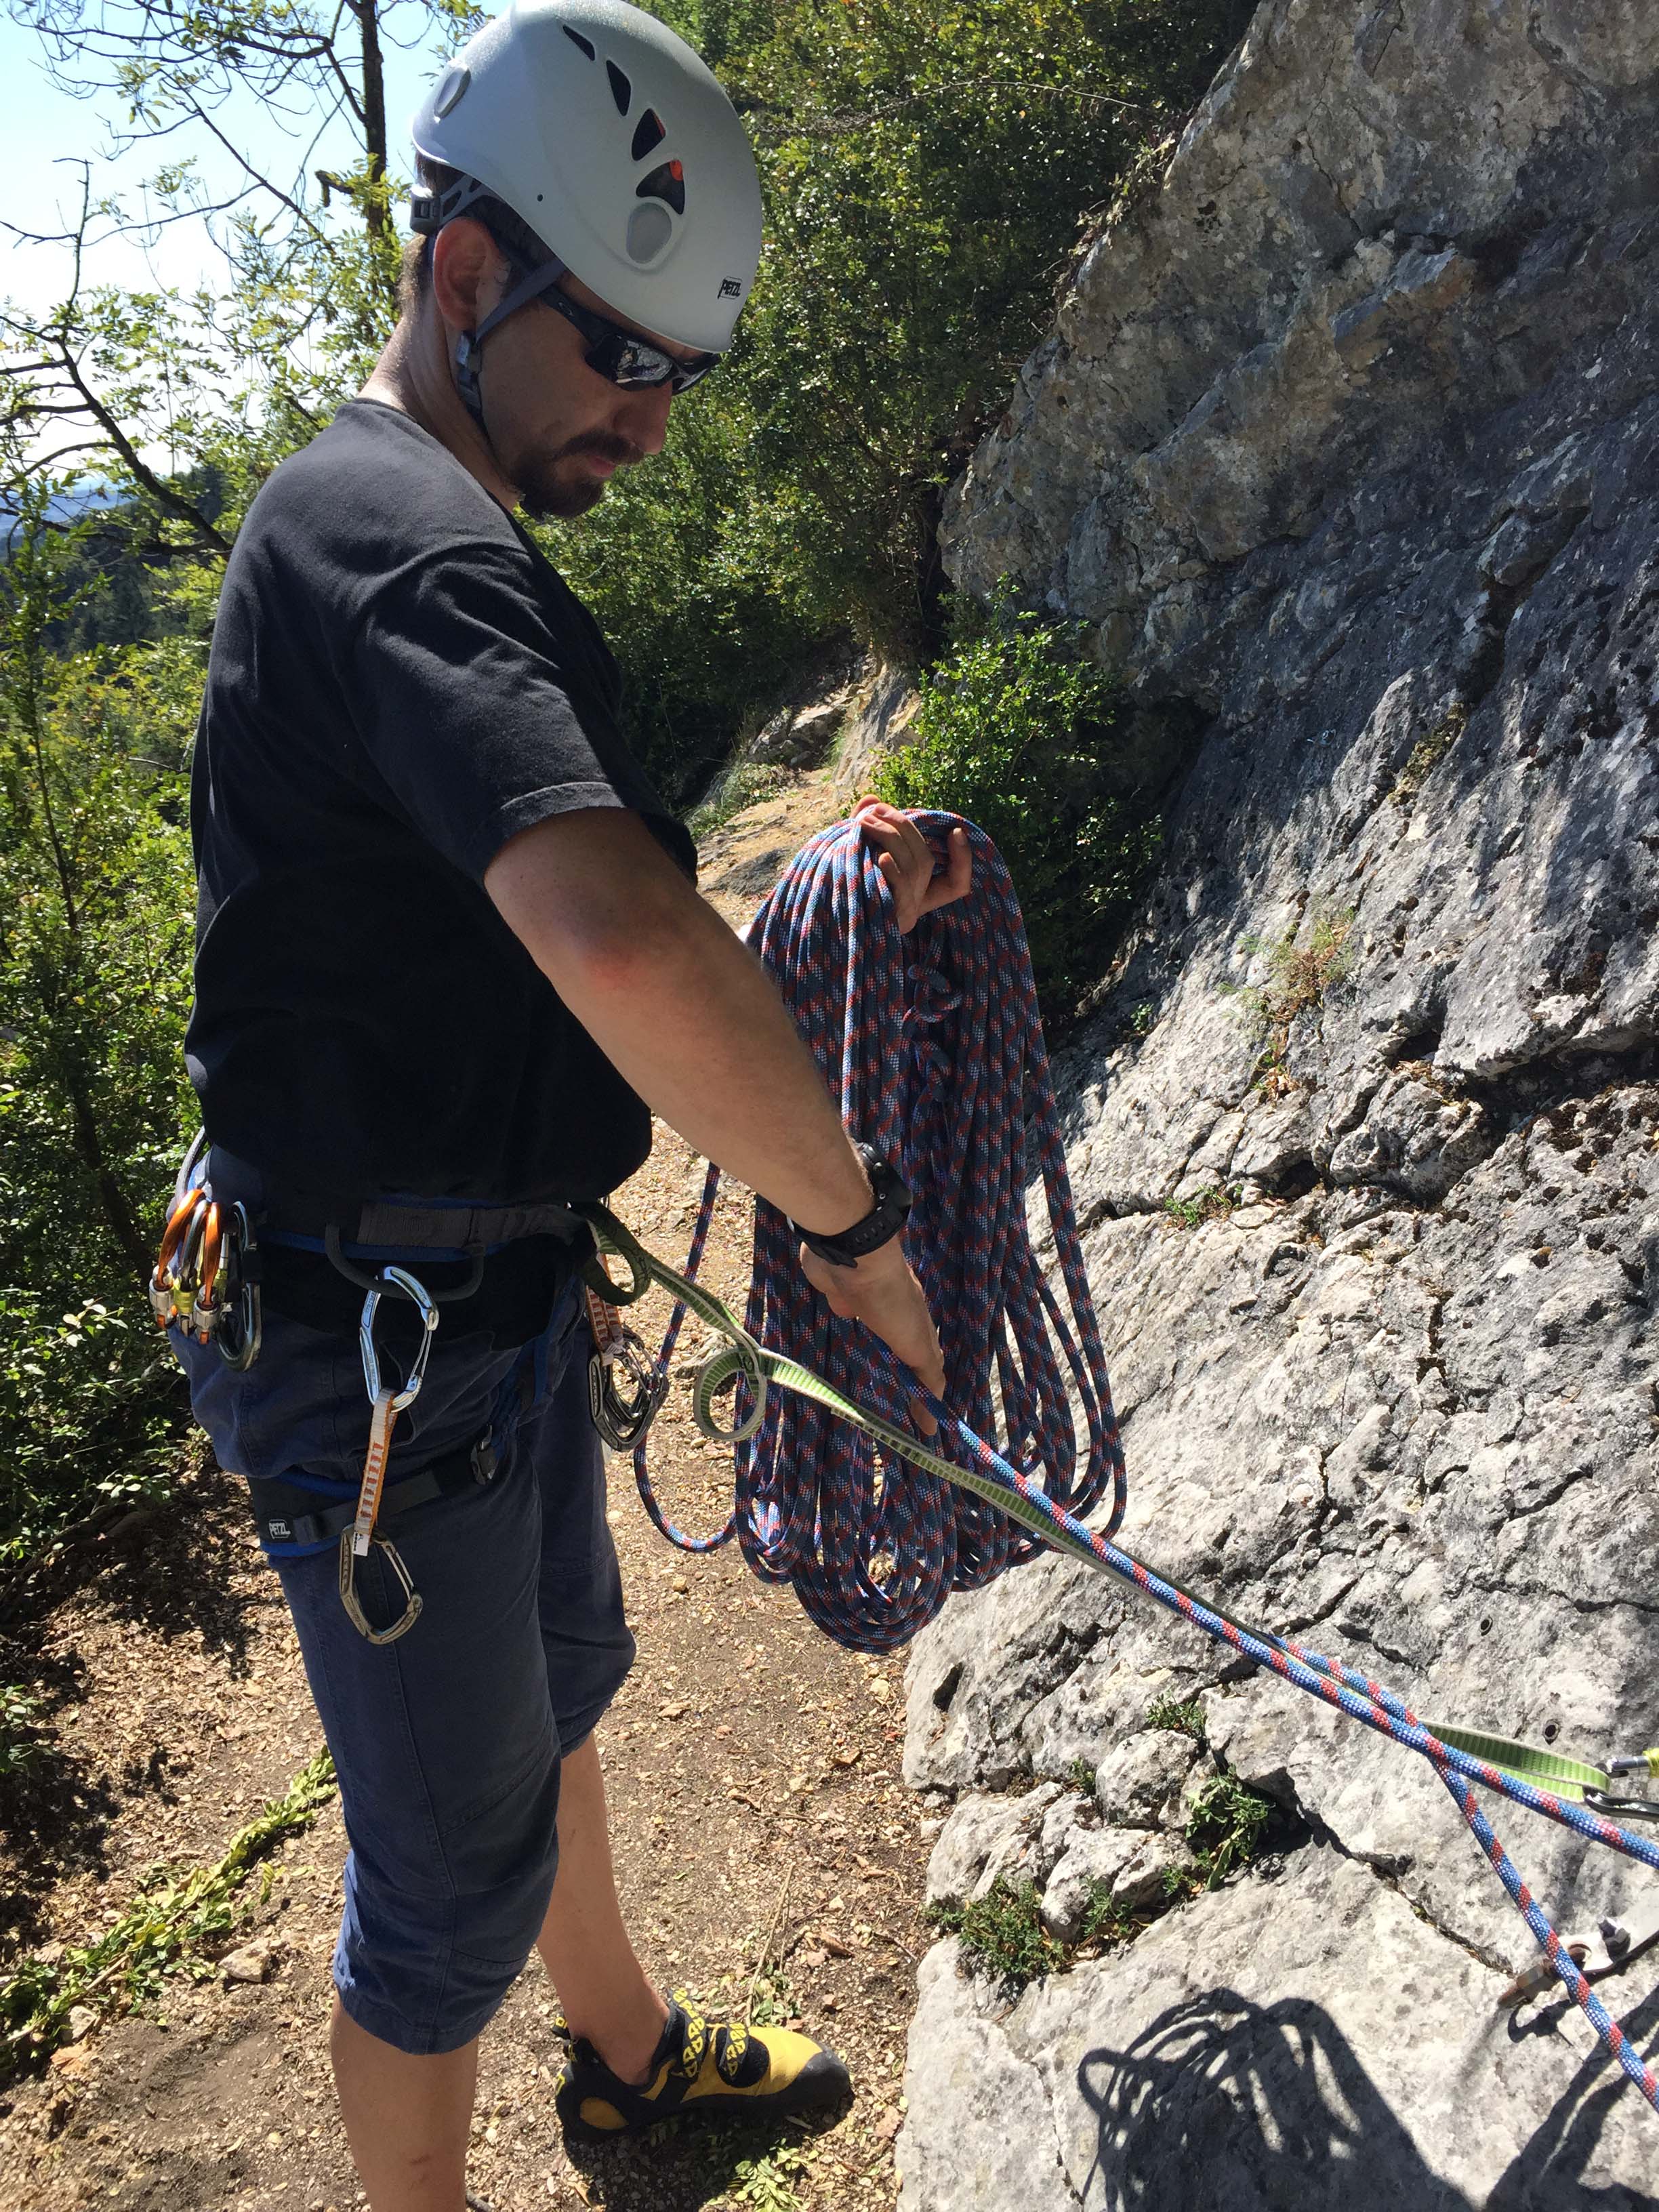 Throwing the rope out.
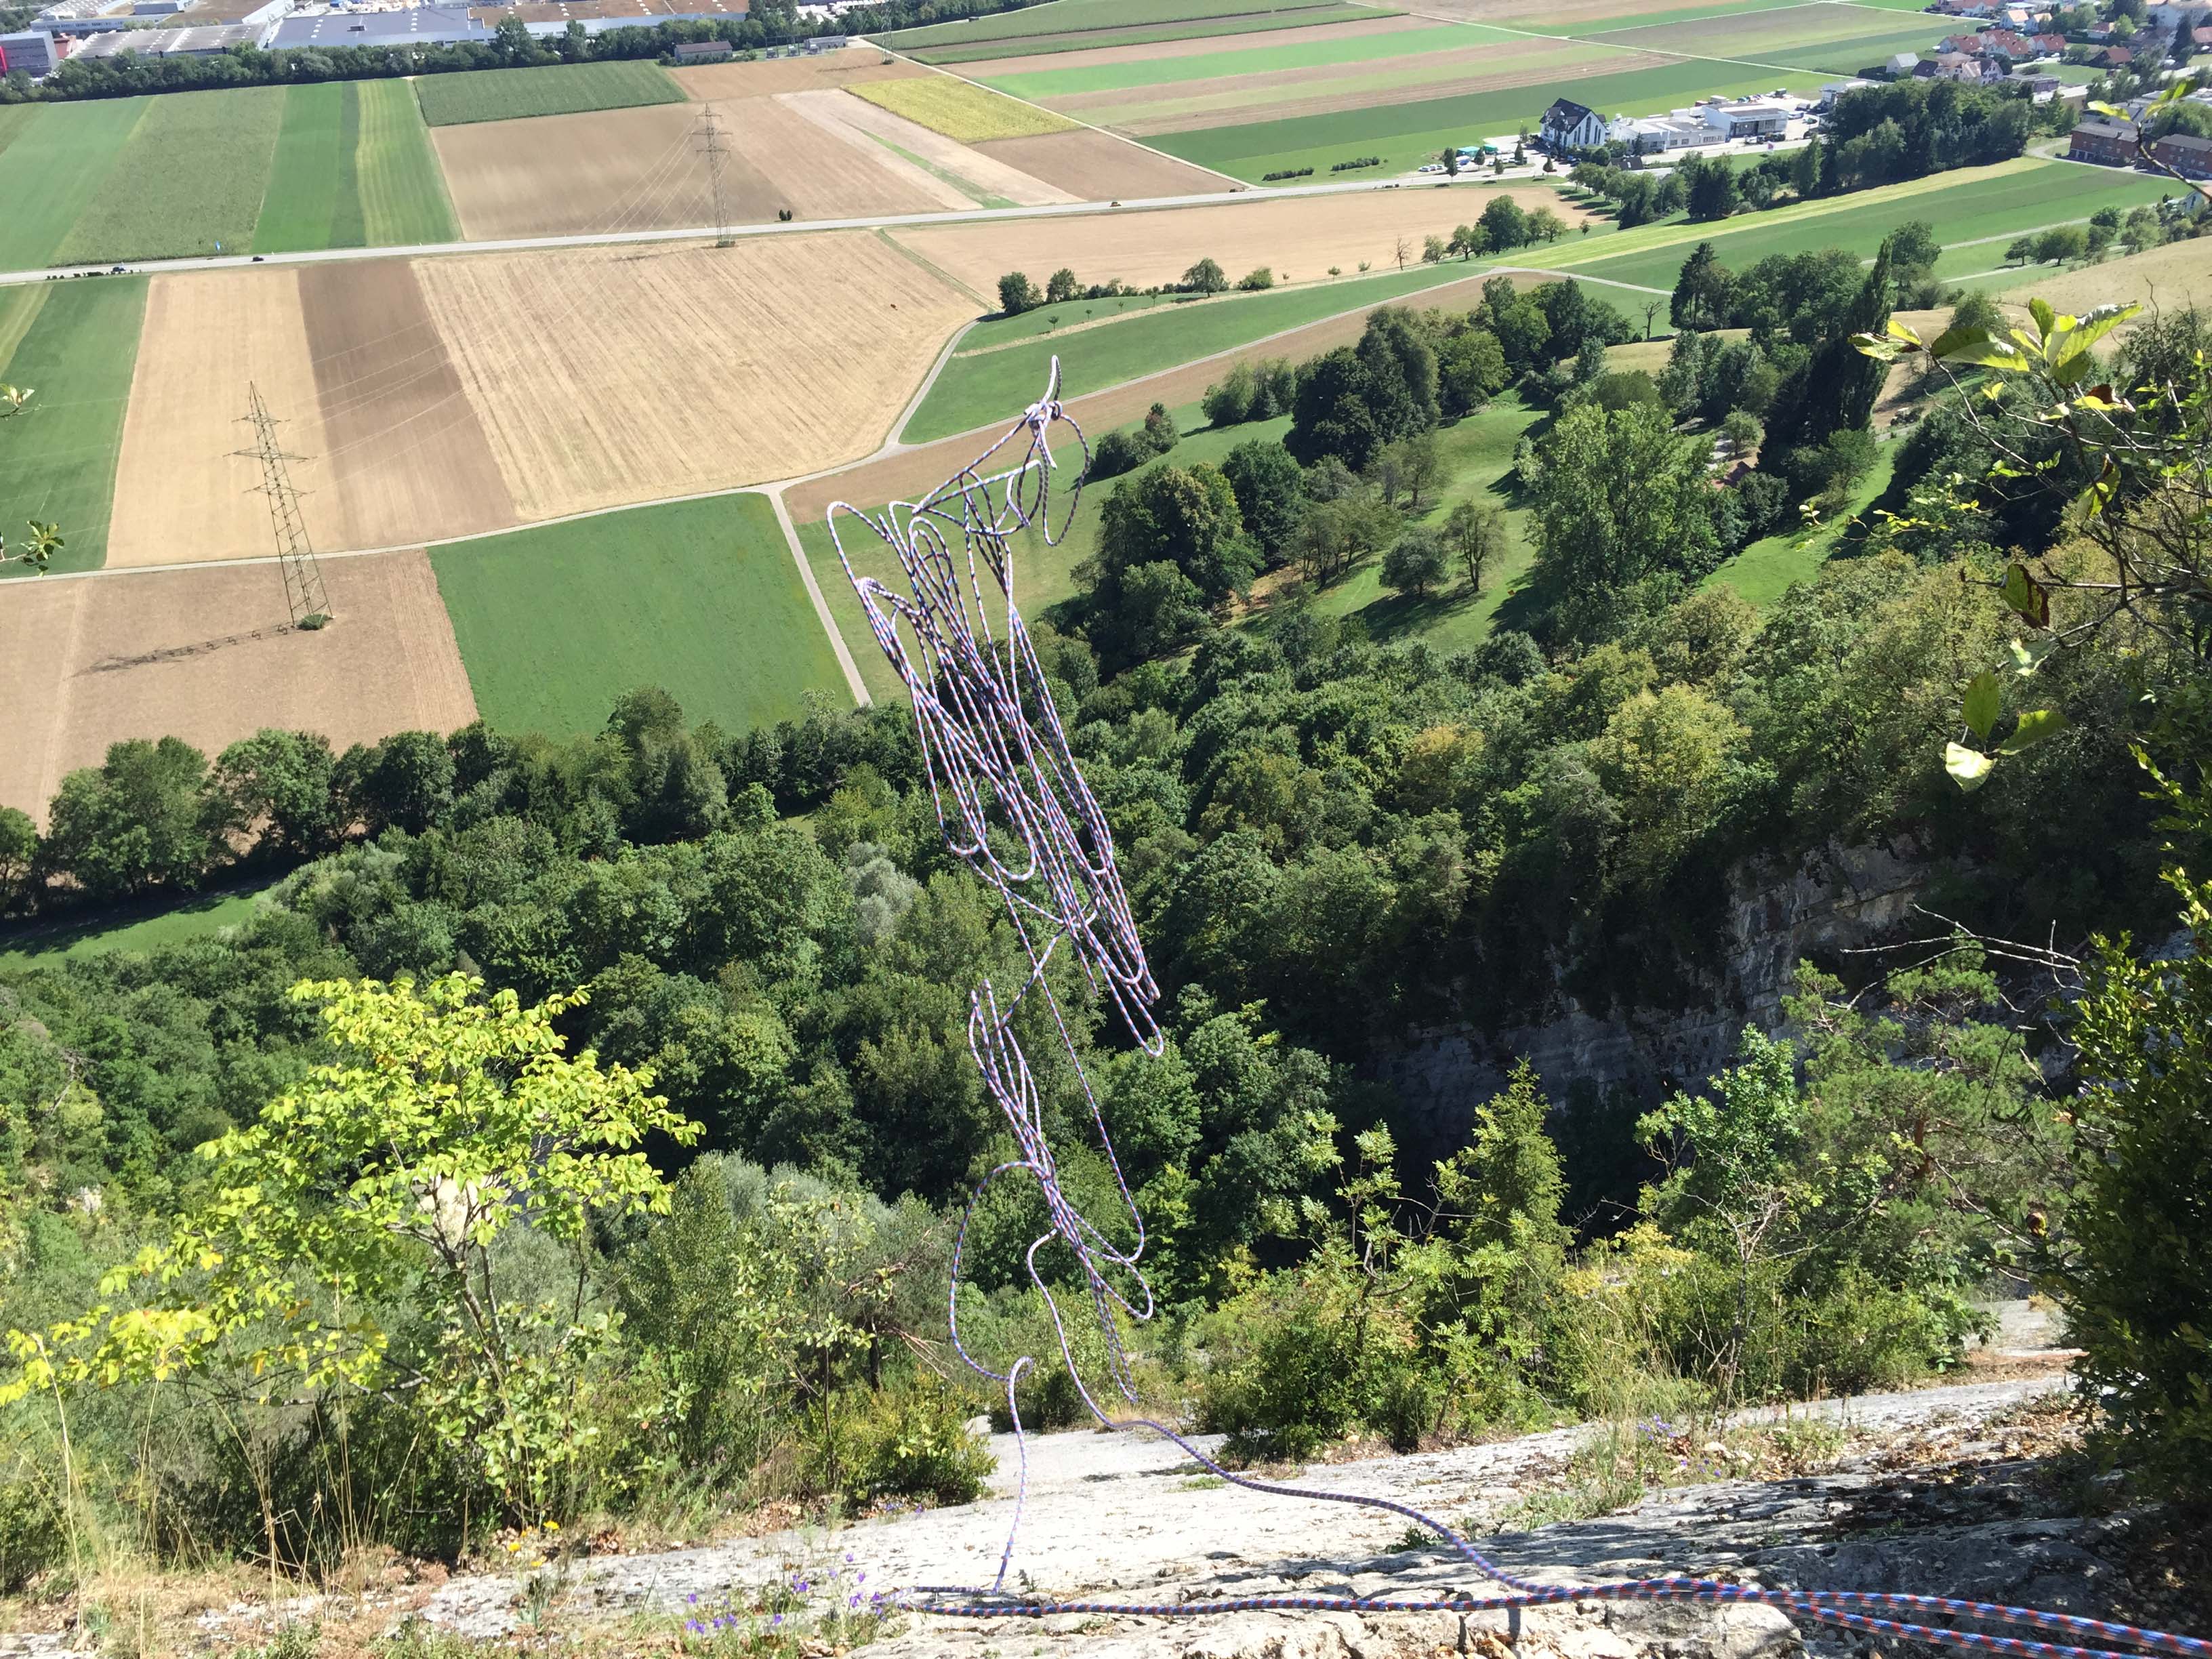 It actually took way longer to abseil down than climb up because on the way up we climbed using the full length of the rope attached to one another, and with abseiling, we could only use the half length of the rope, one at a time.
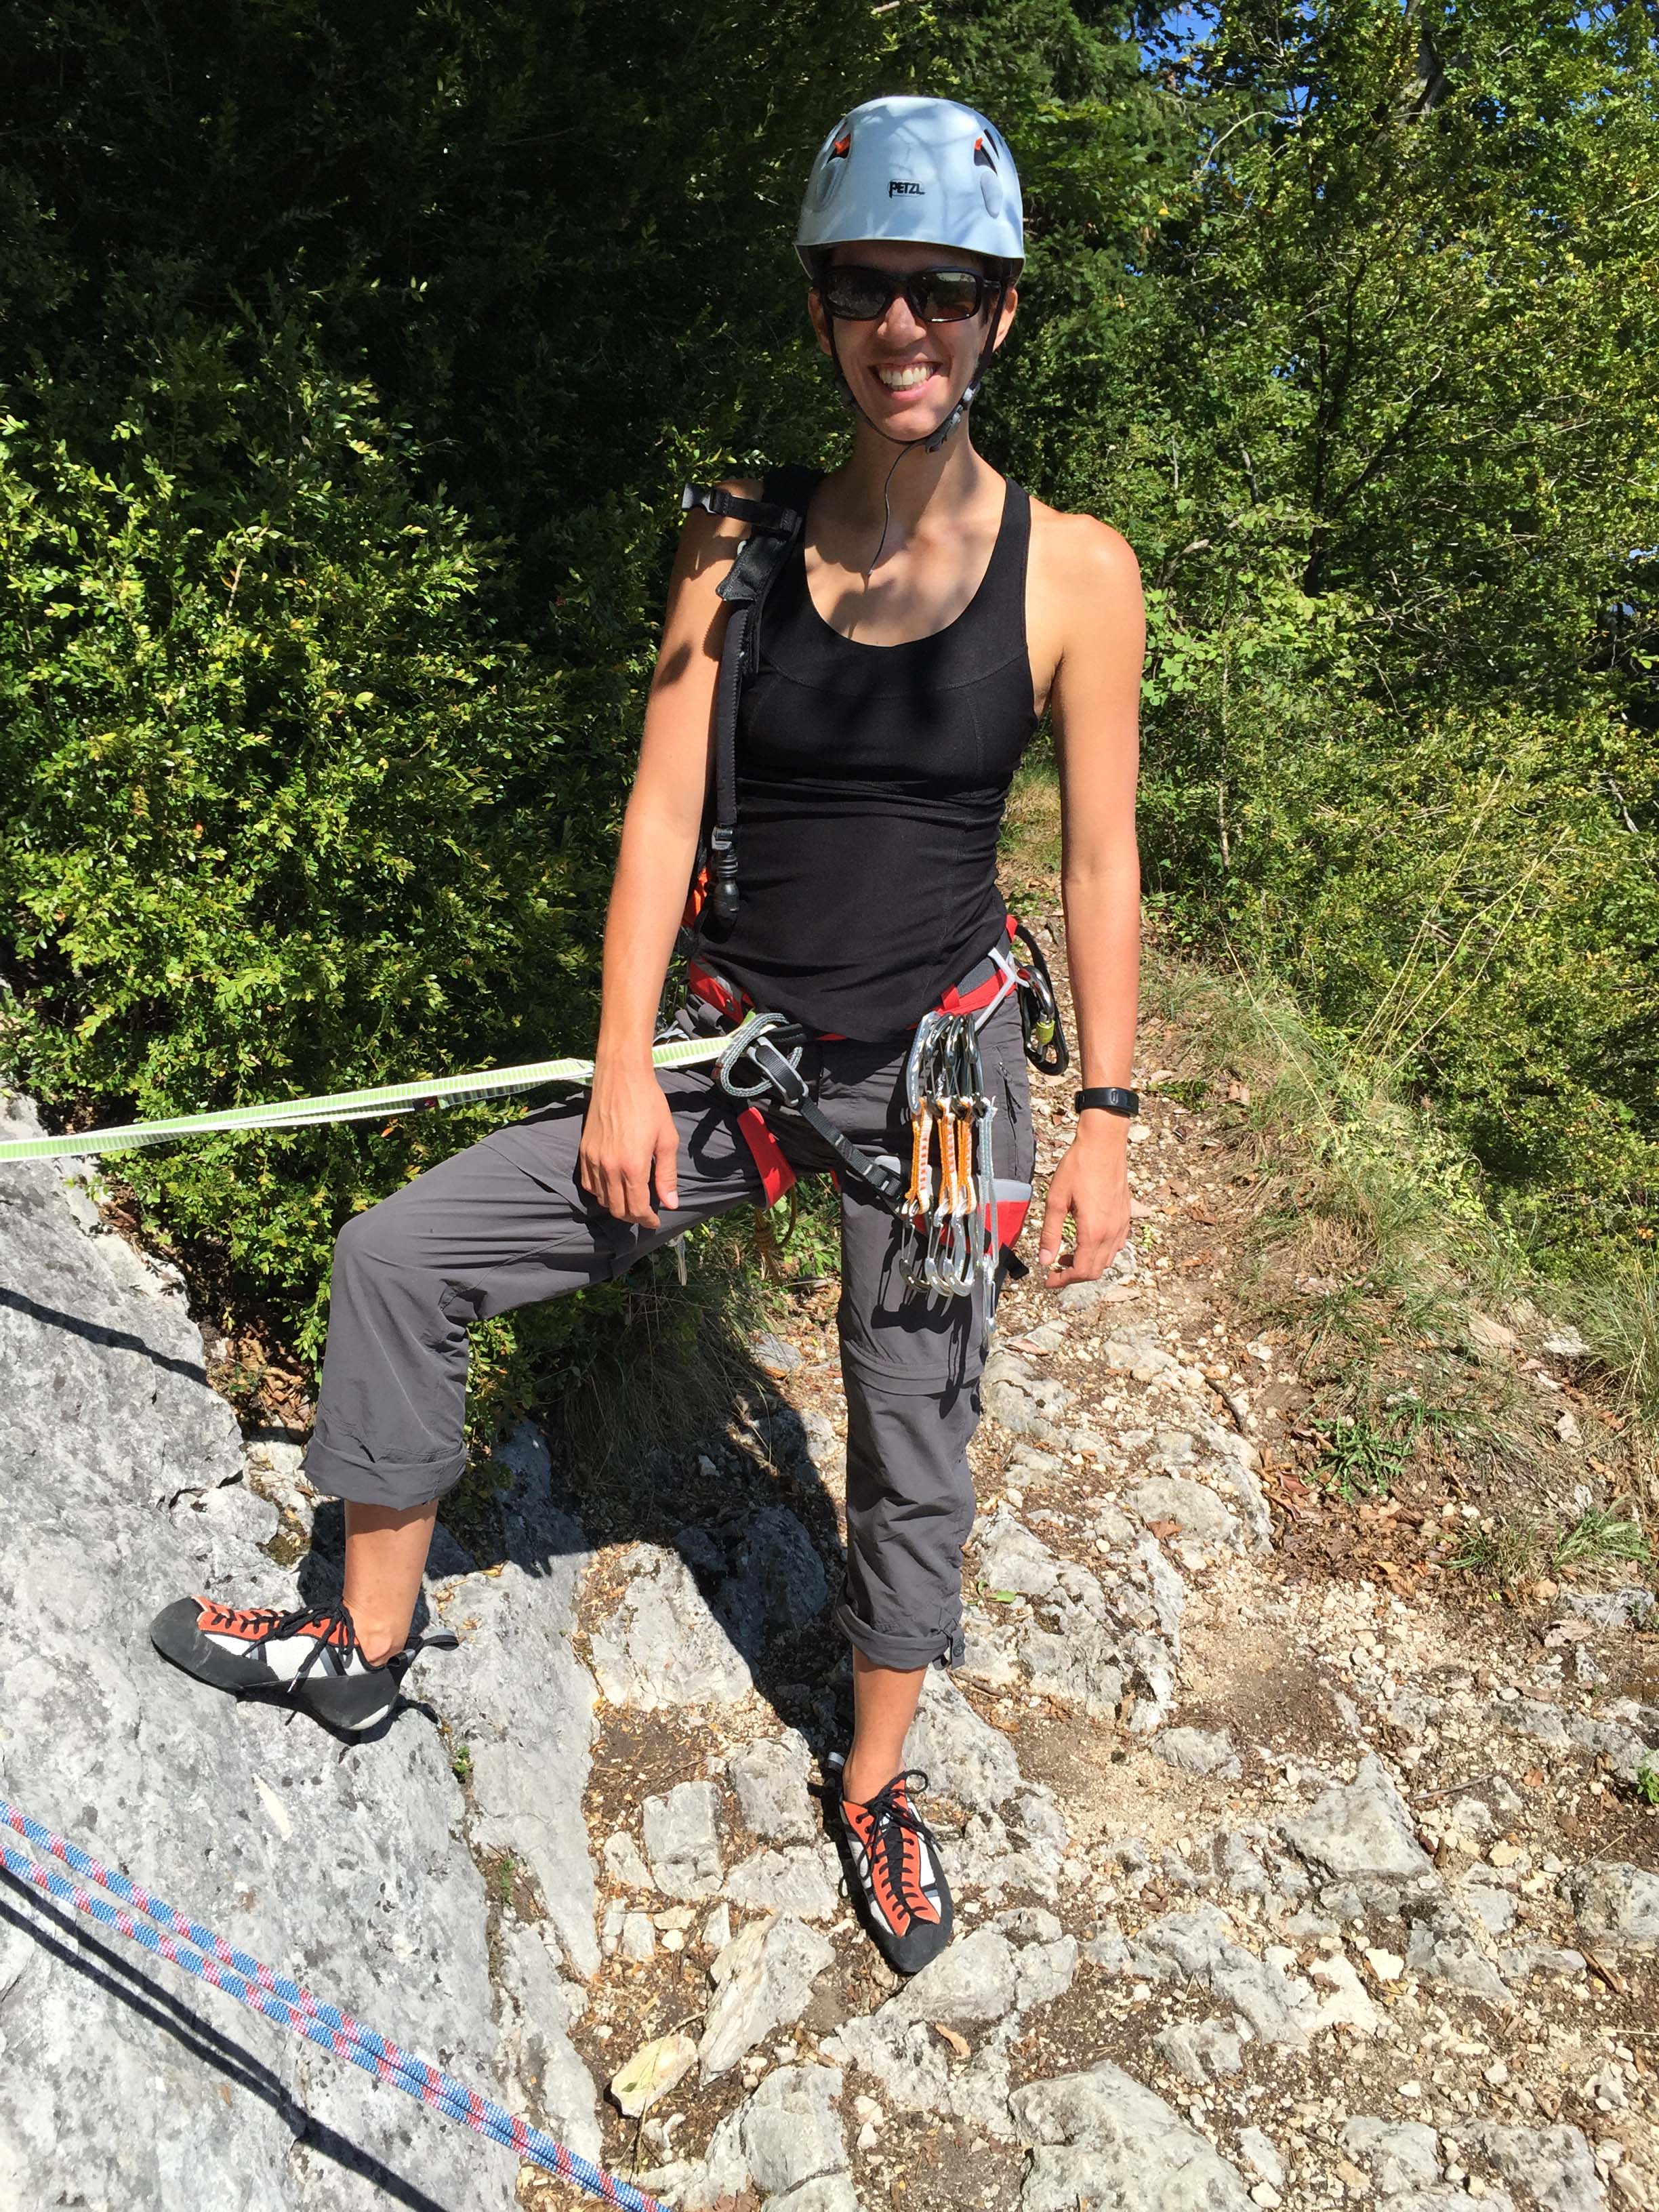 Happy about a successful climb. 🙂
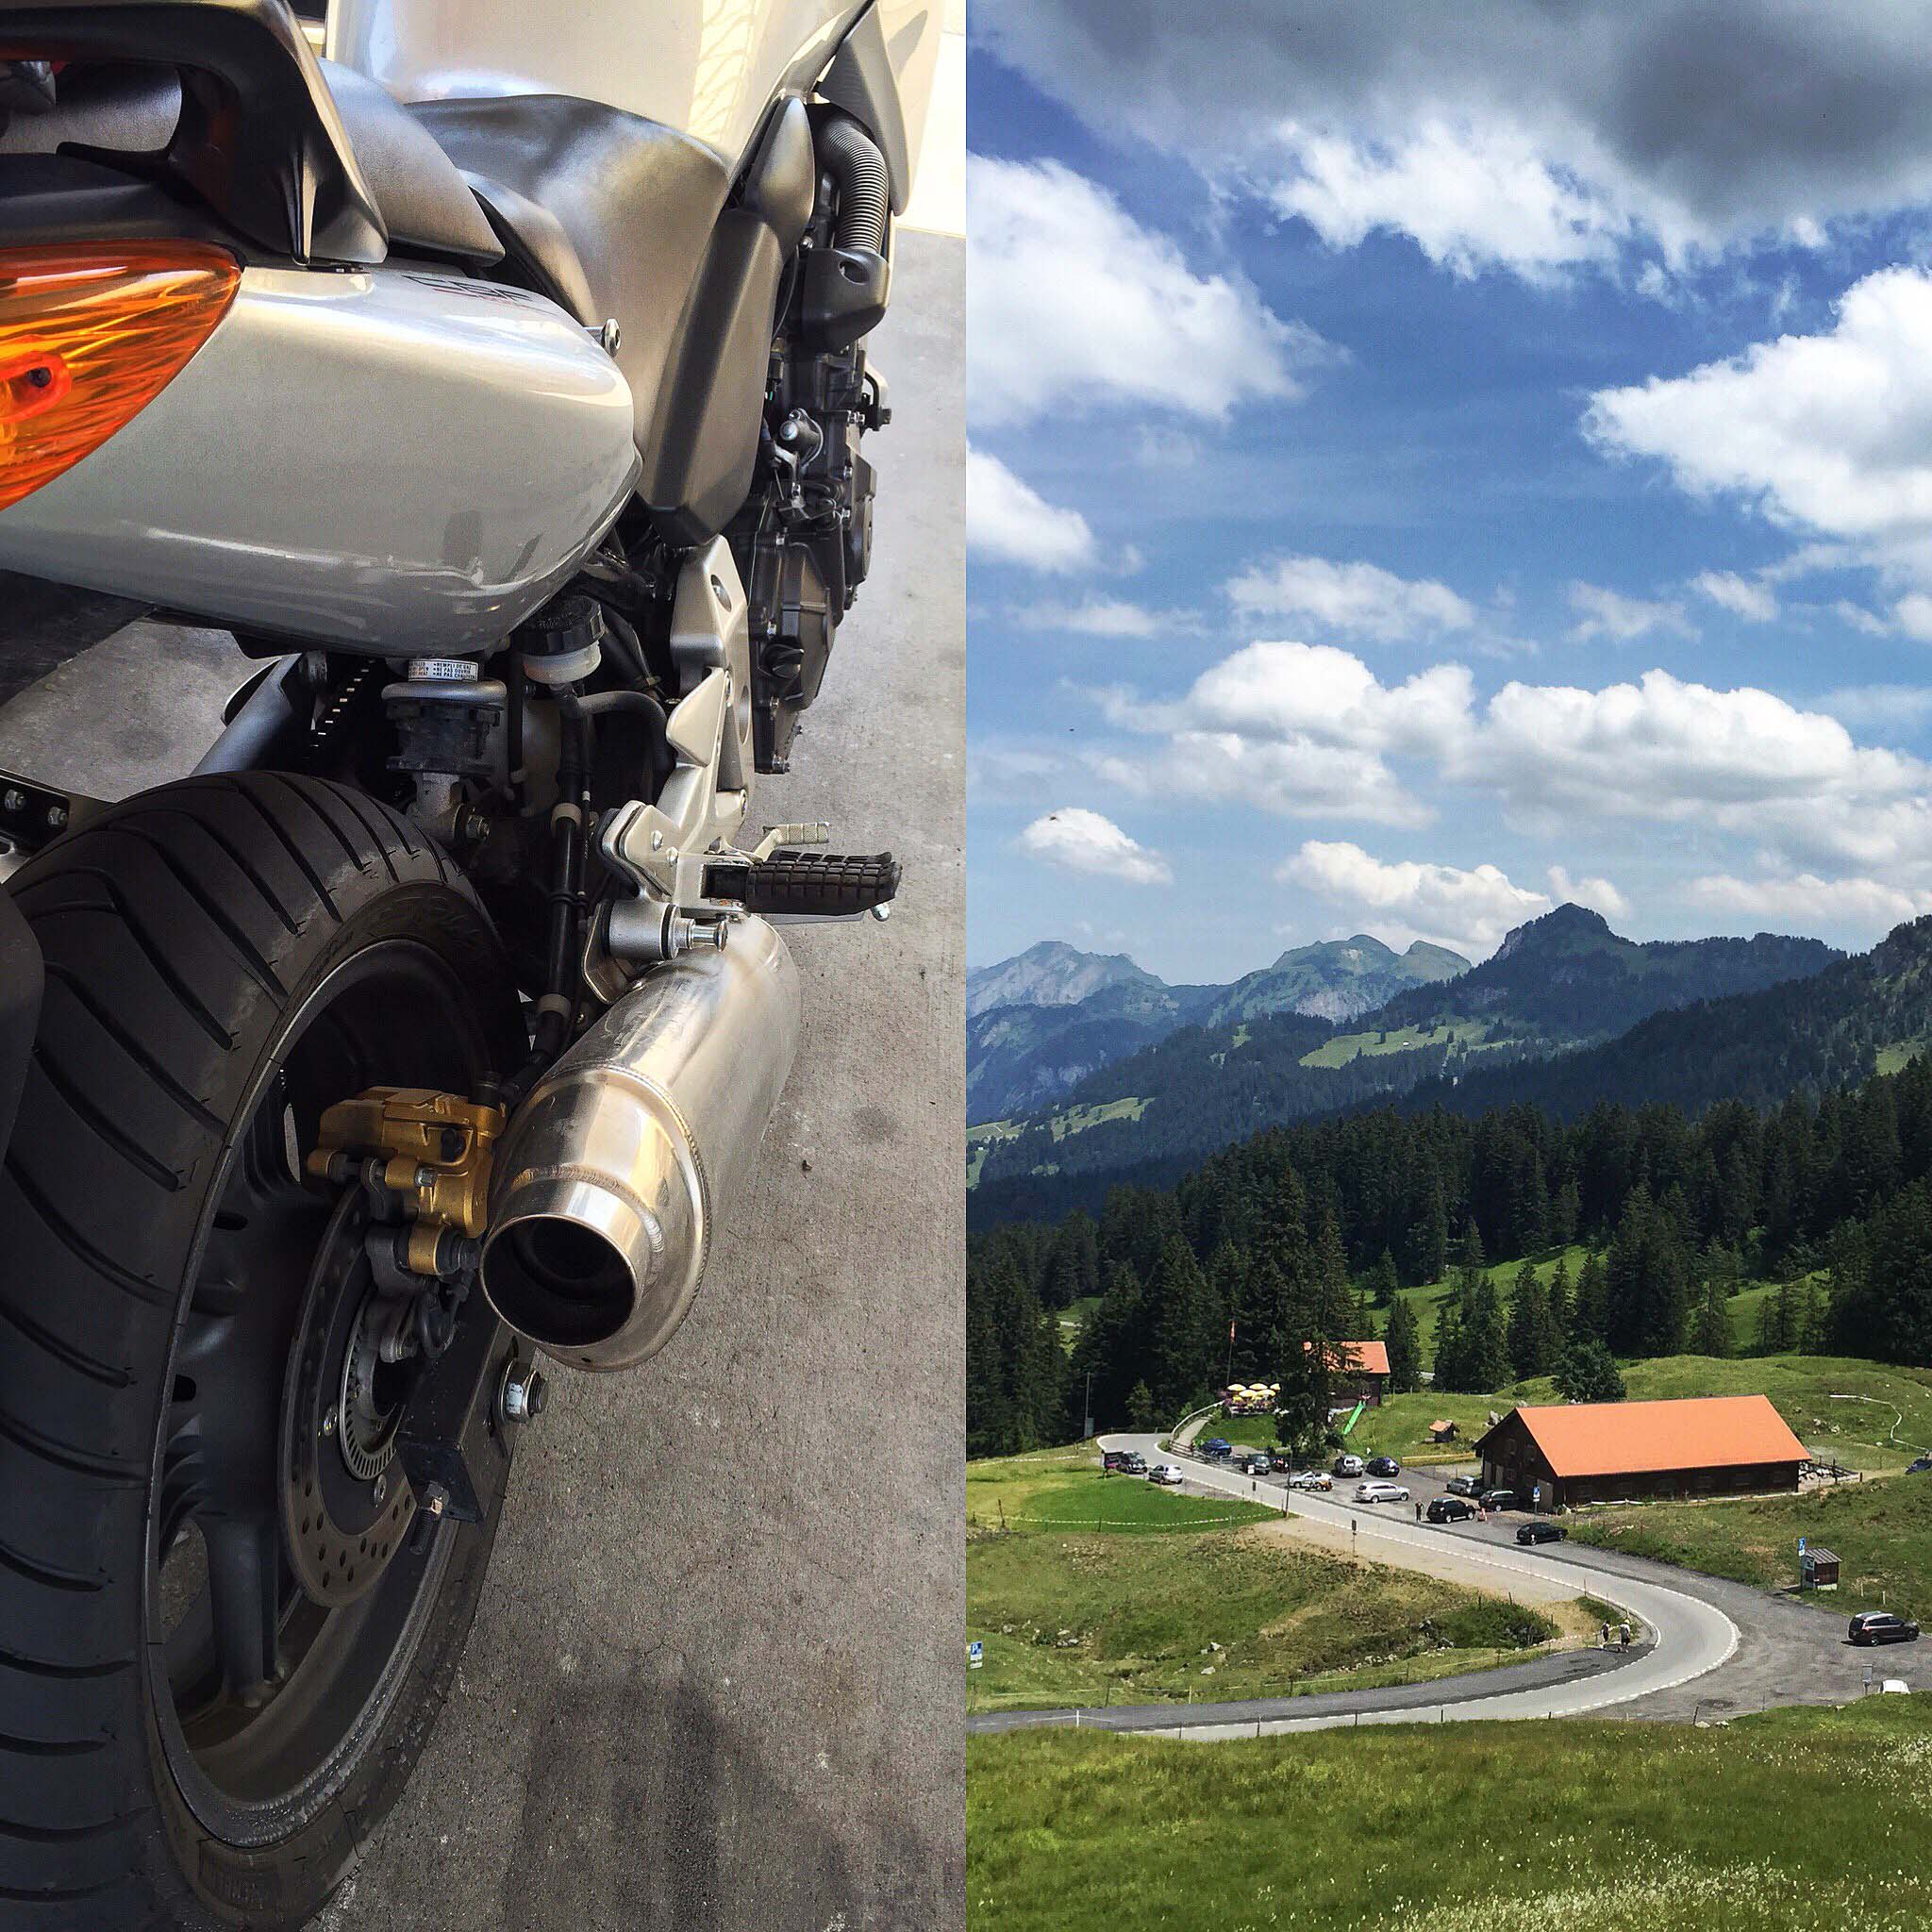 That’s when I came up with the brilliant idea of buying a
 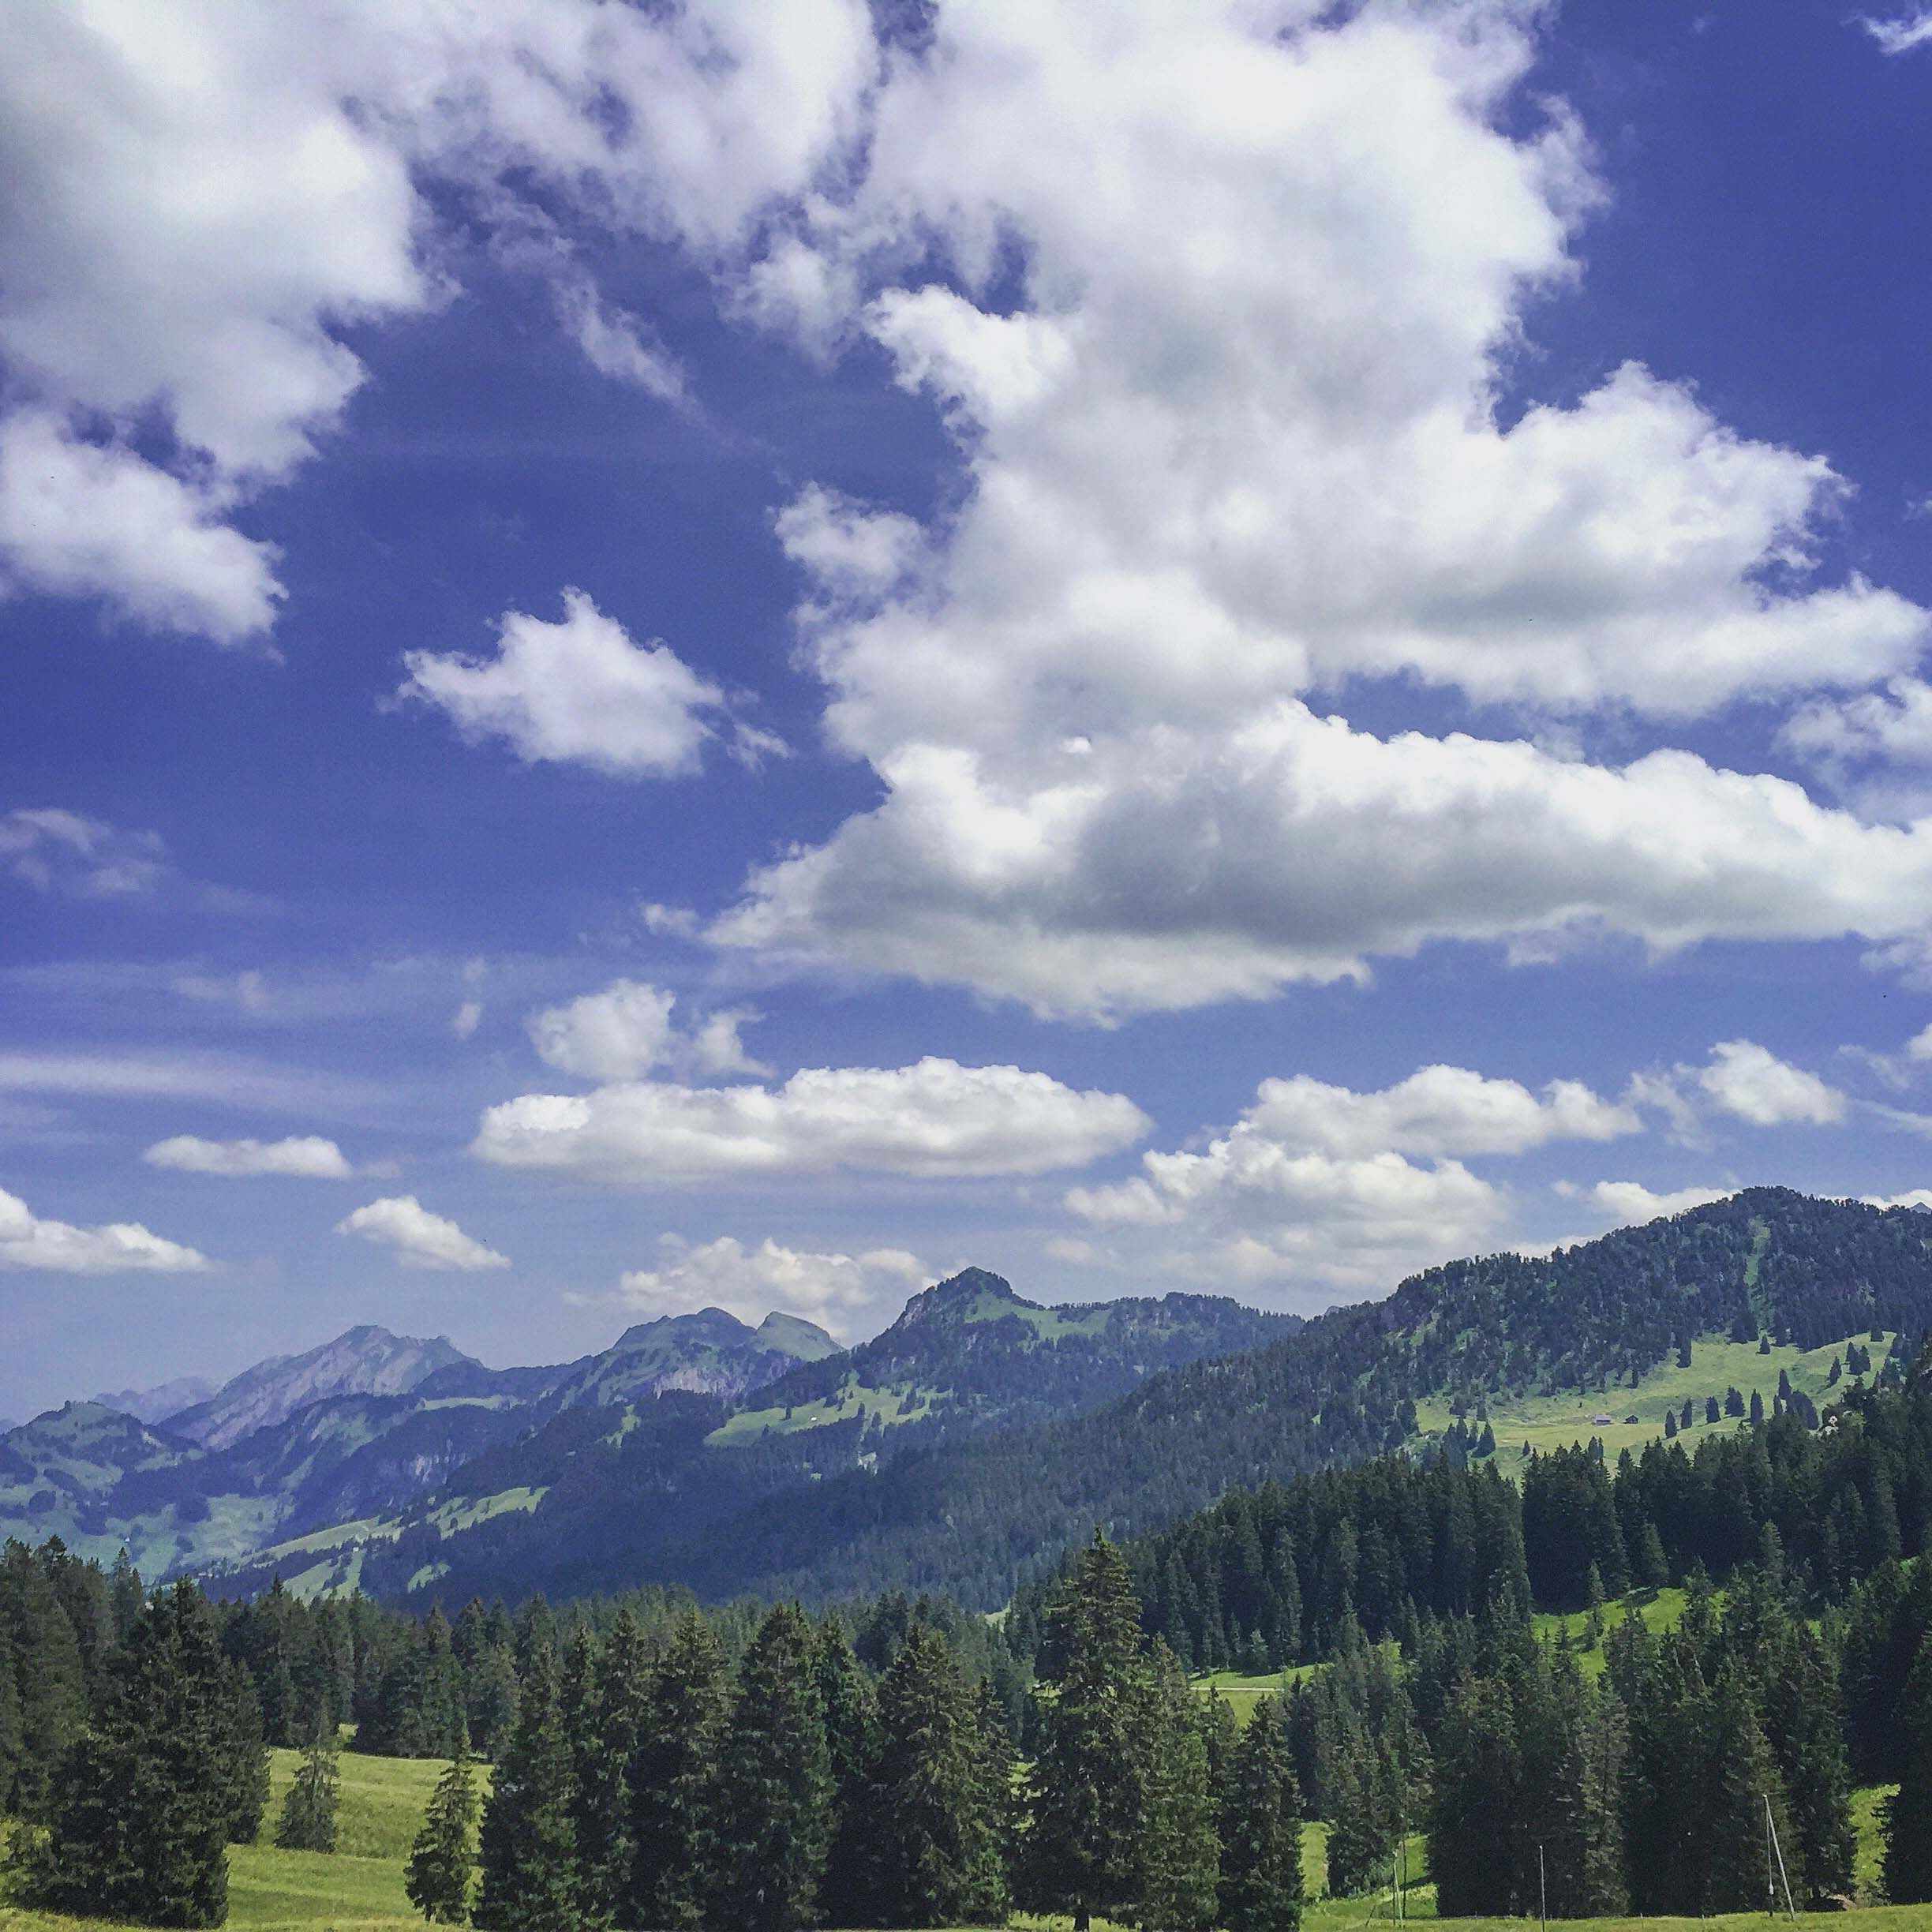 The weather was so beautiful this weekend. Sunny, warm, but not hot, and with a cool breeze running along the hills sometimes.
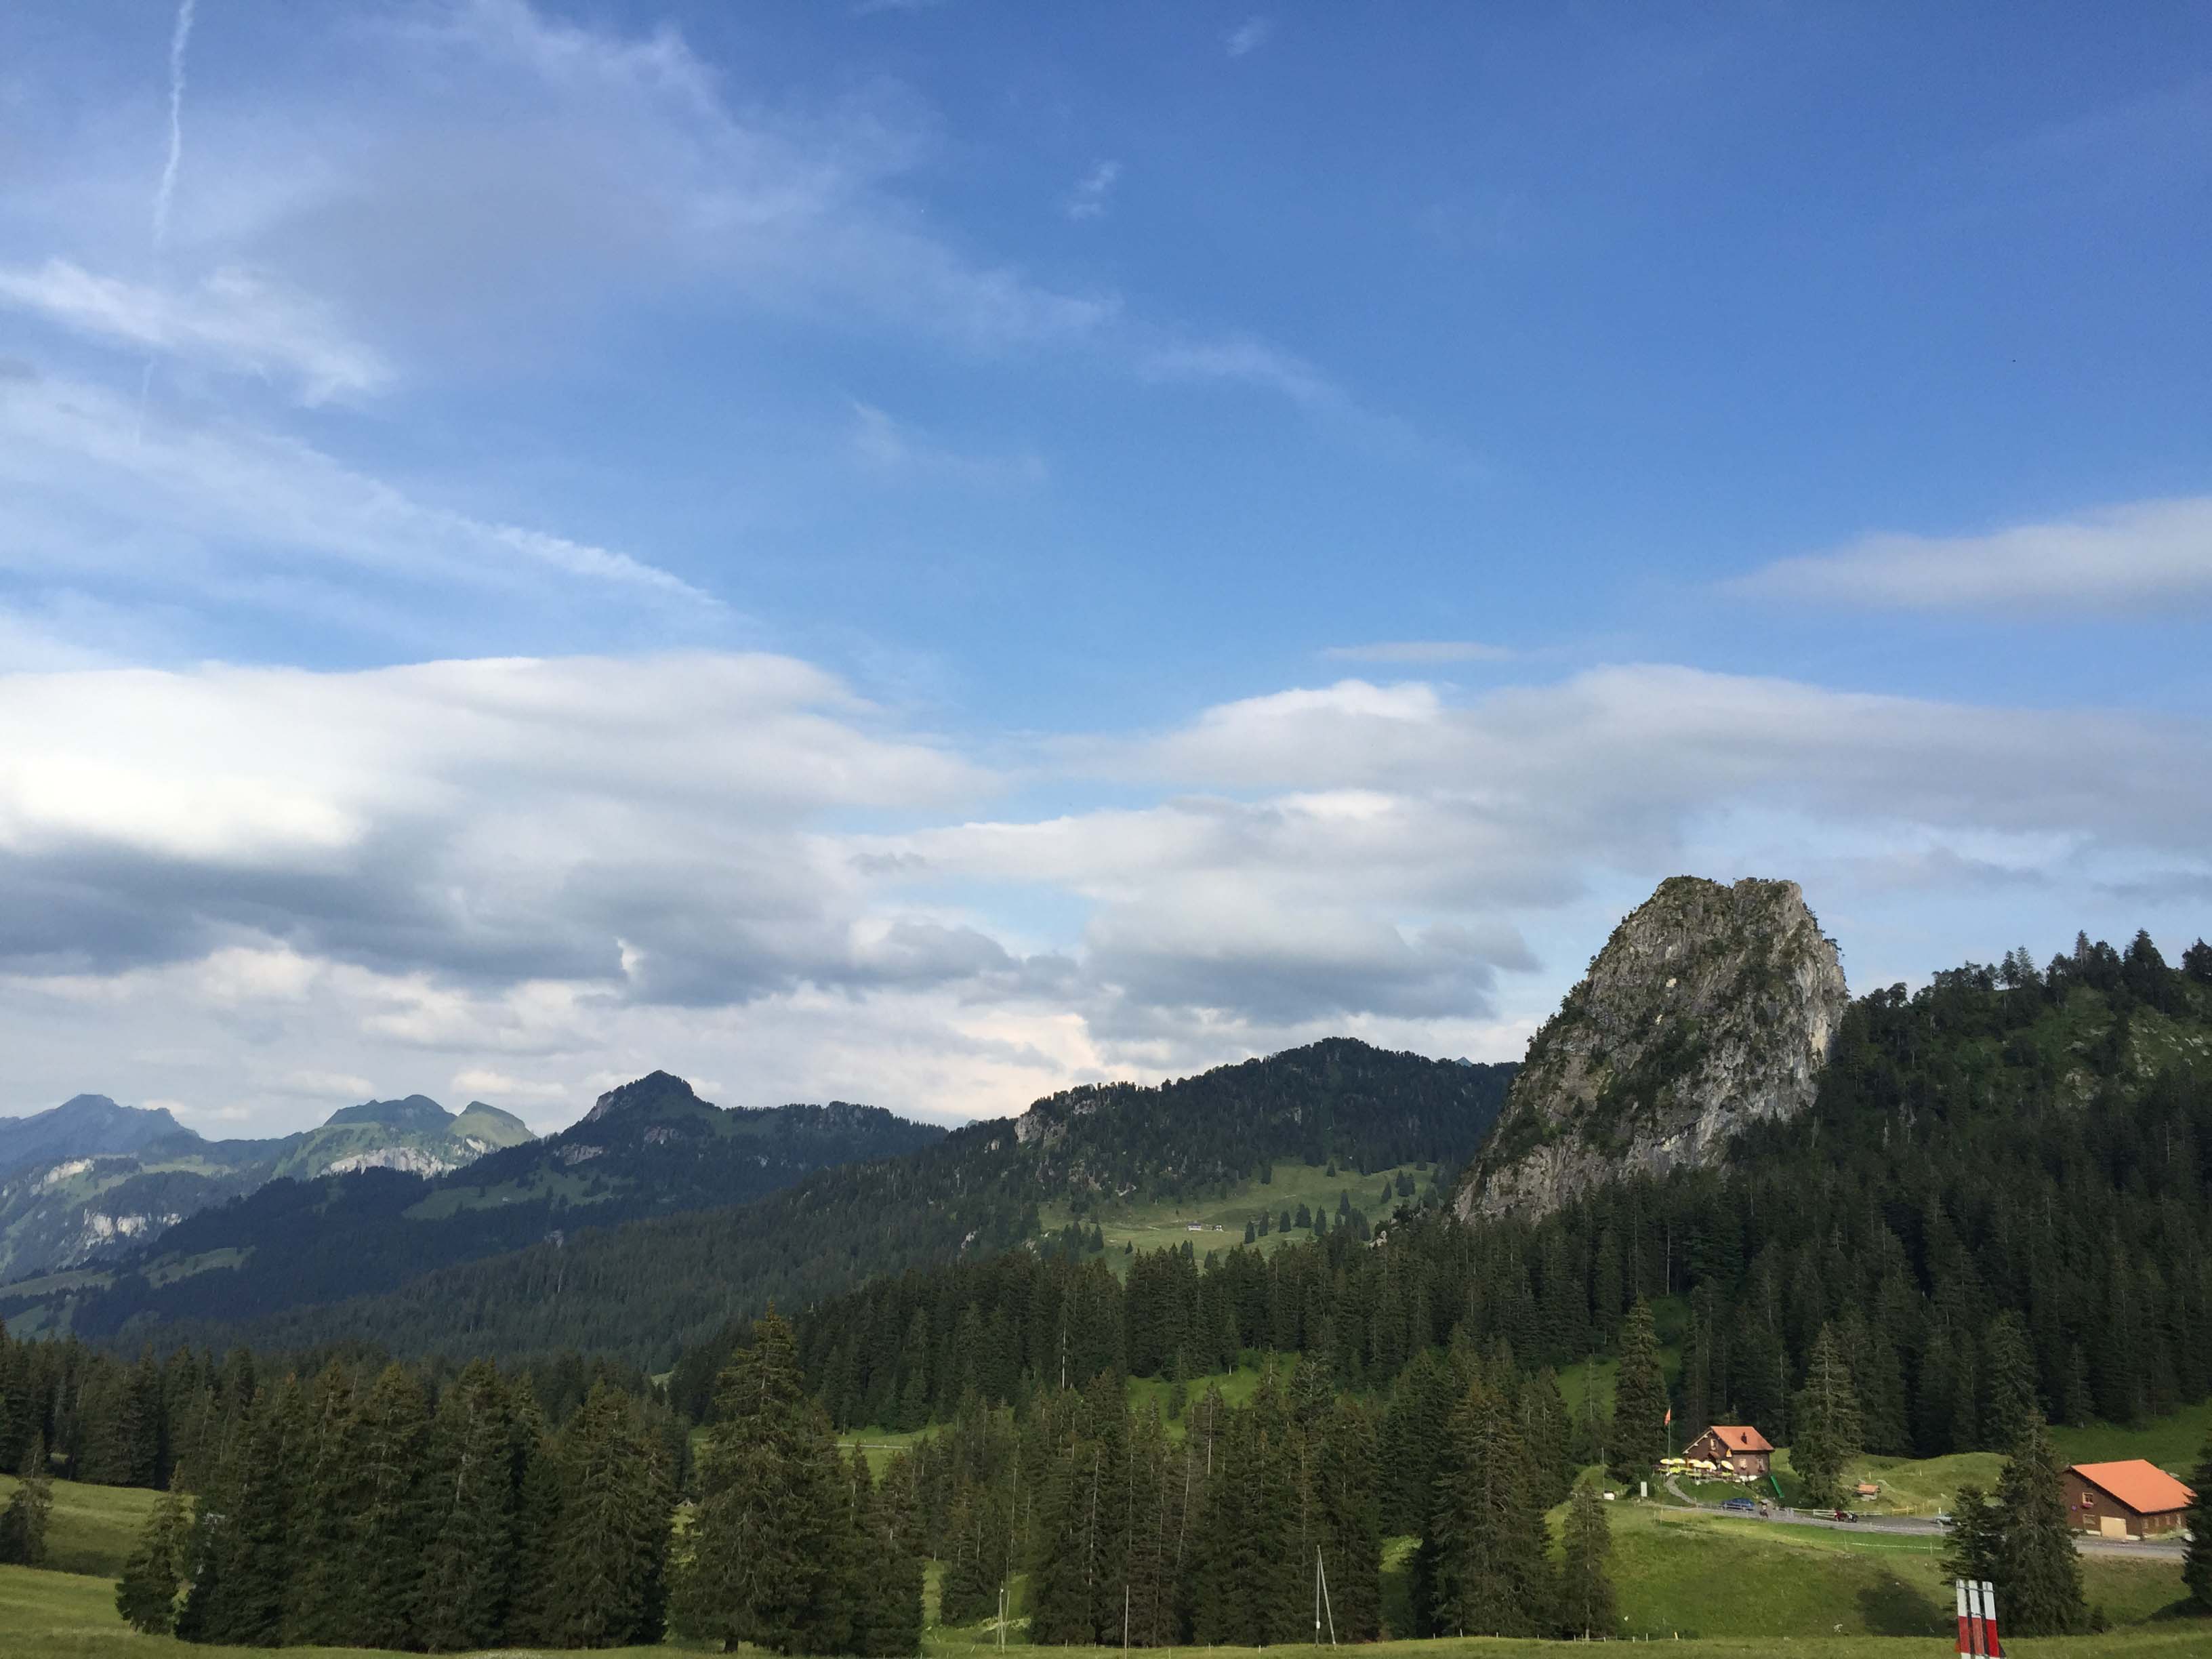
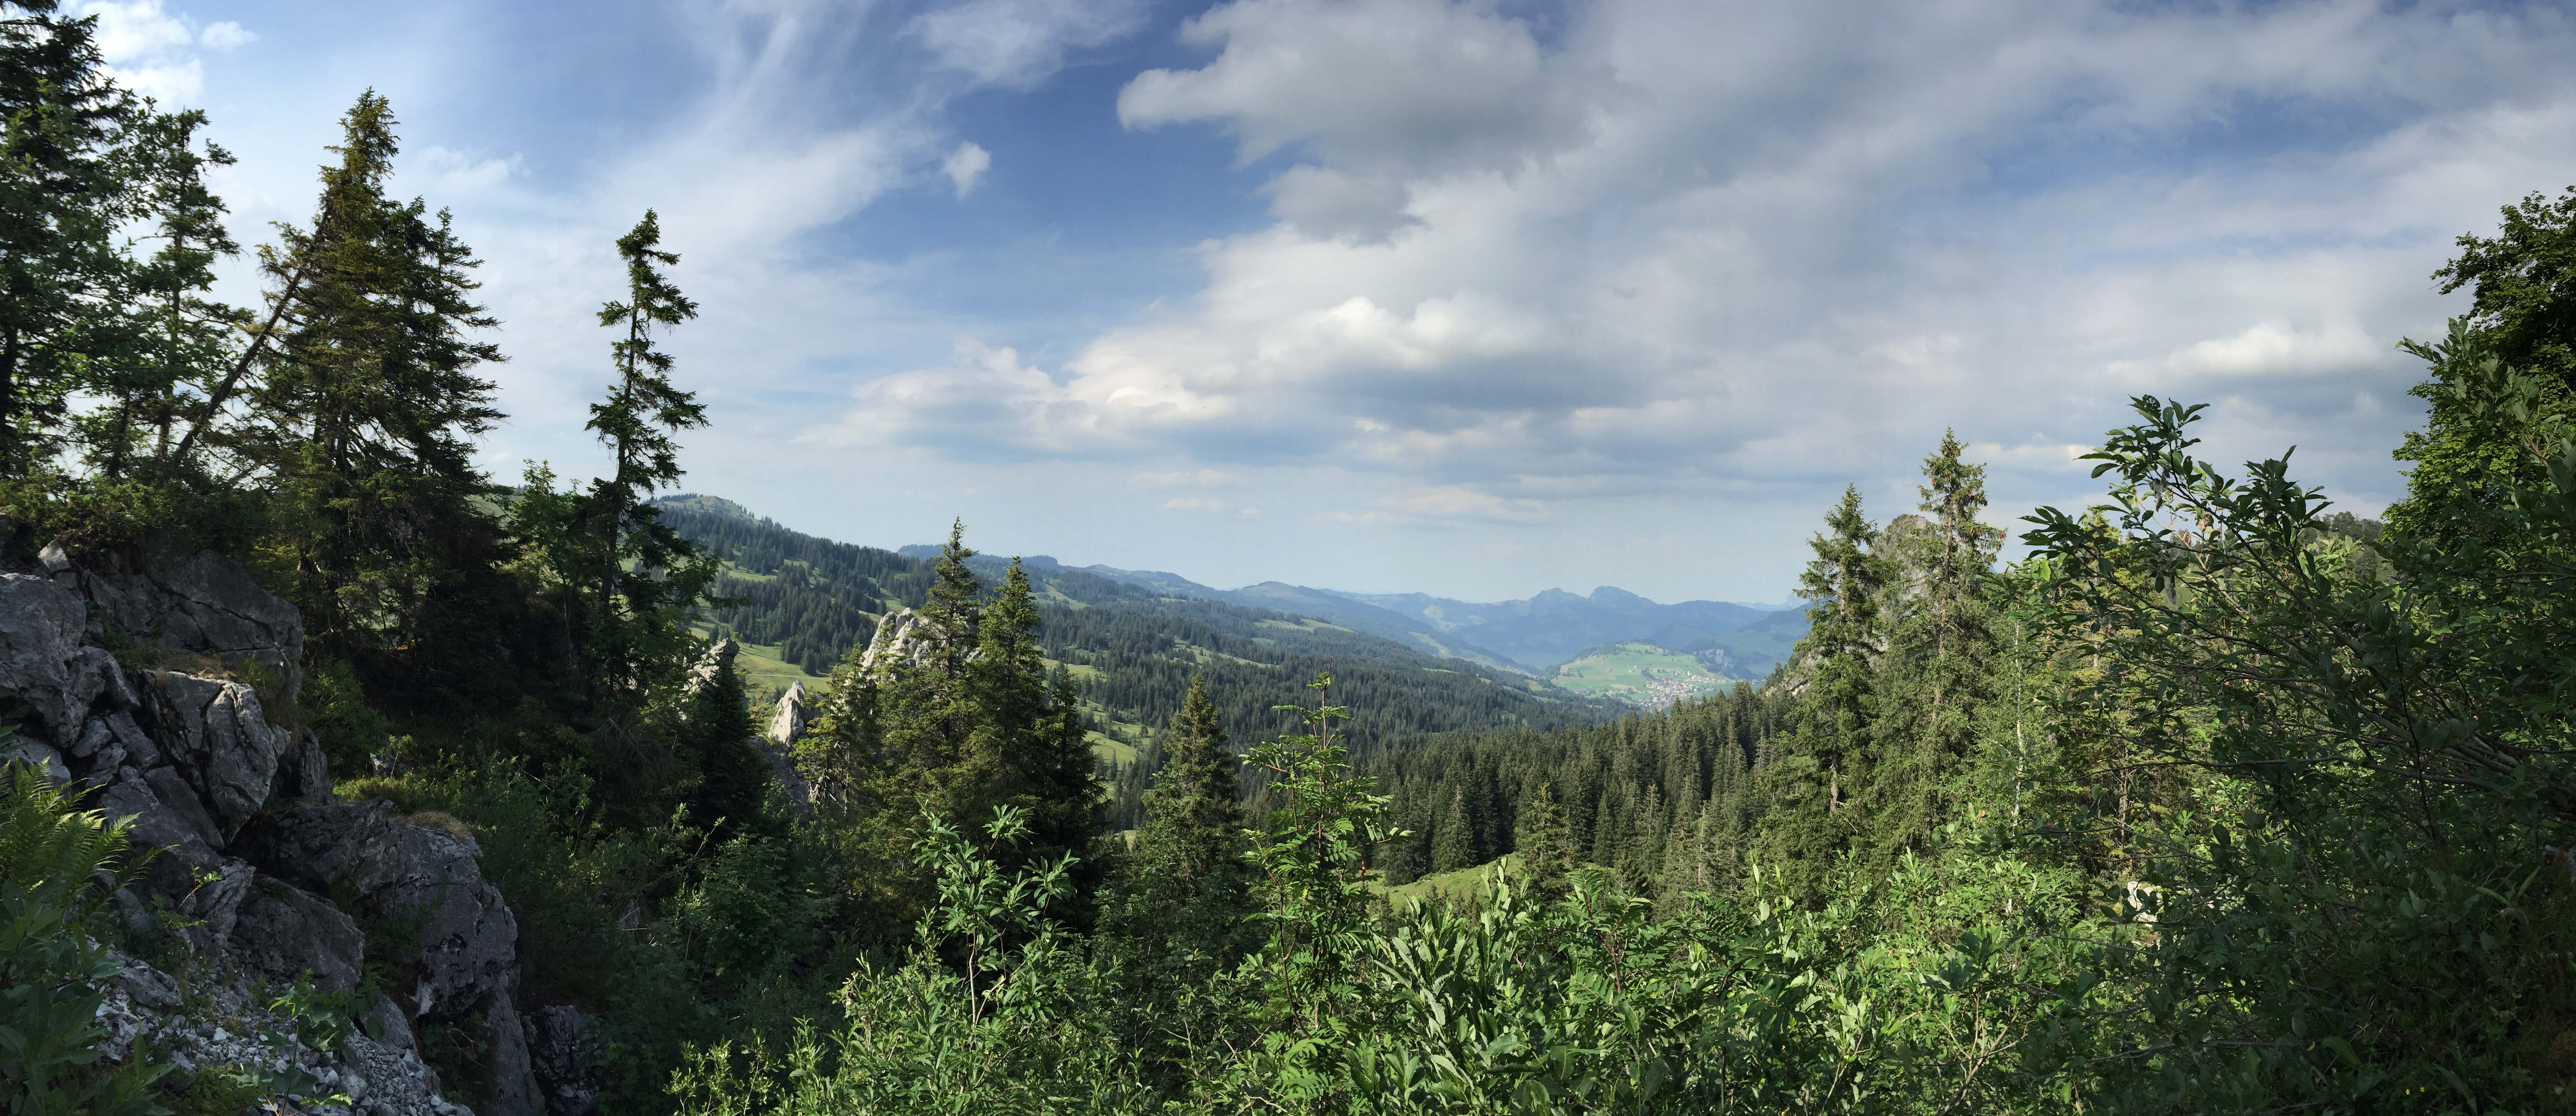 After a short hike, we reached the climbing area around Mythen where there are several routes from 3a-7ish climbing grades. We stuck to the 3-4 levels to get used to doing it on our own.
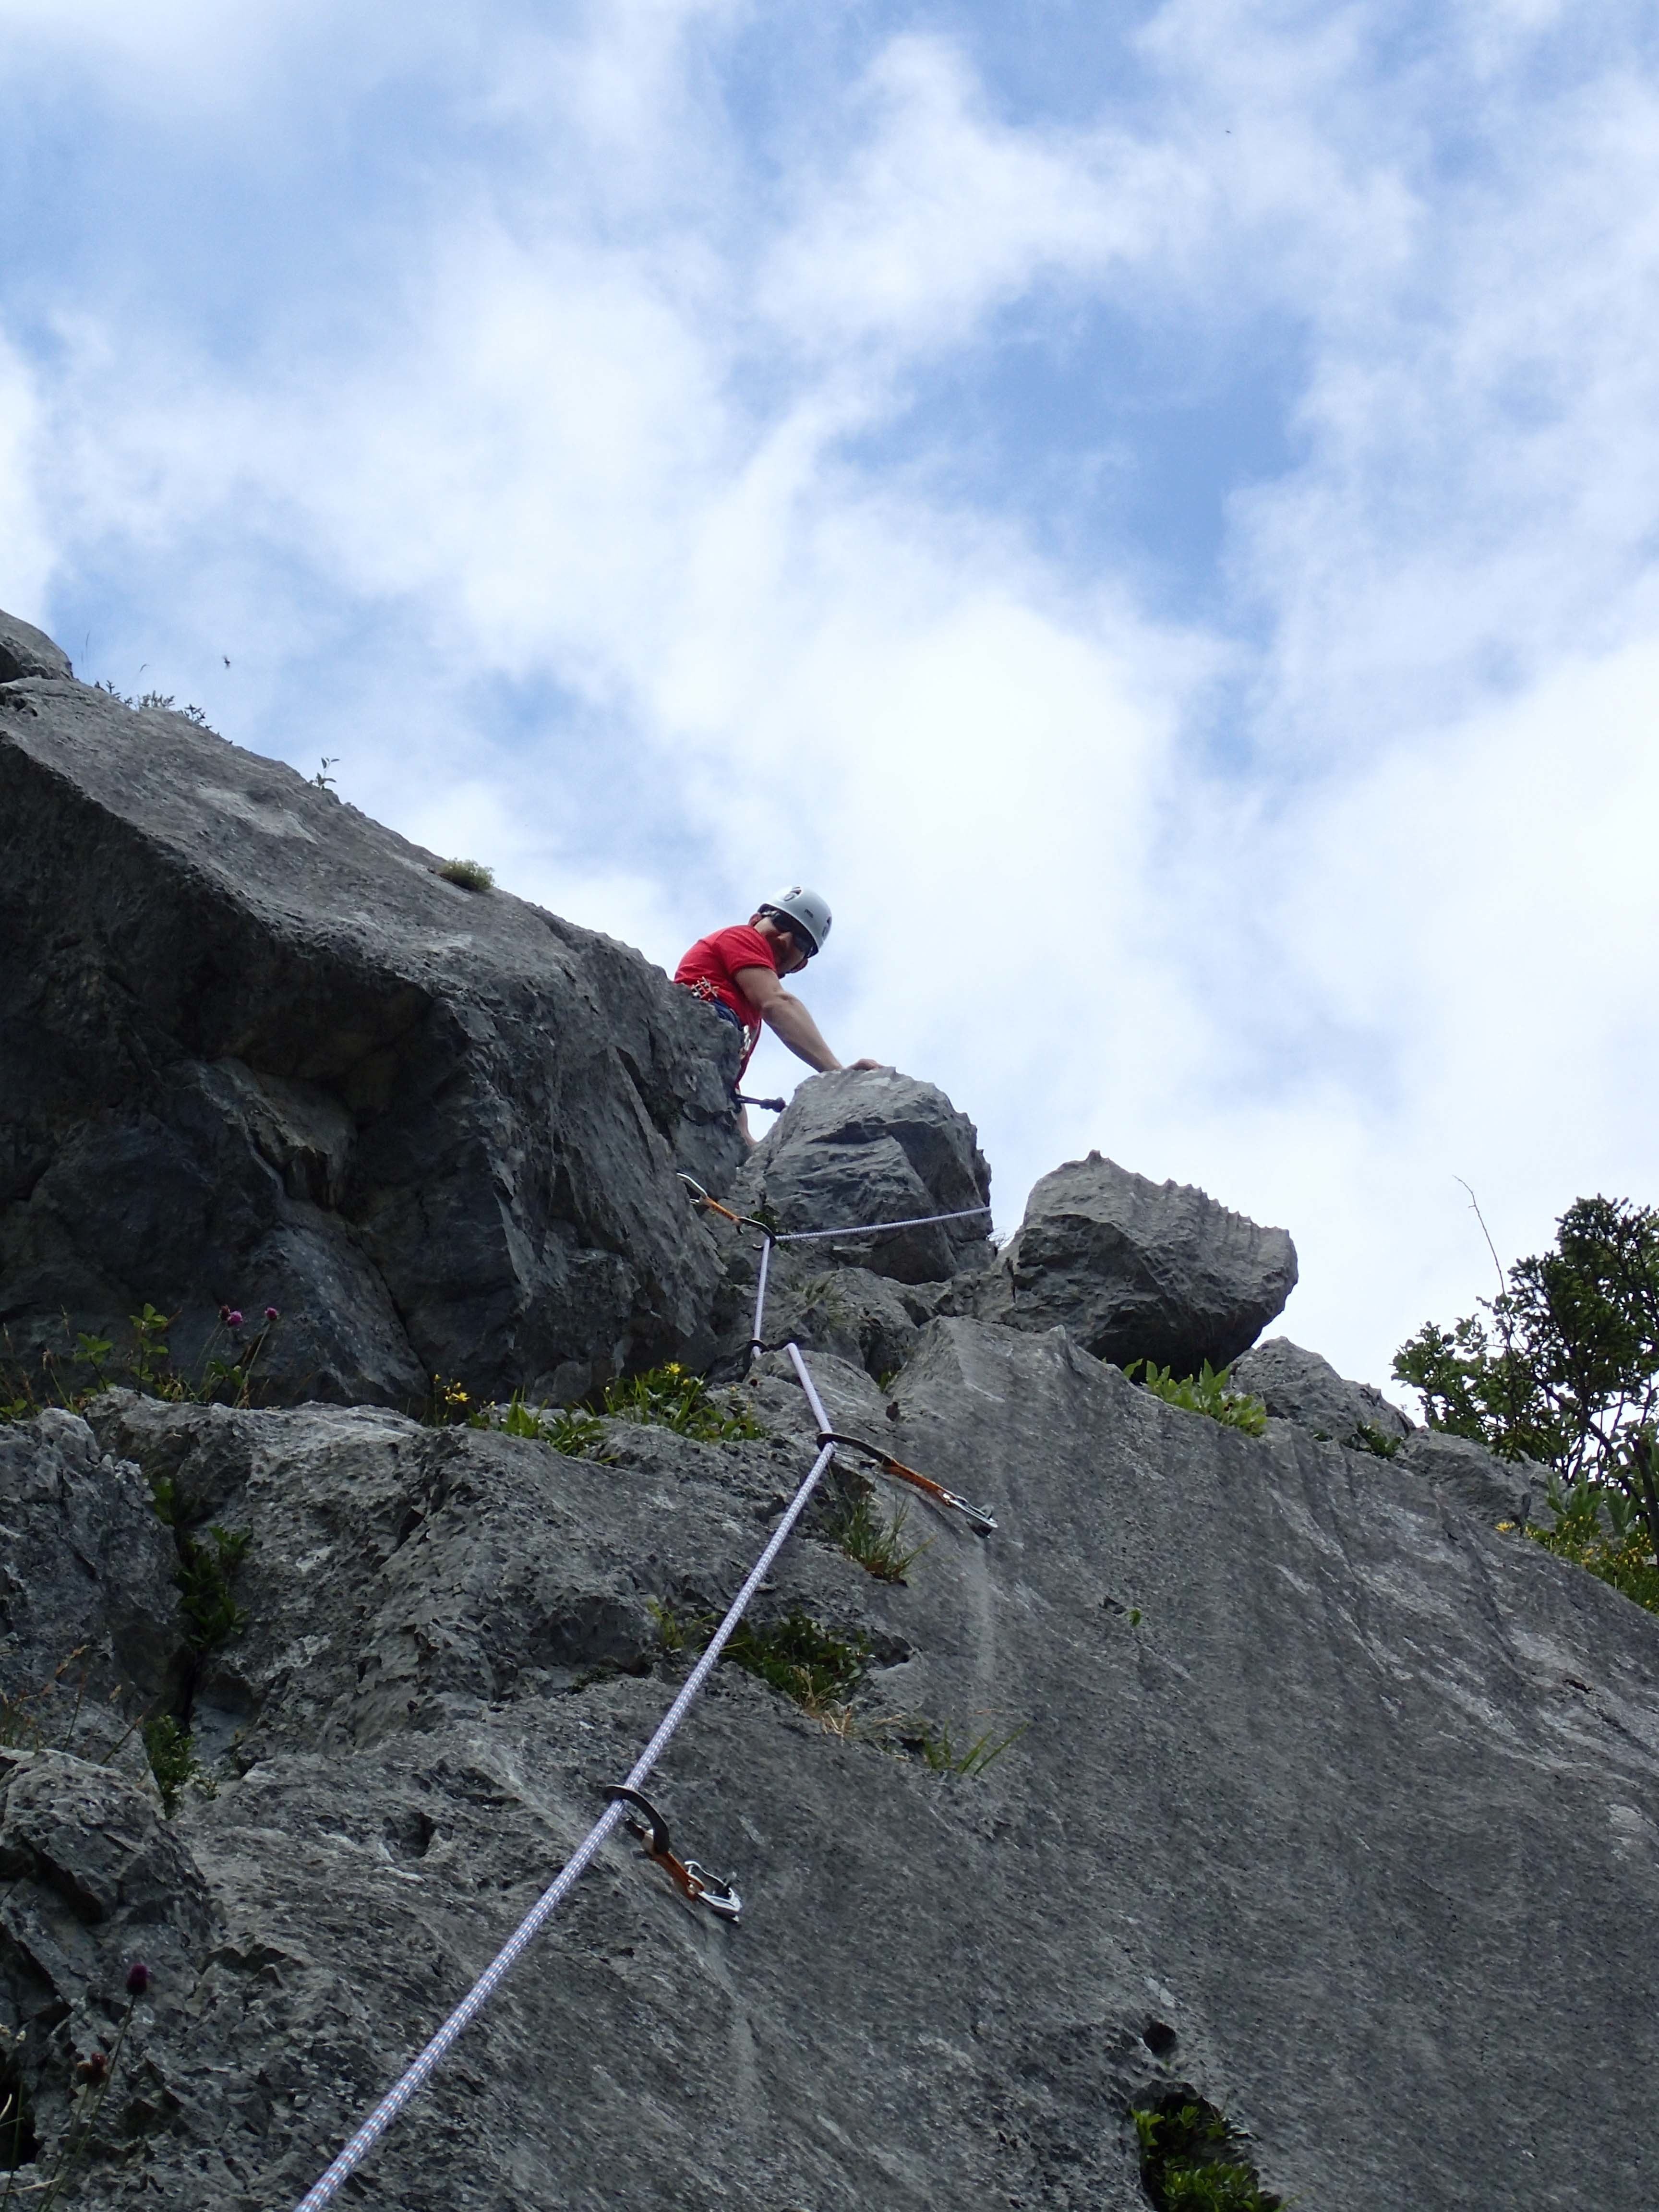 Kay at the top of the second route above. Below was the view when I climbed up myself.
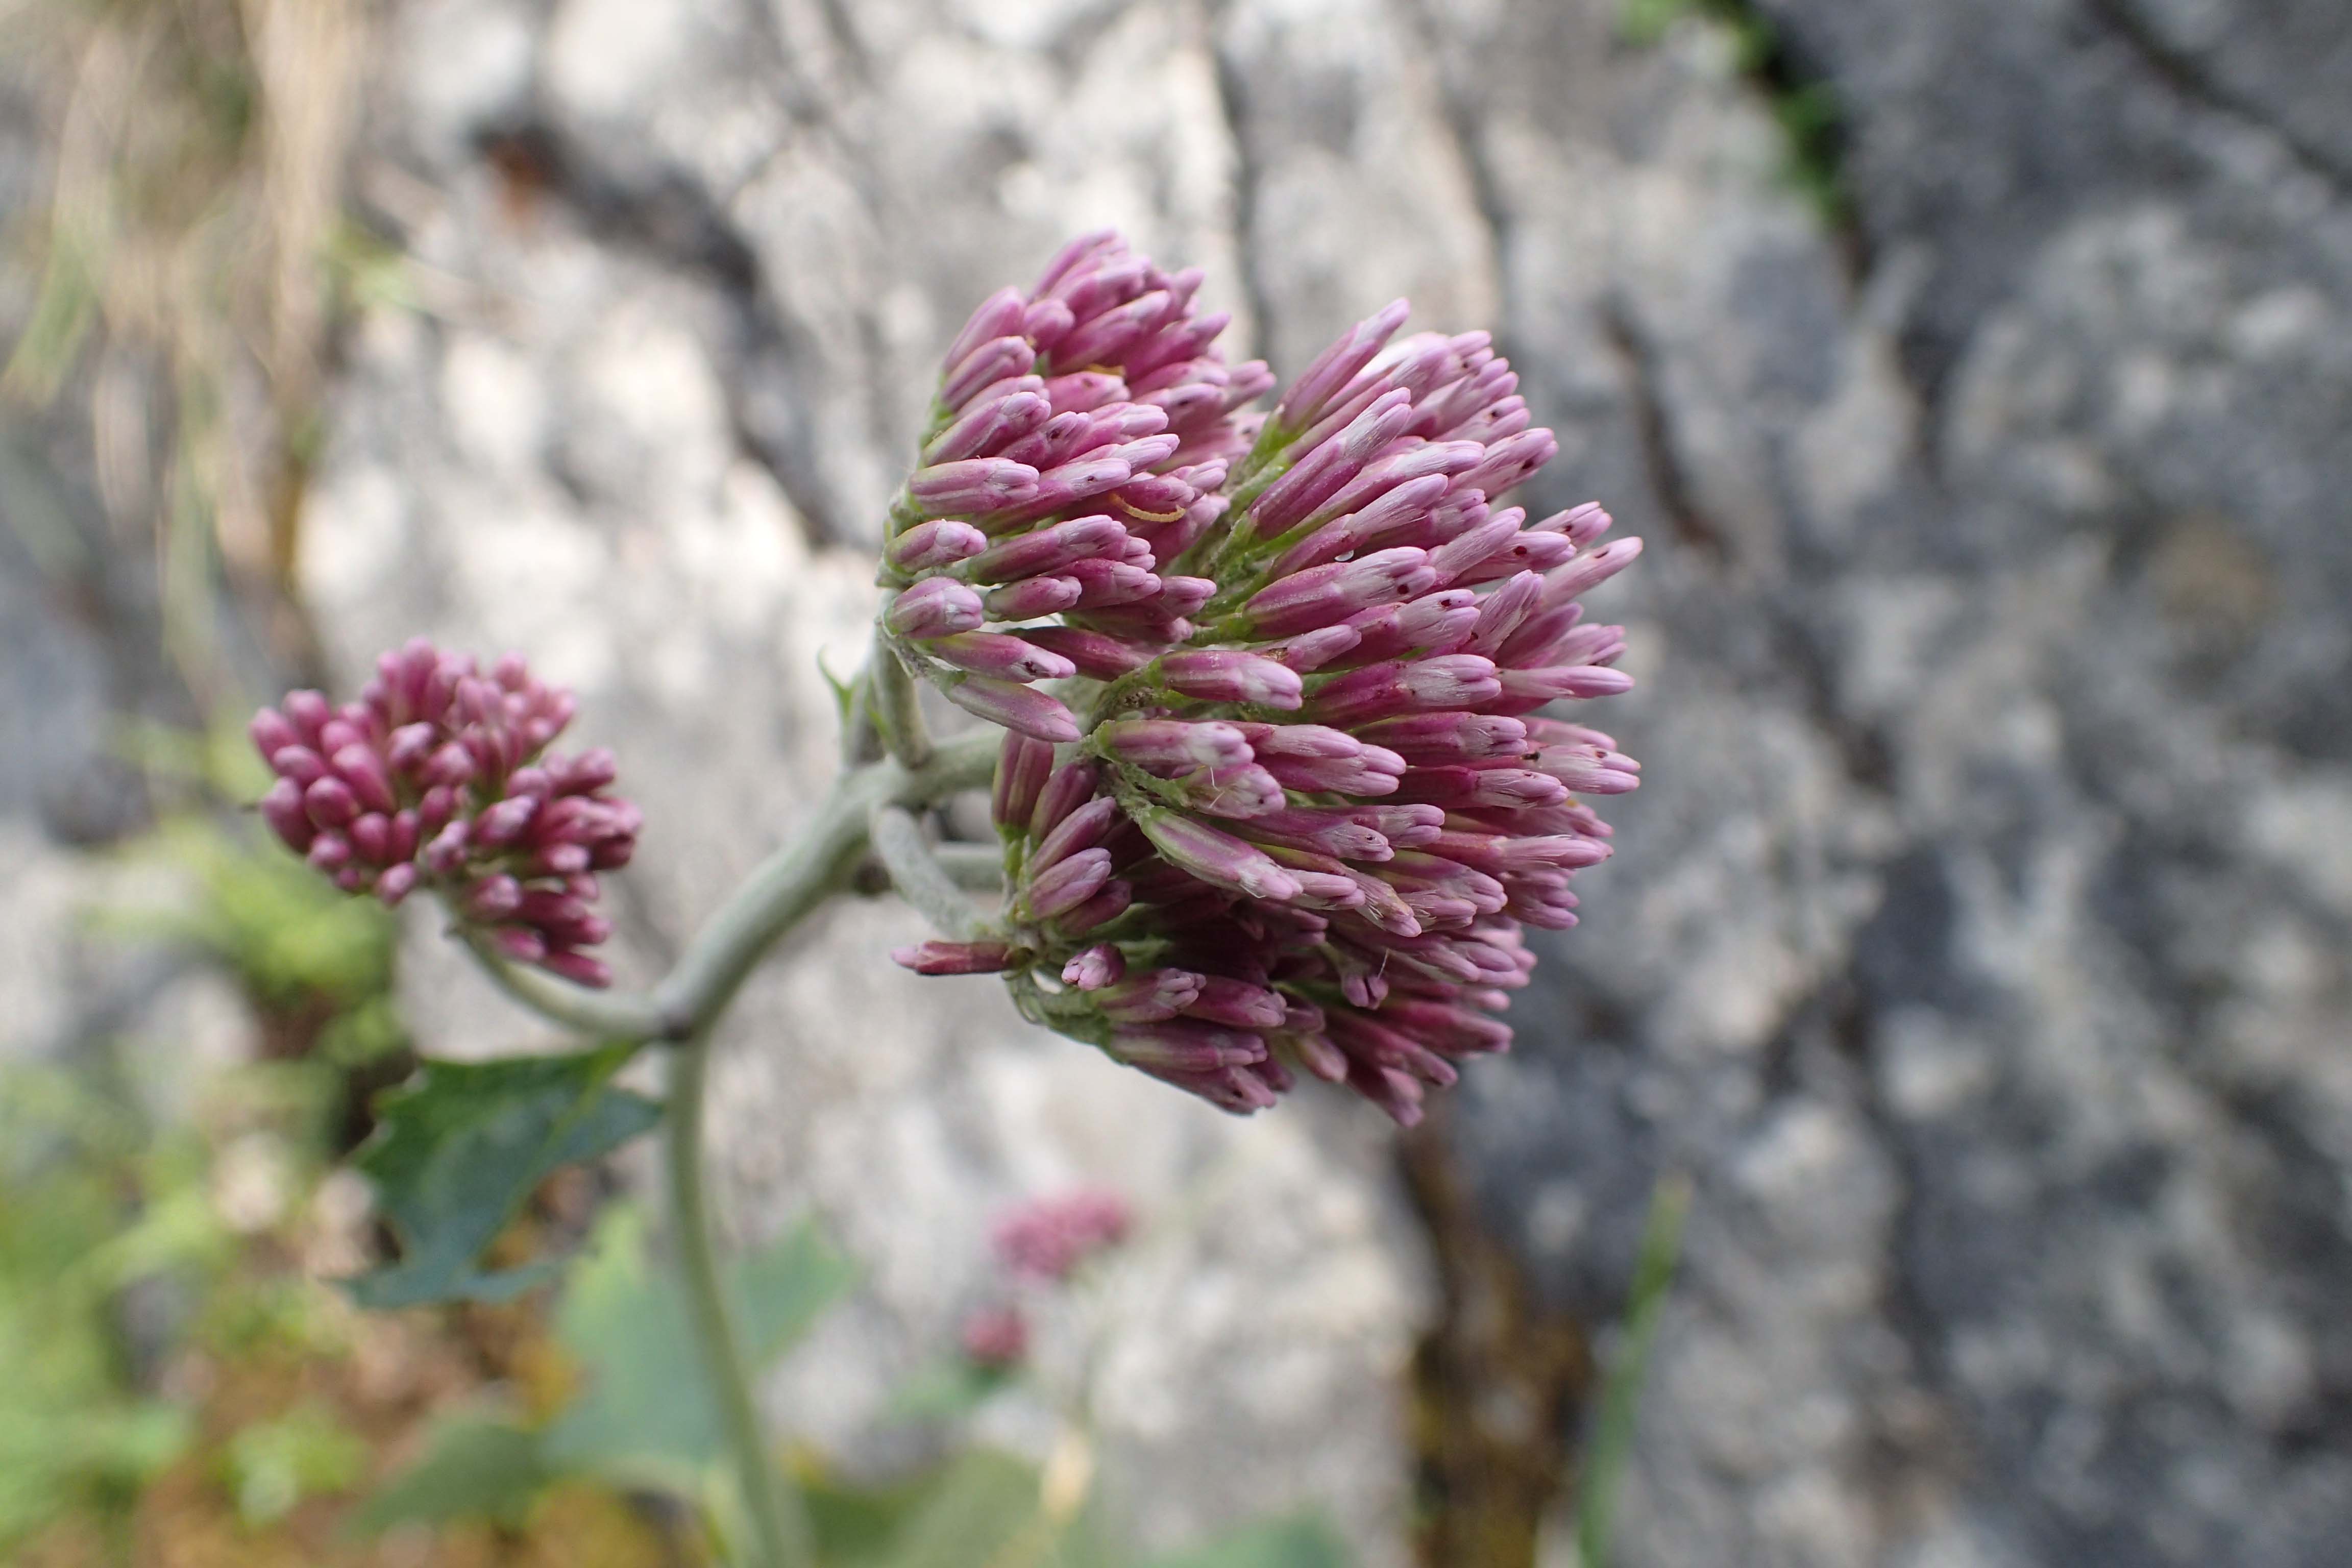
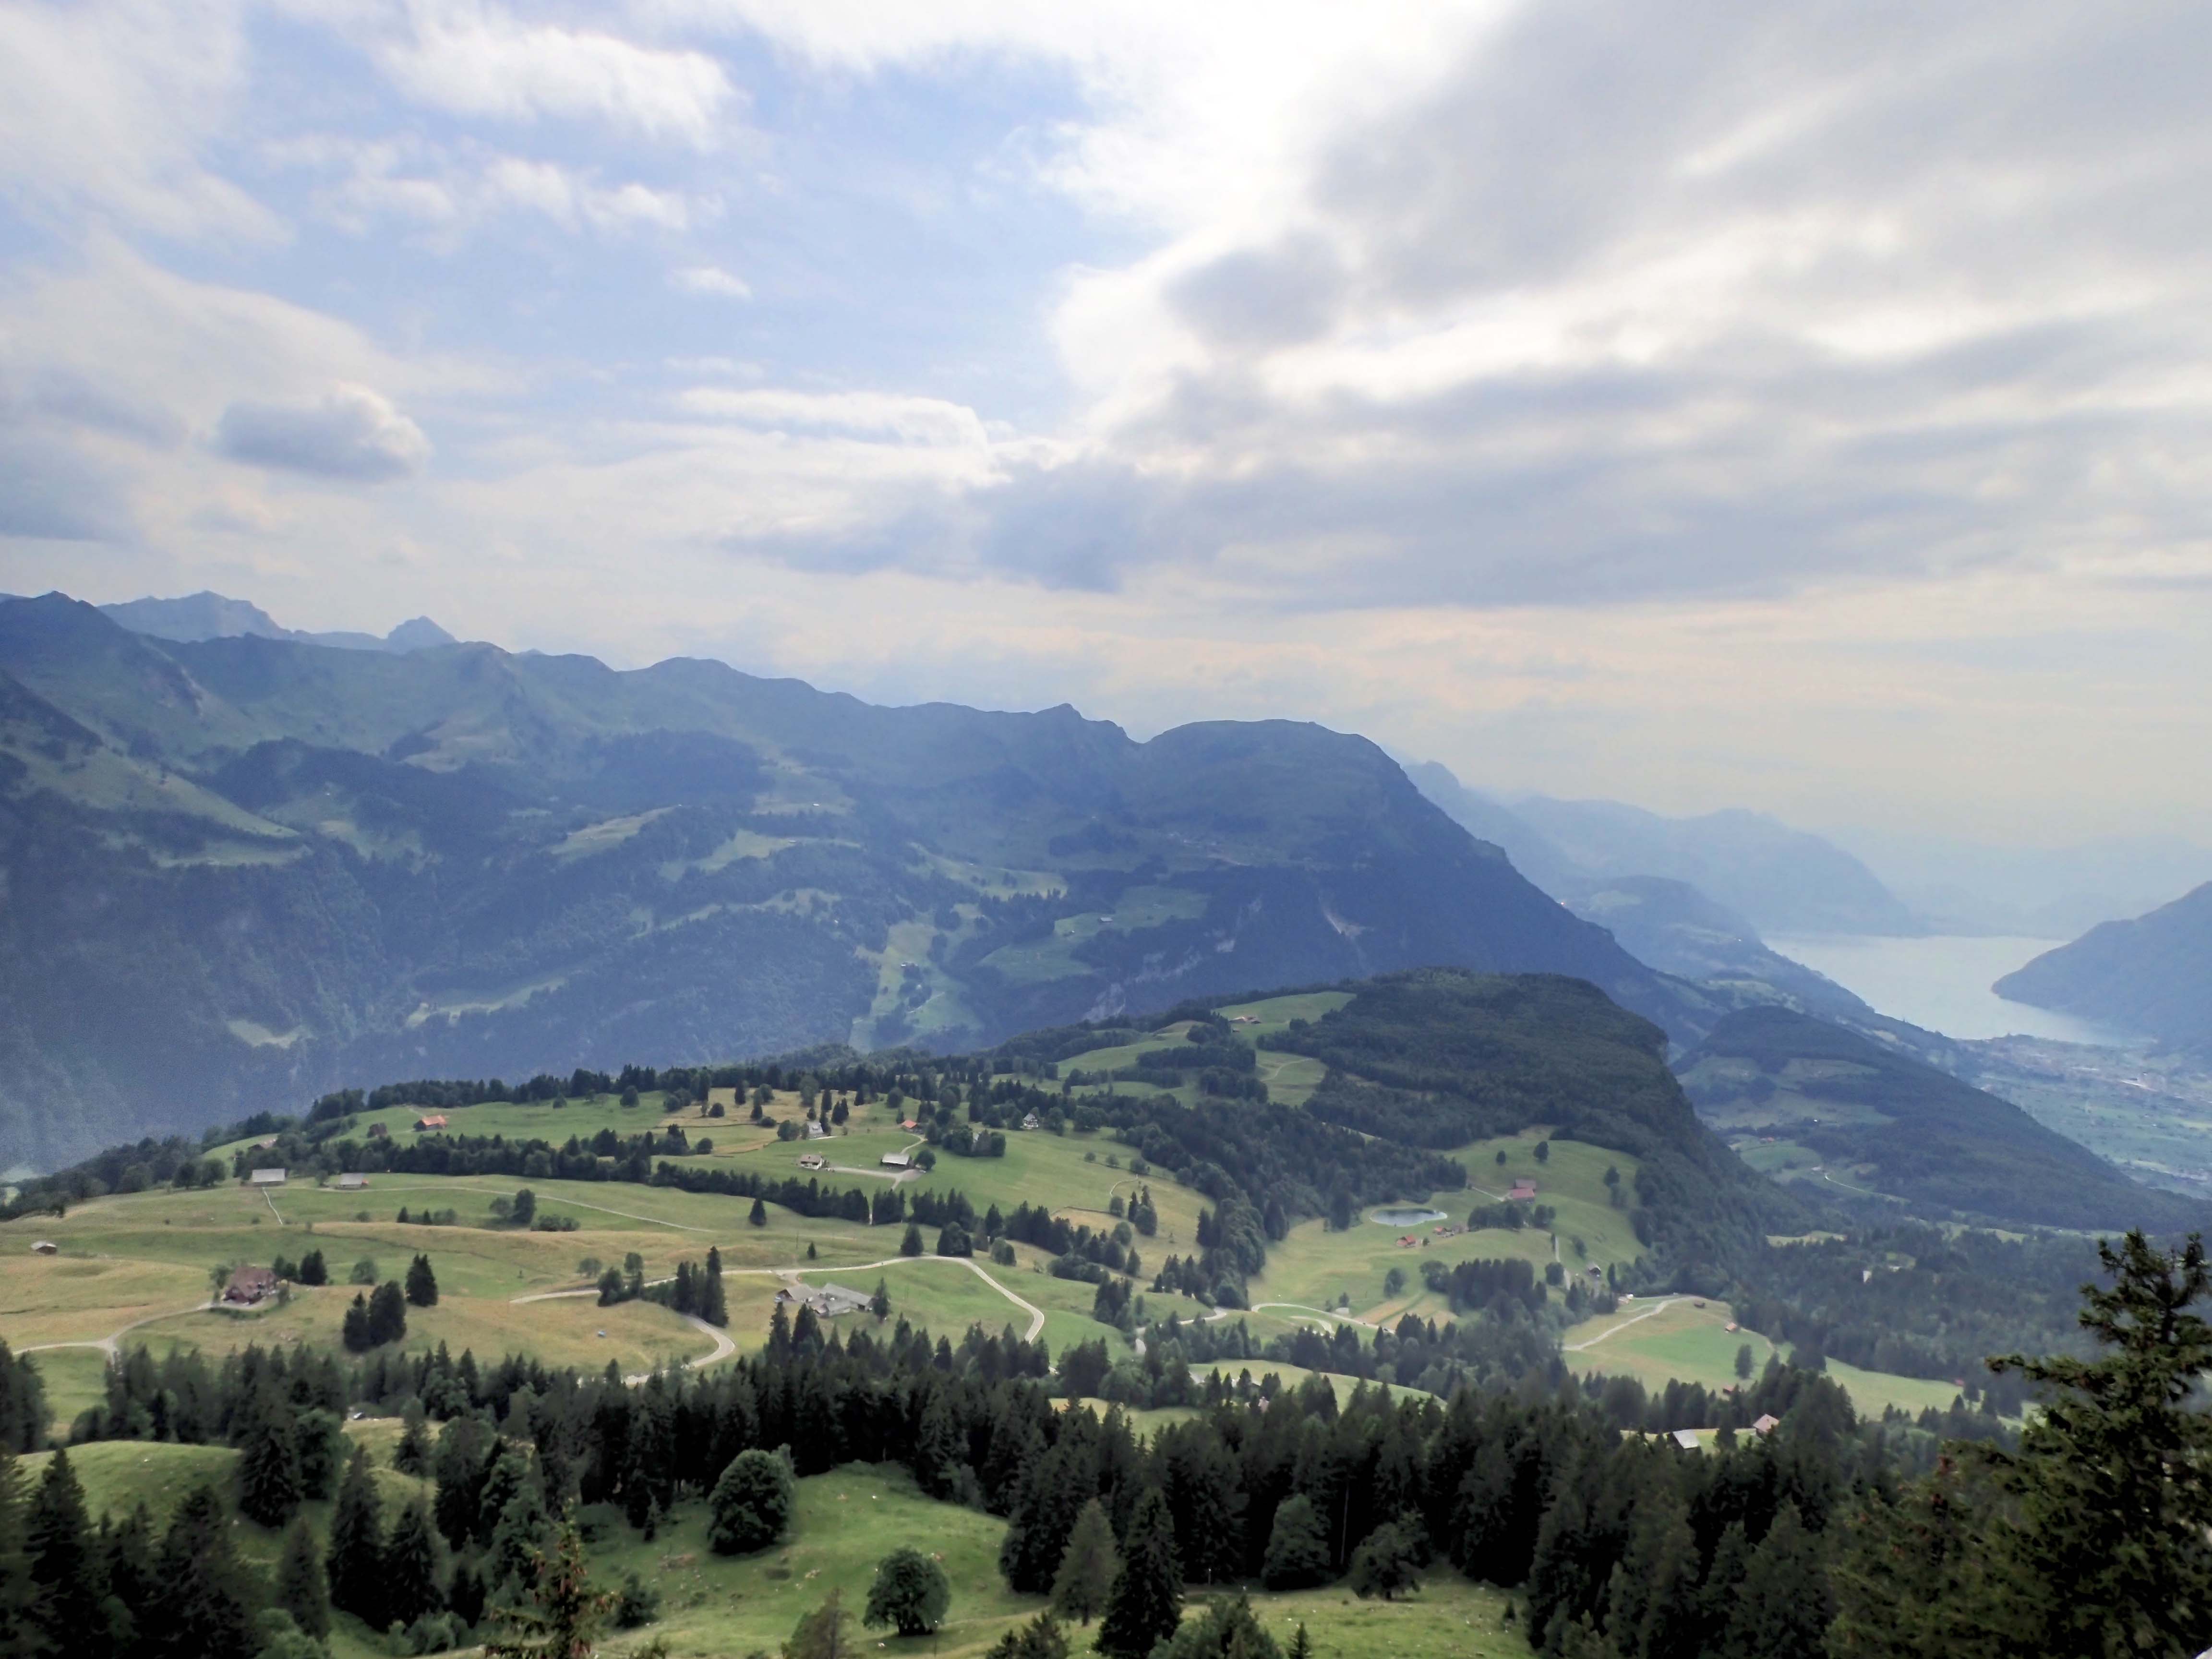 Some succulents growing near our last route.
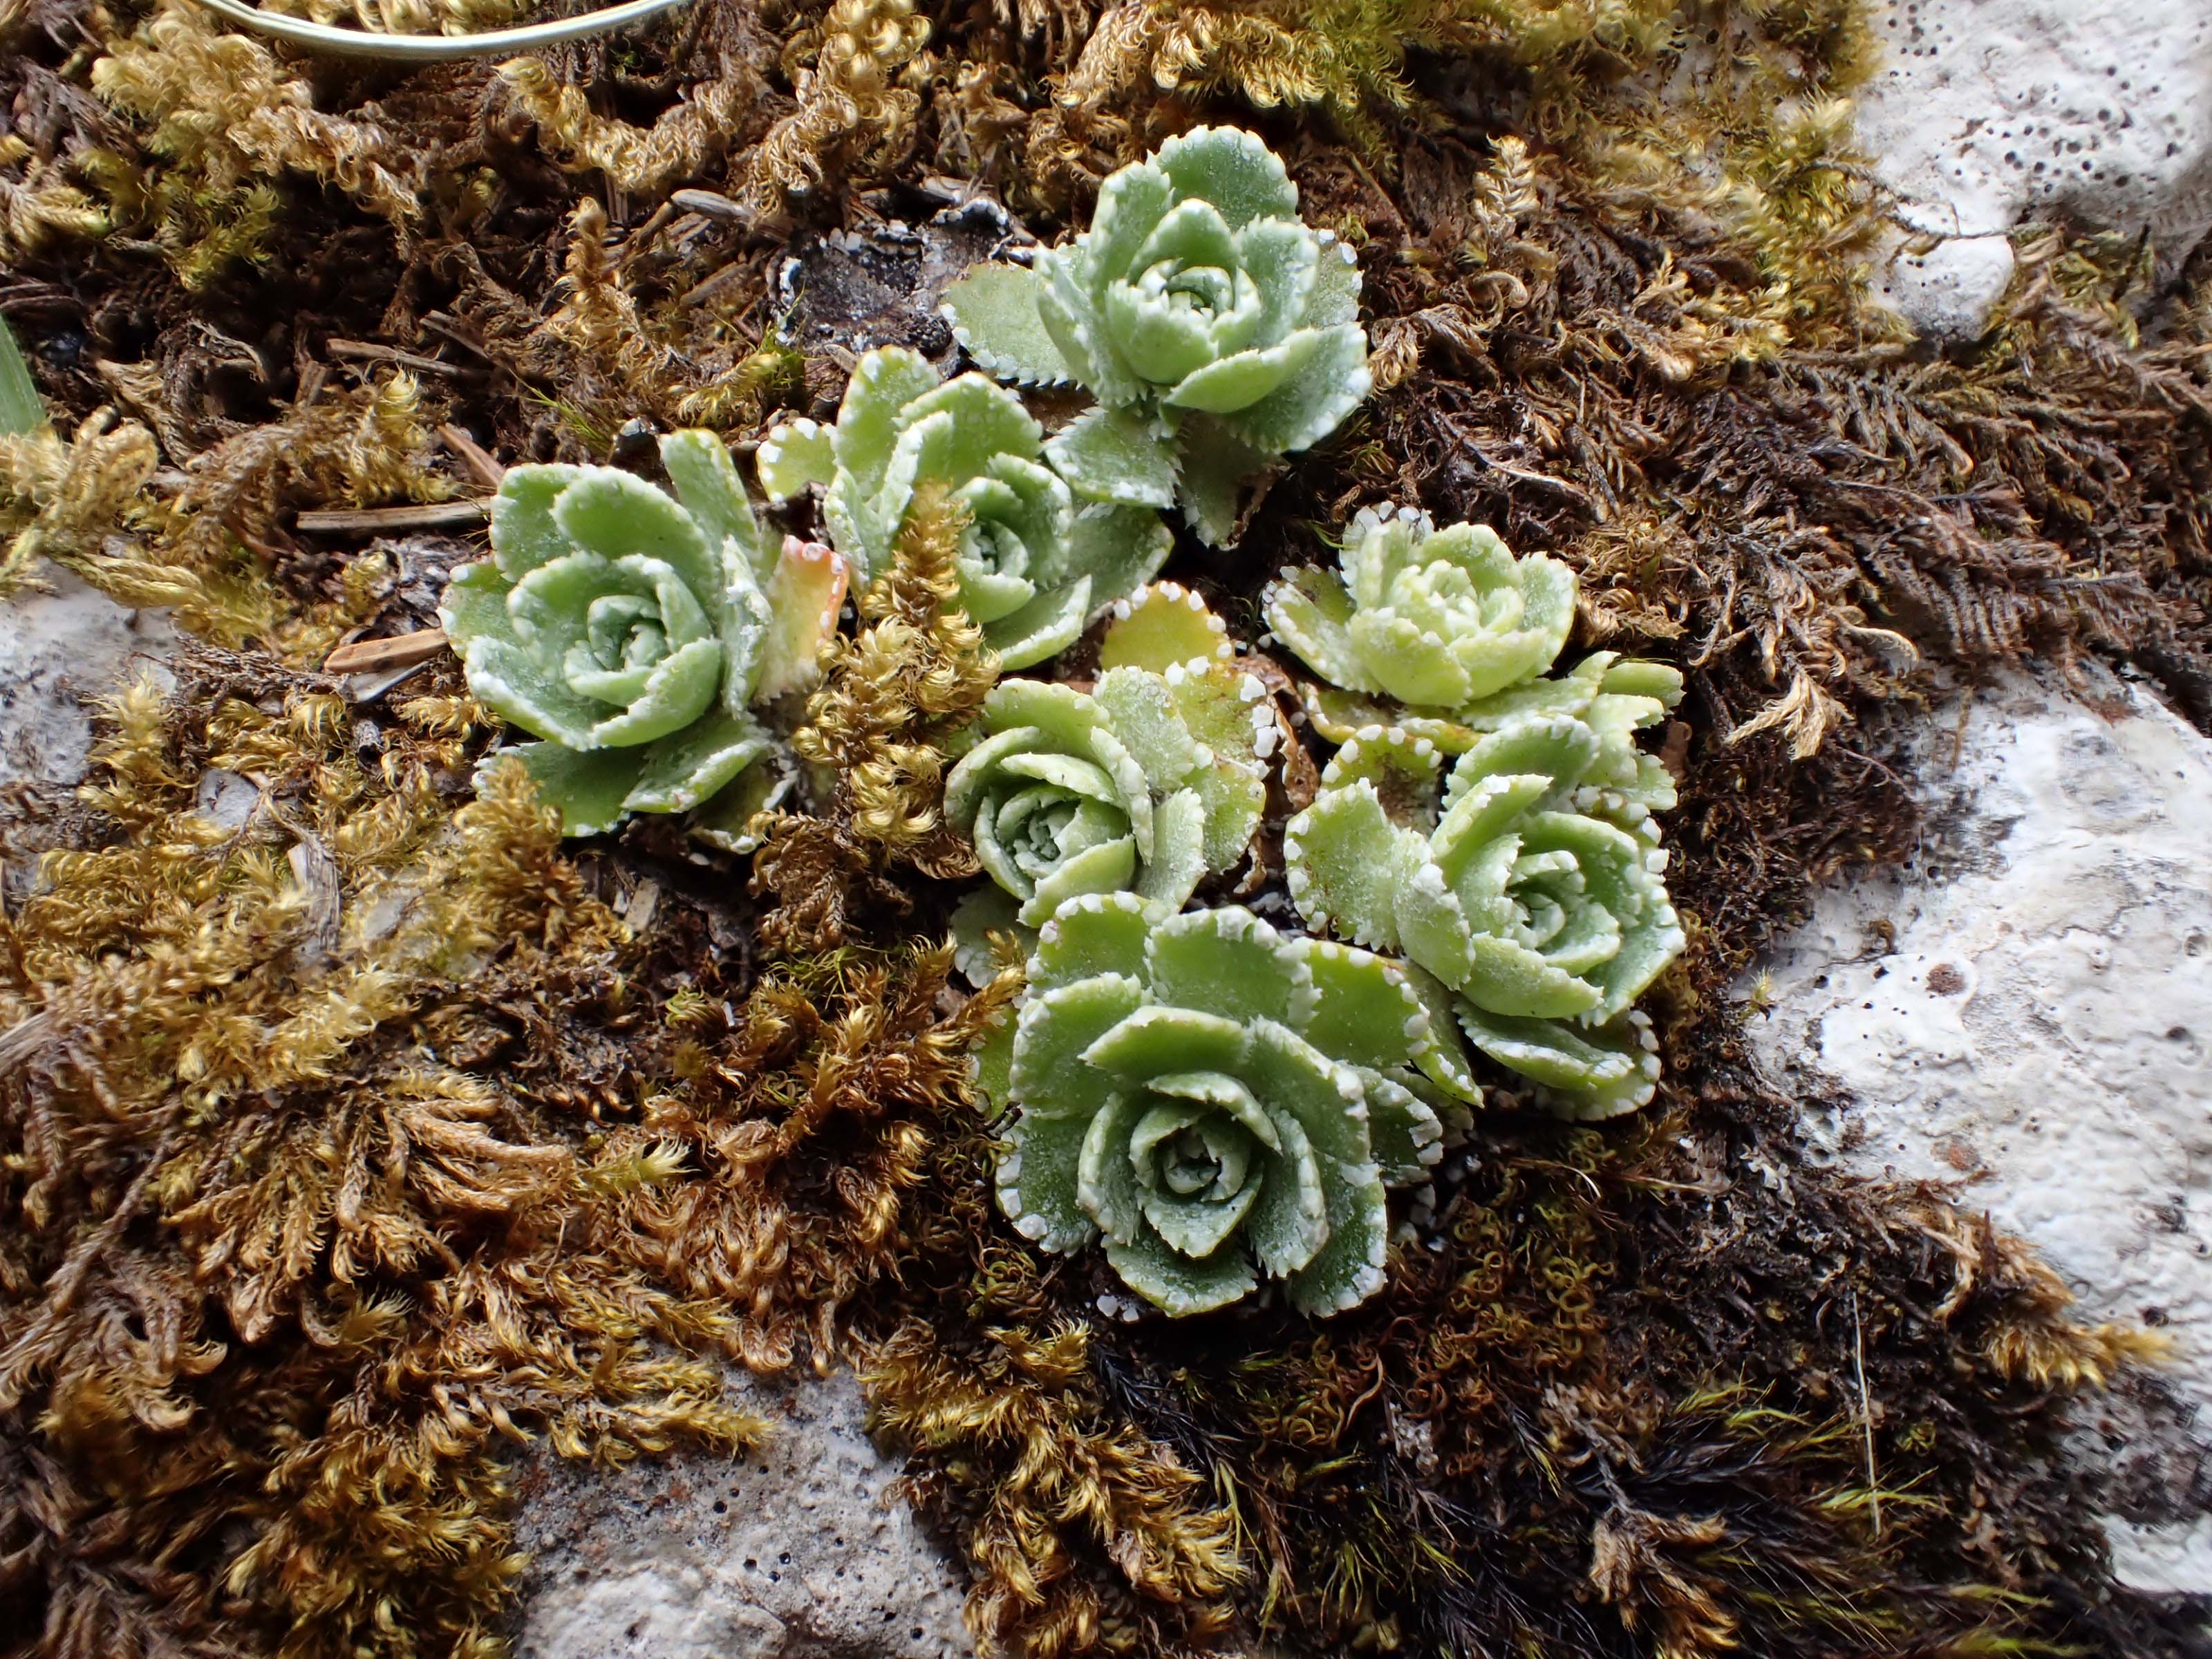 The last route was actually pretty tough for us. Kay started first and got stuck at one point, and when I went up a little while later, I almost didn’t make it past the same tough point. But I kept thinking, “Kay can do it, so can I!” 🙂
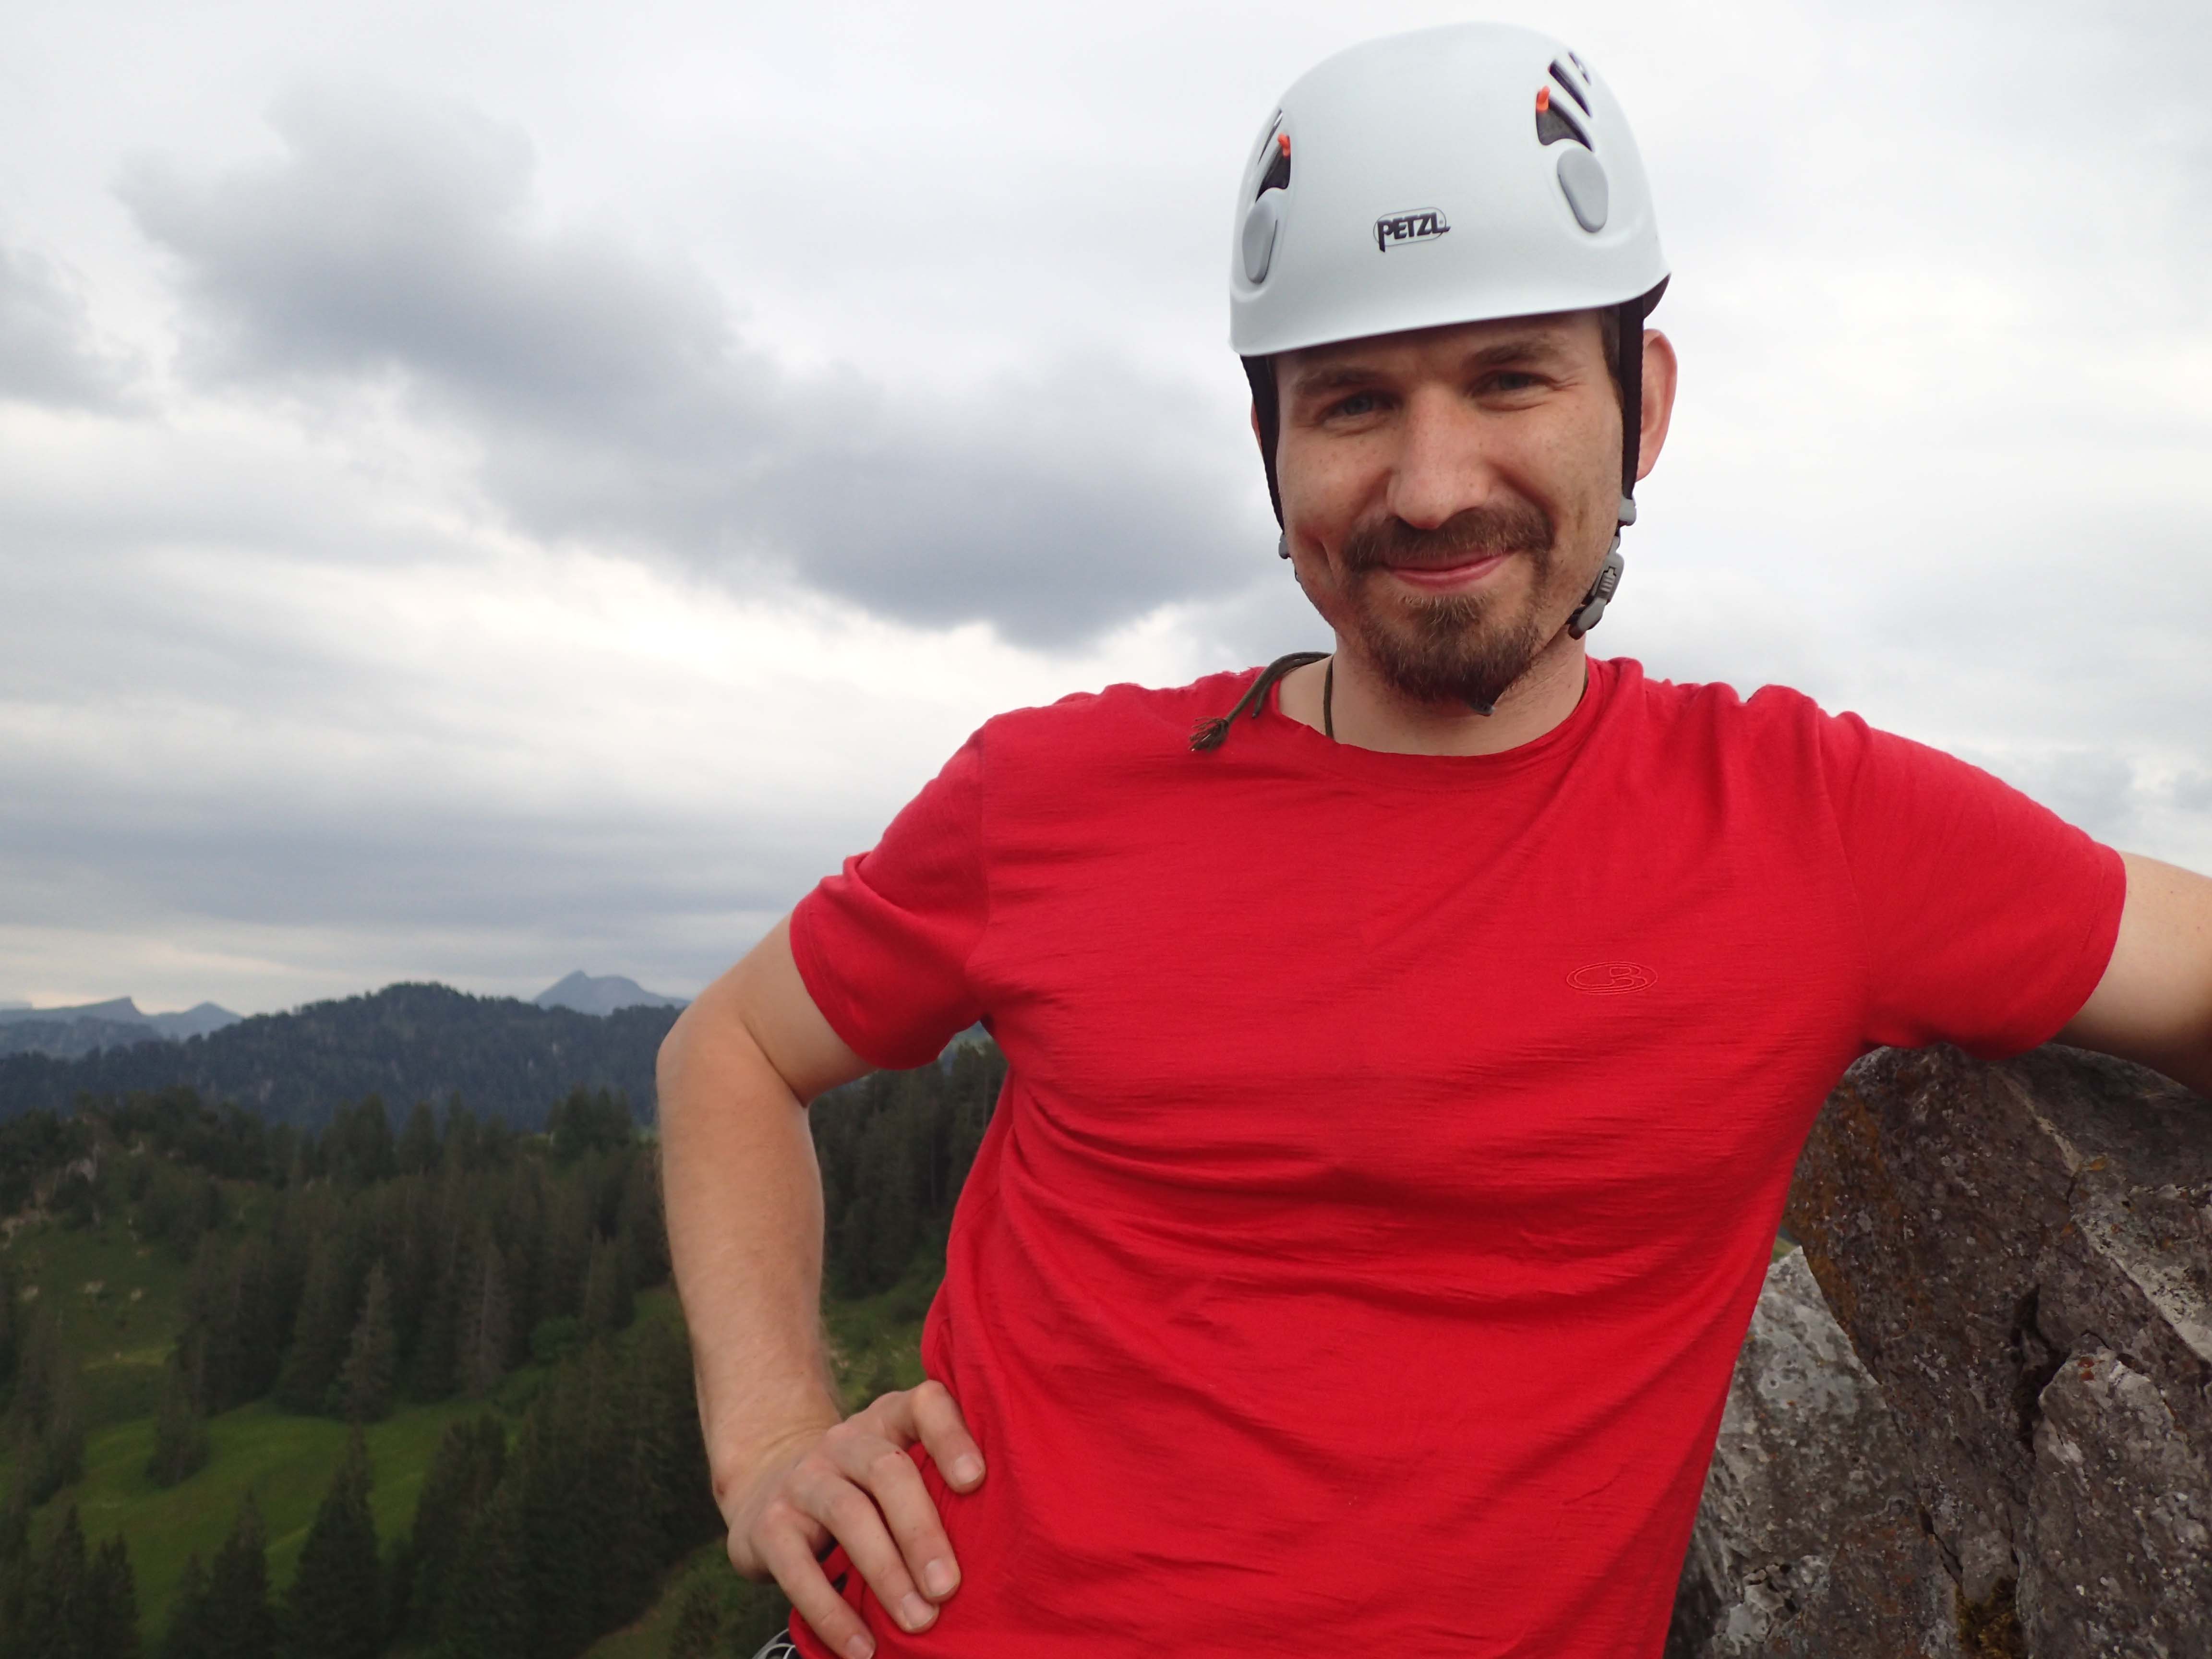 Selfie at the top too!
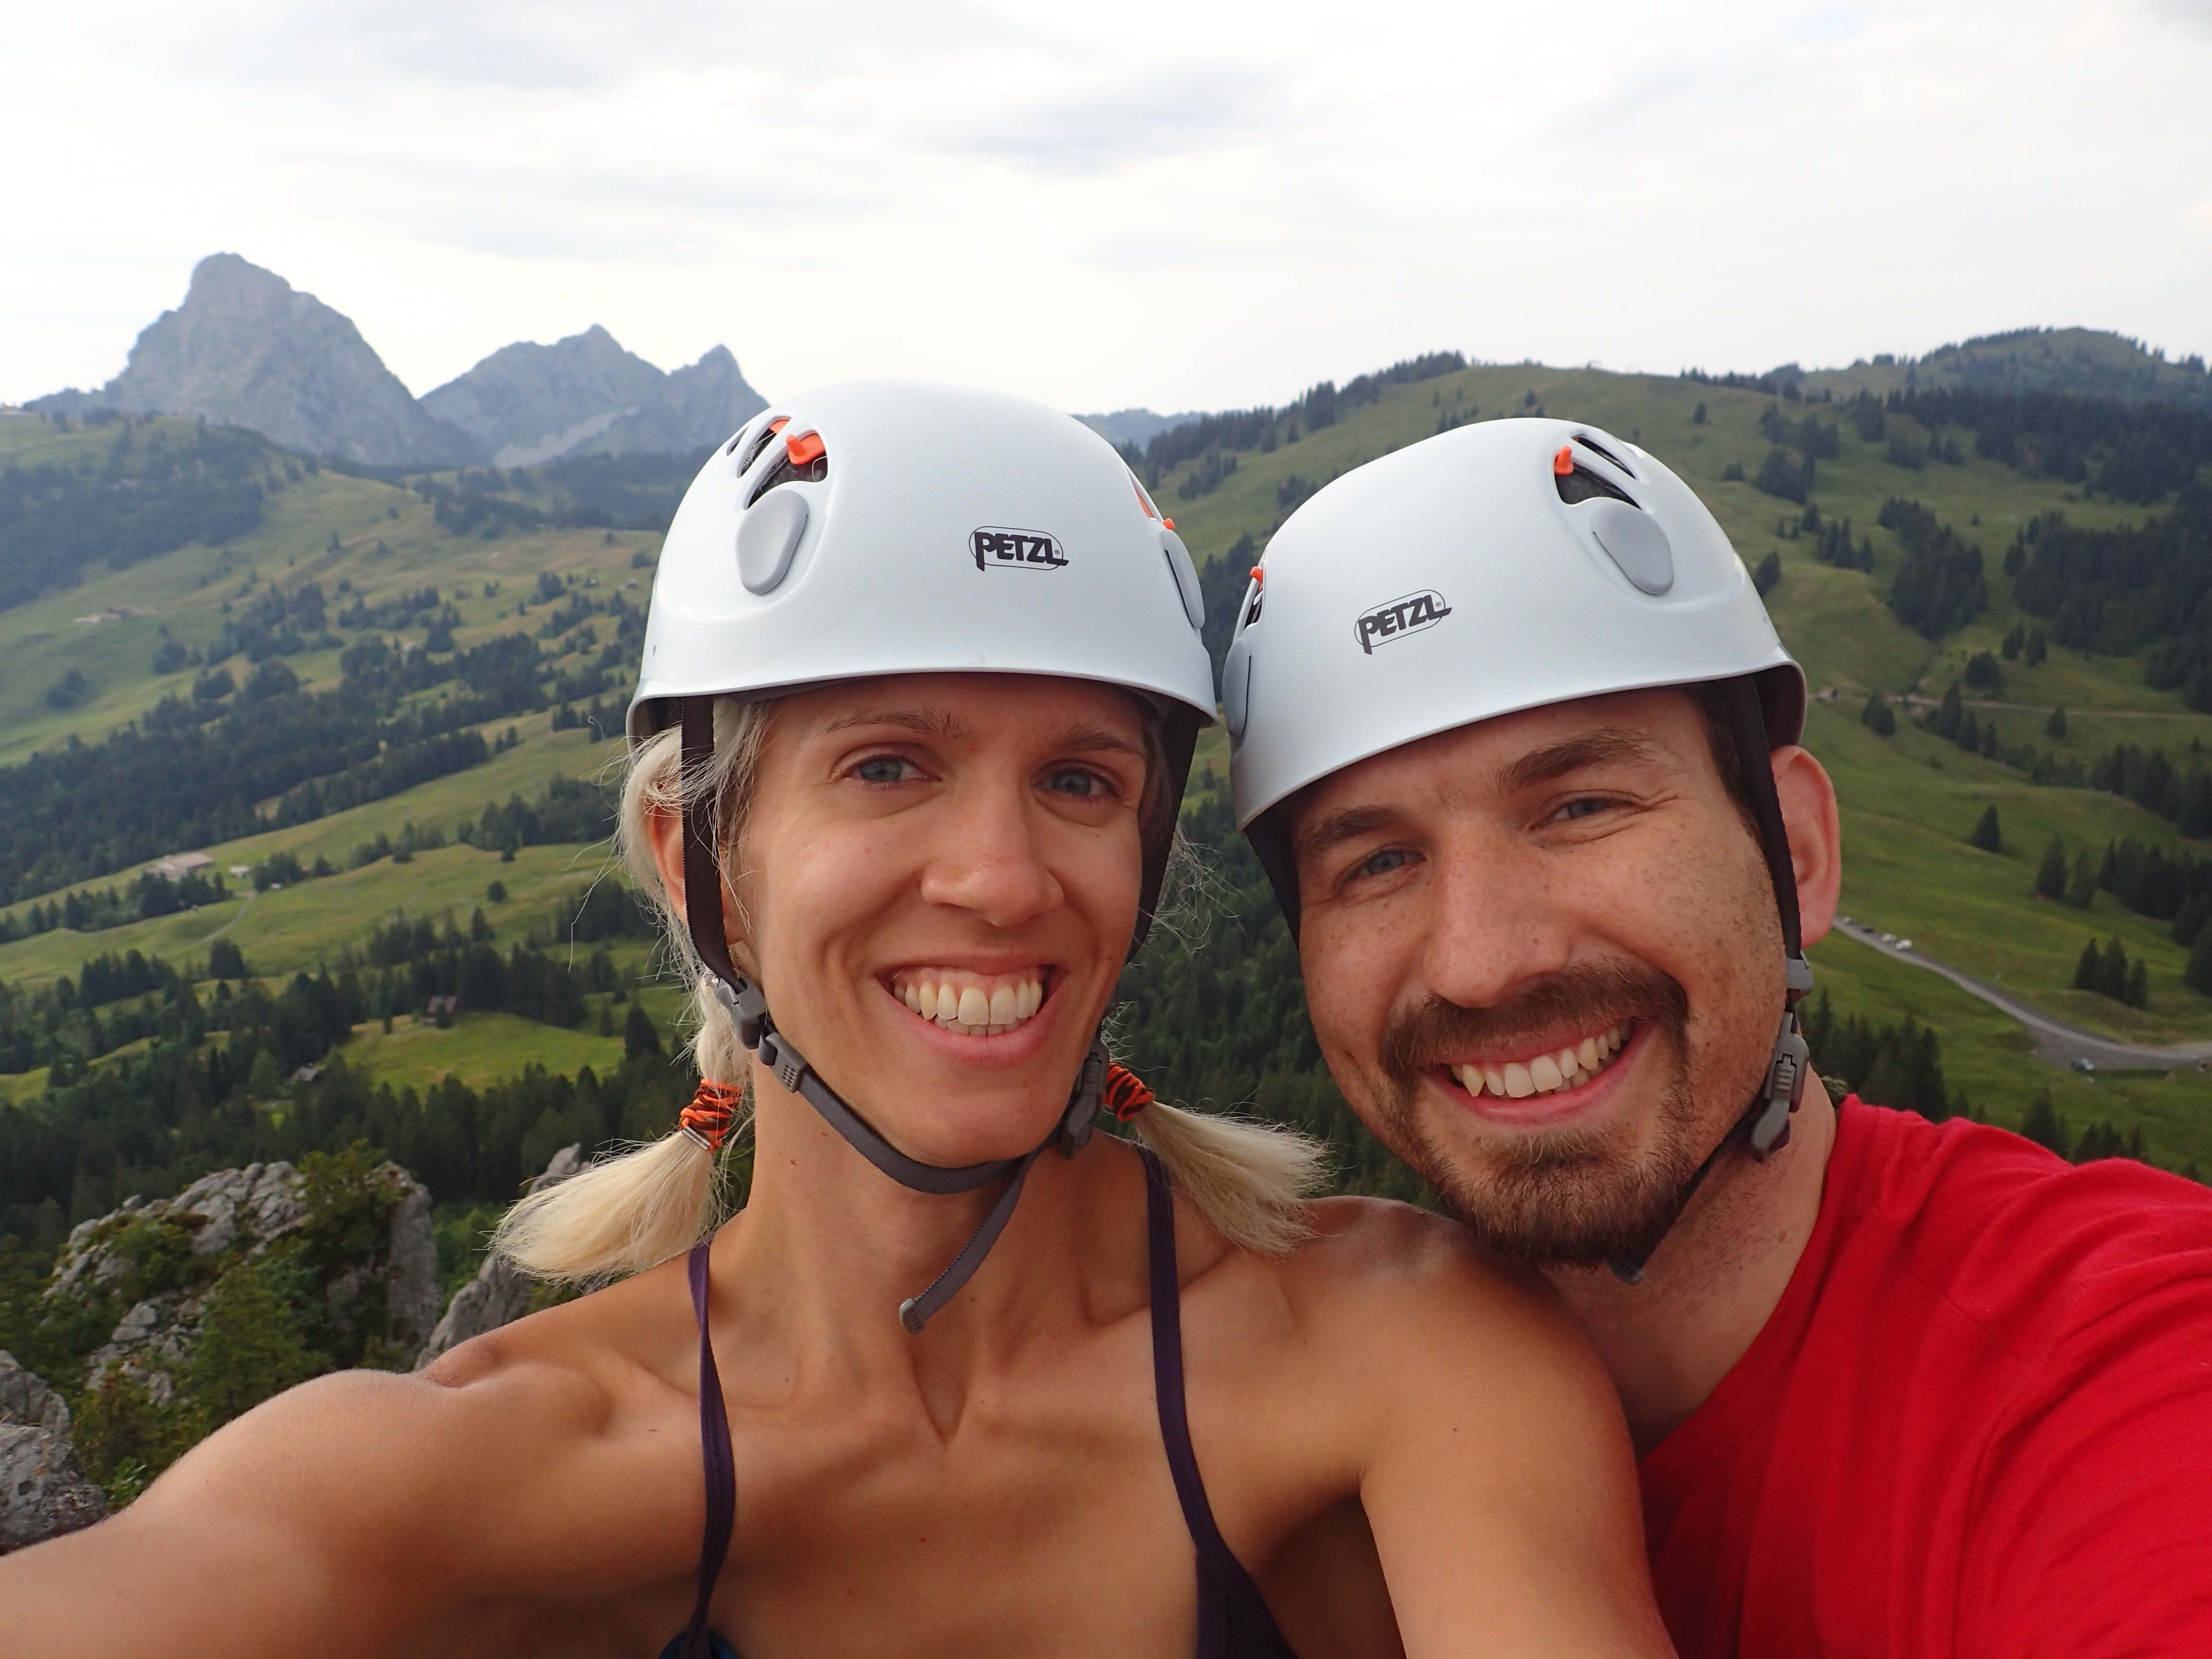 Kay preparing the rope to abseil down.
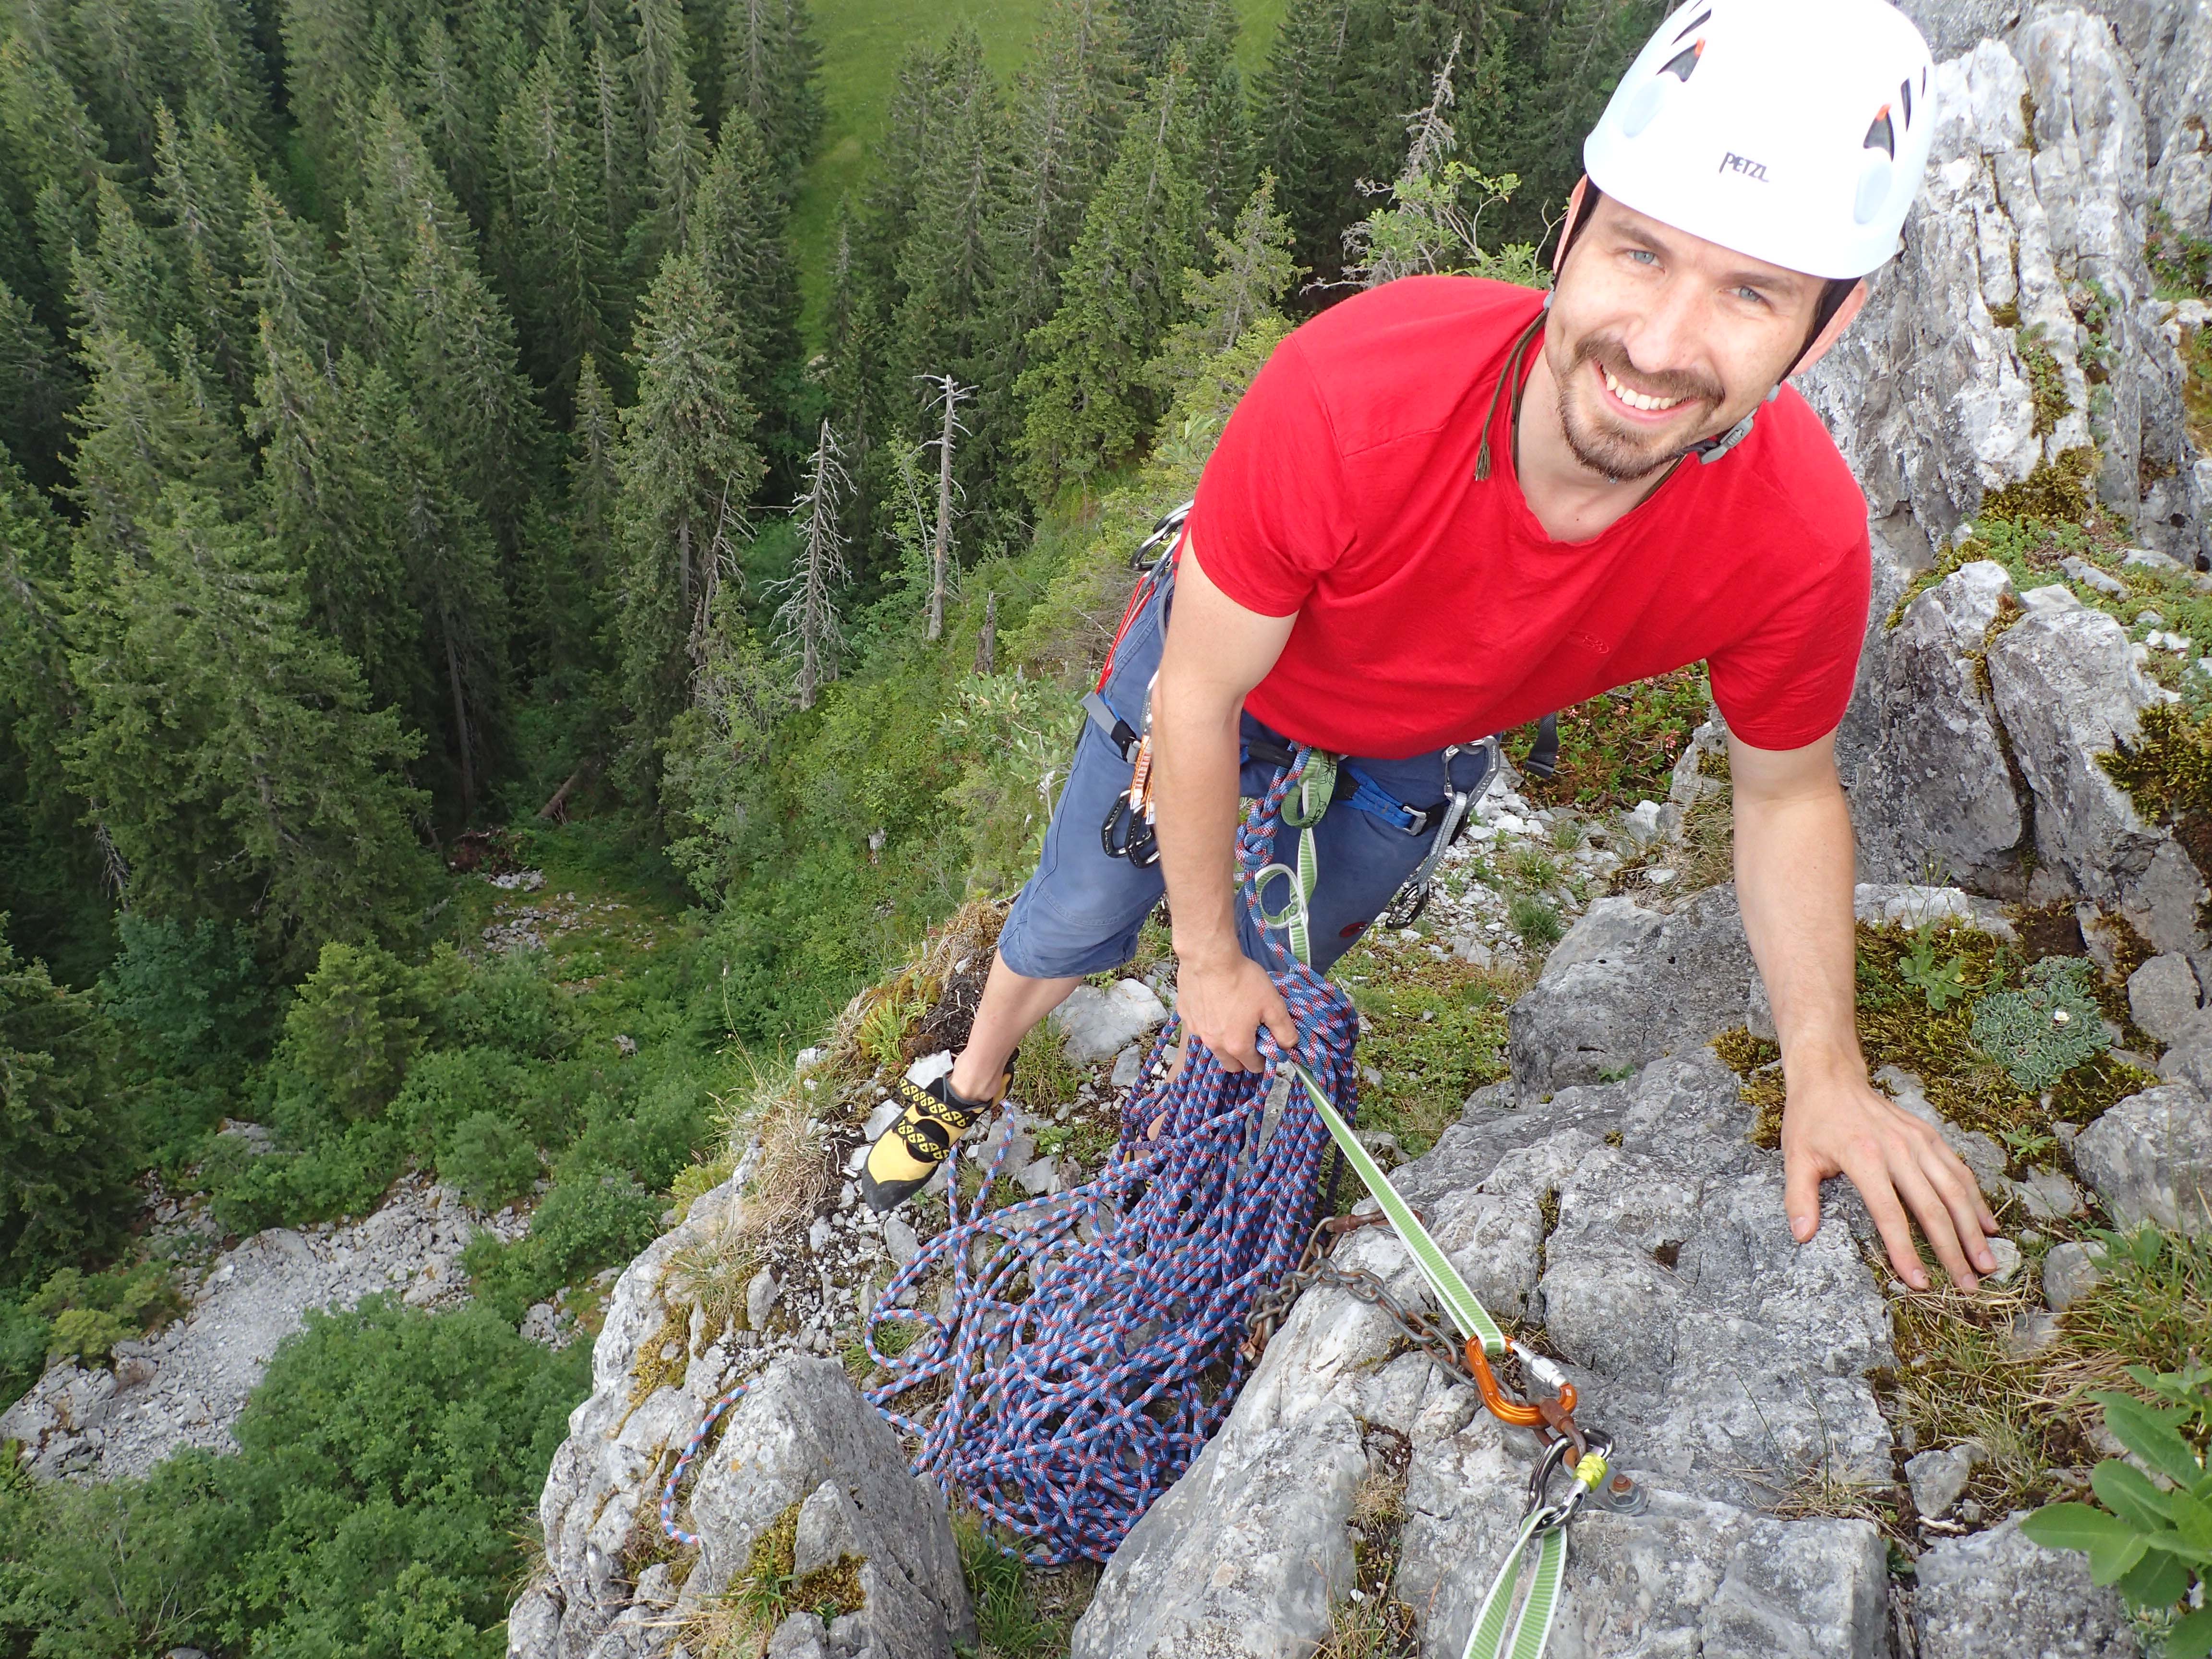 View from up there looking down on
 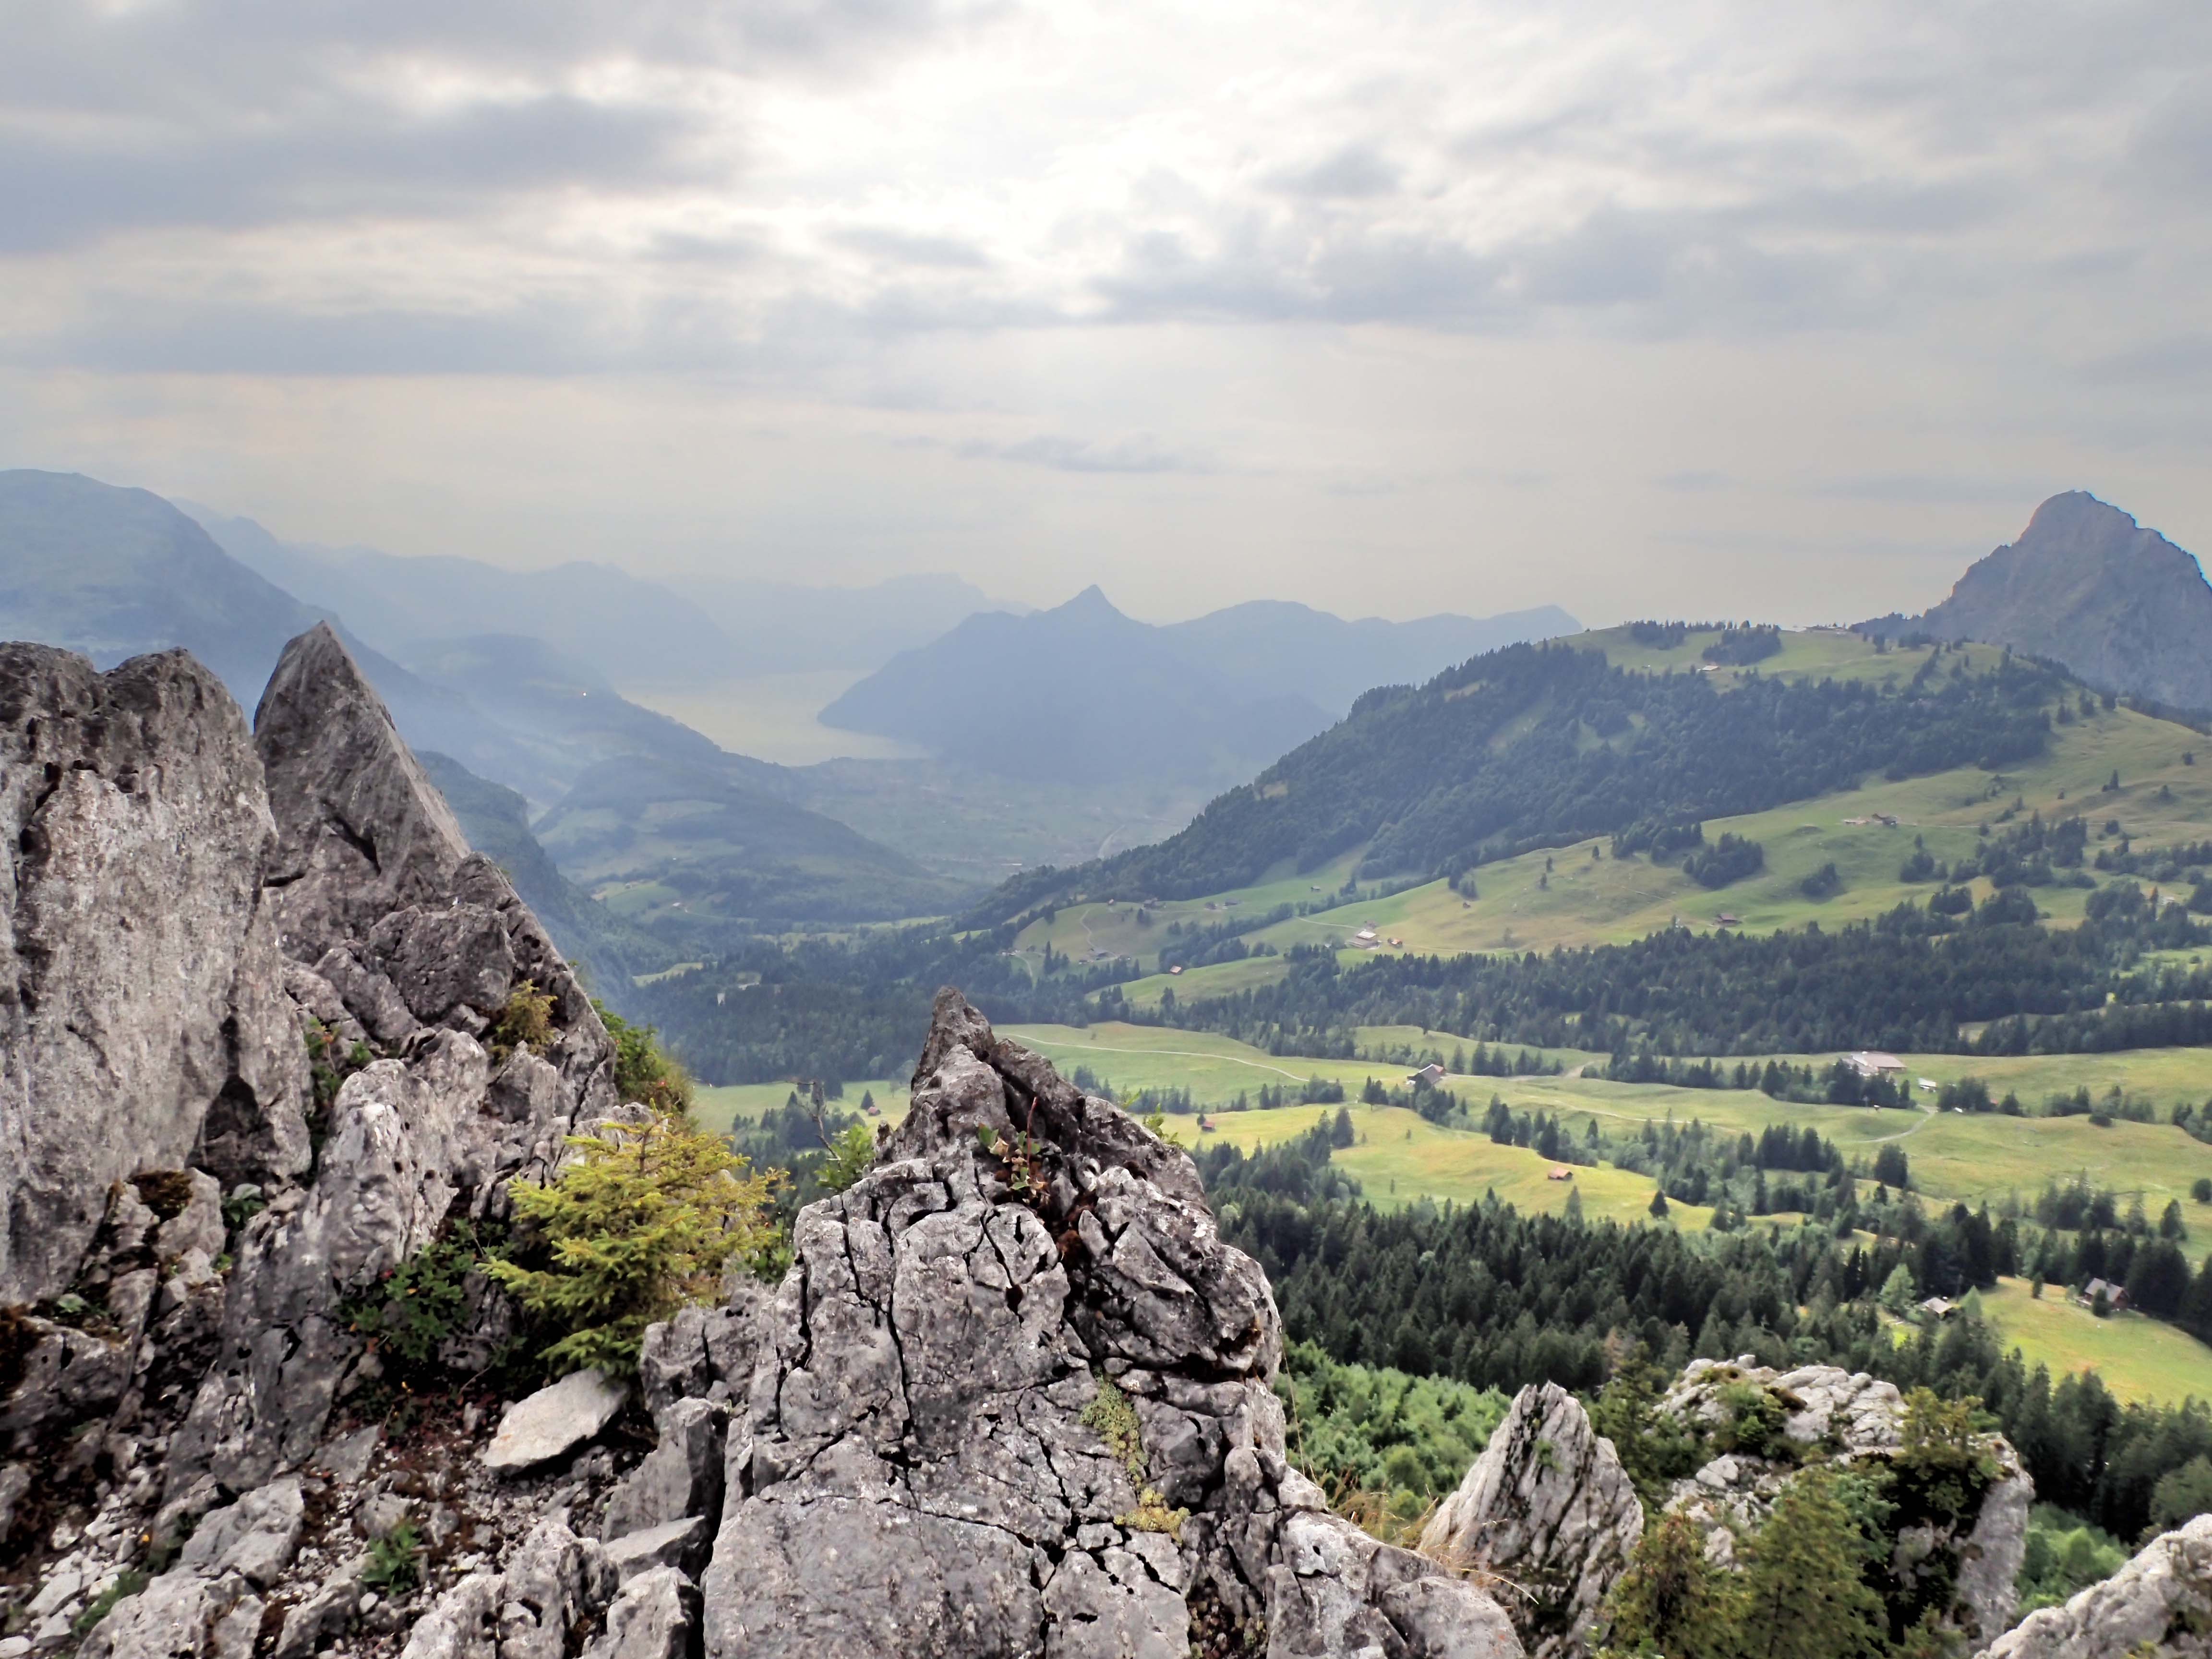 It was pretty breathtaking.
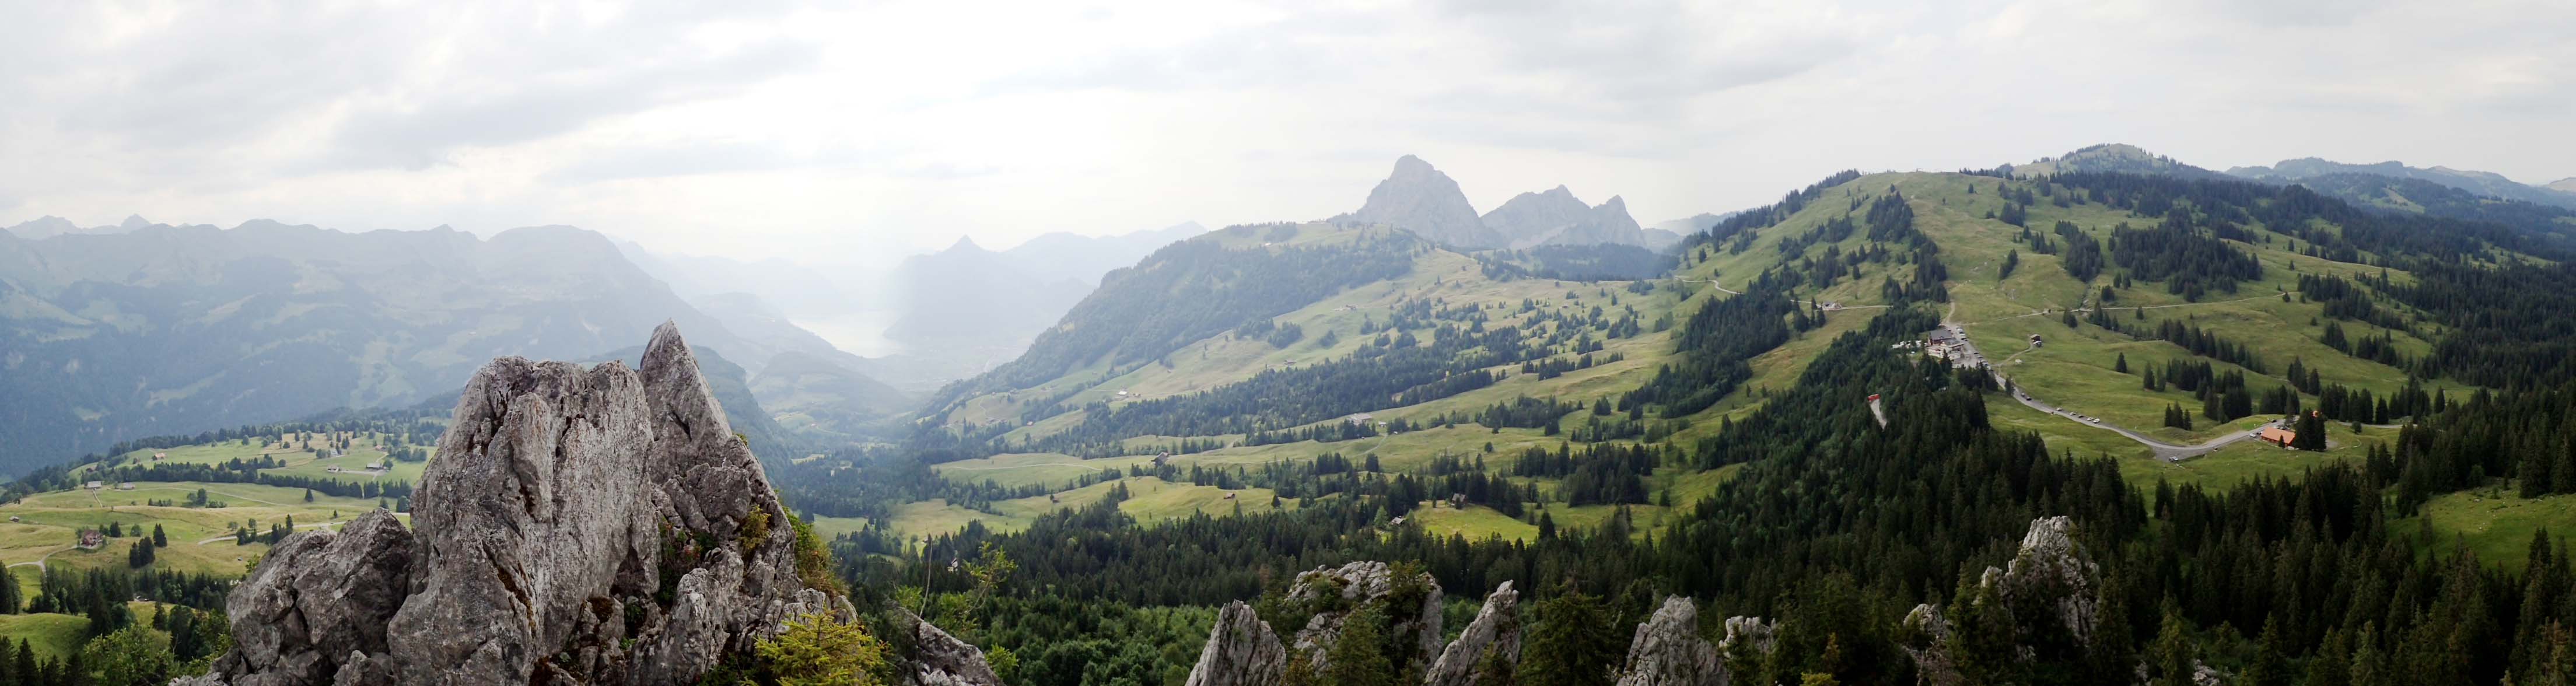 I went down first and Kay followed. I am getting the hang of this abseiling by yourself thing.
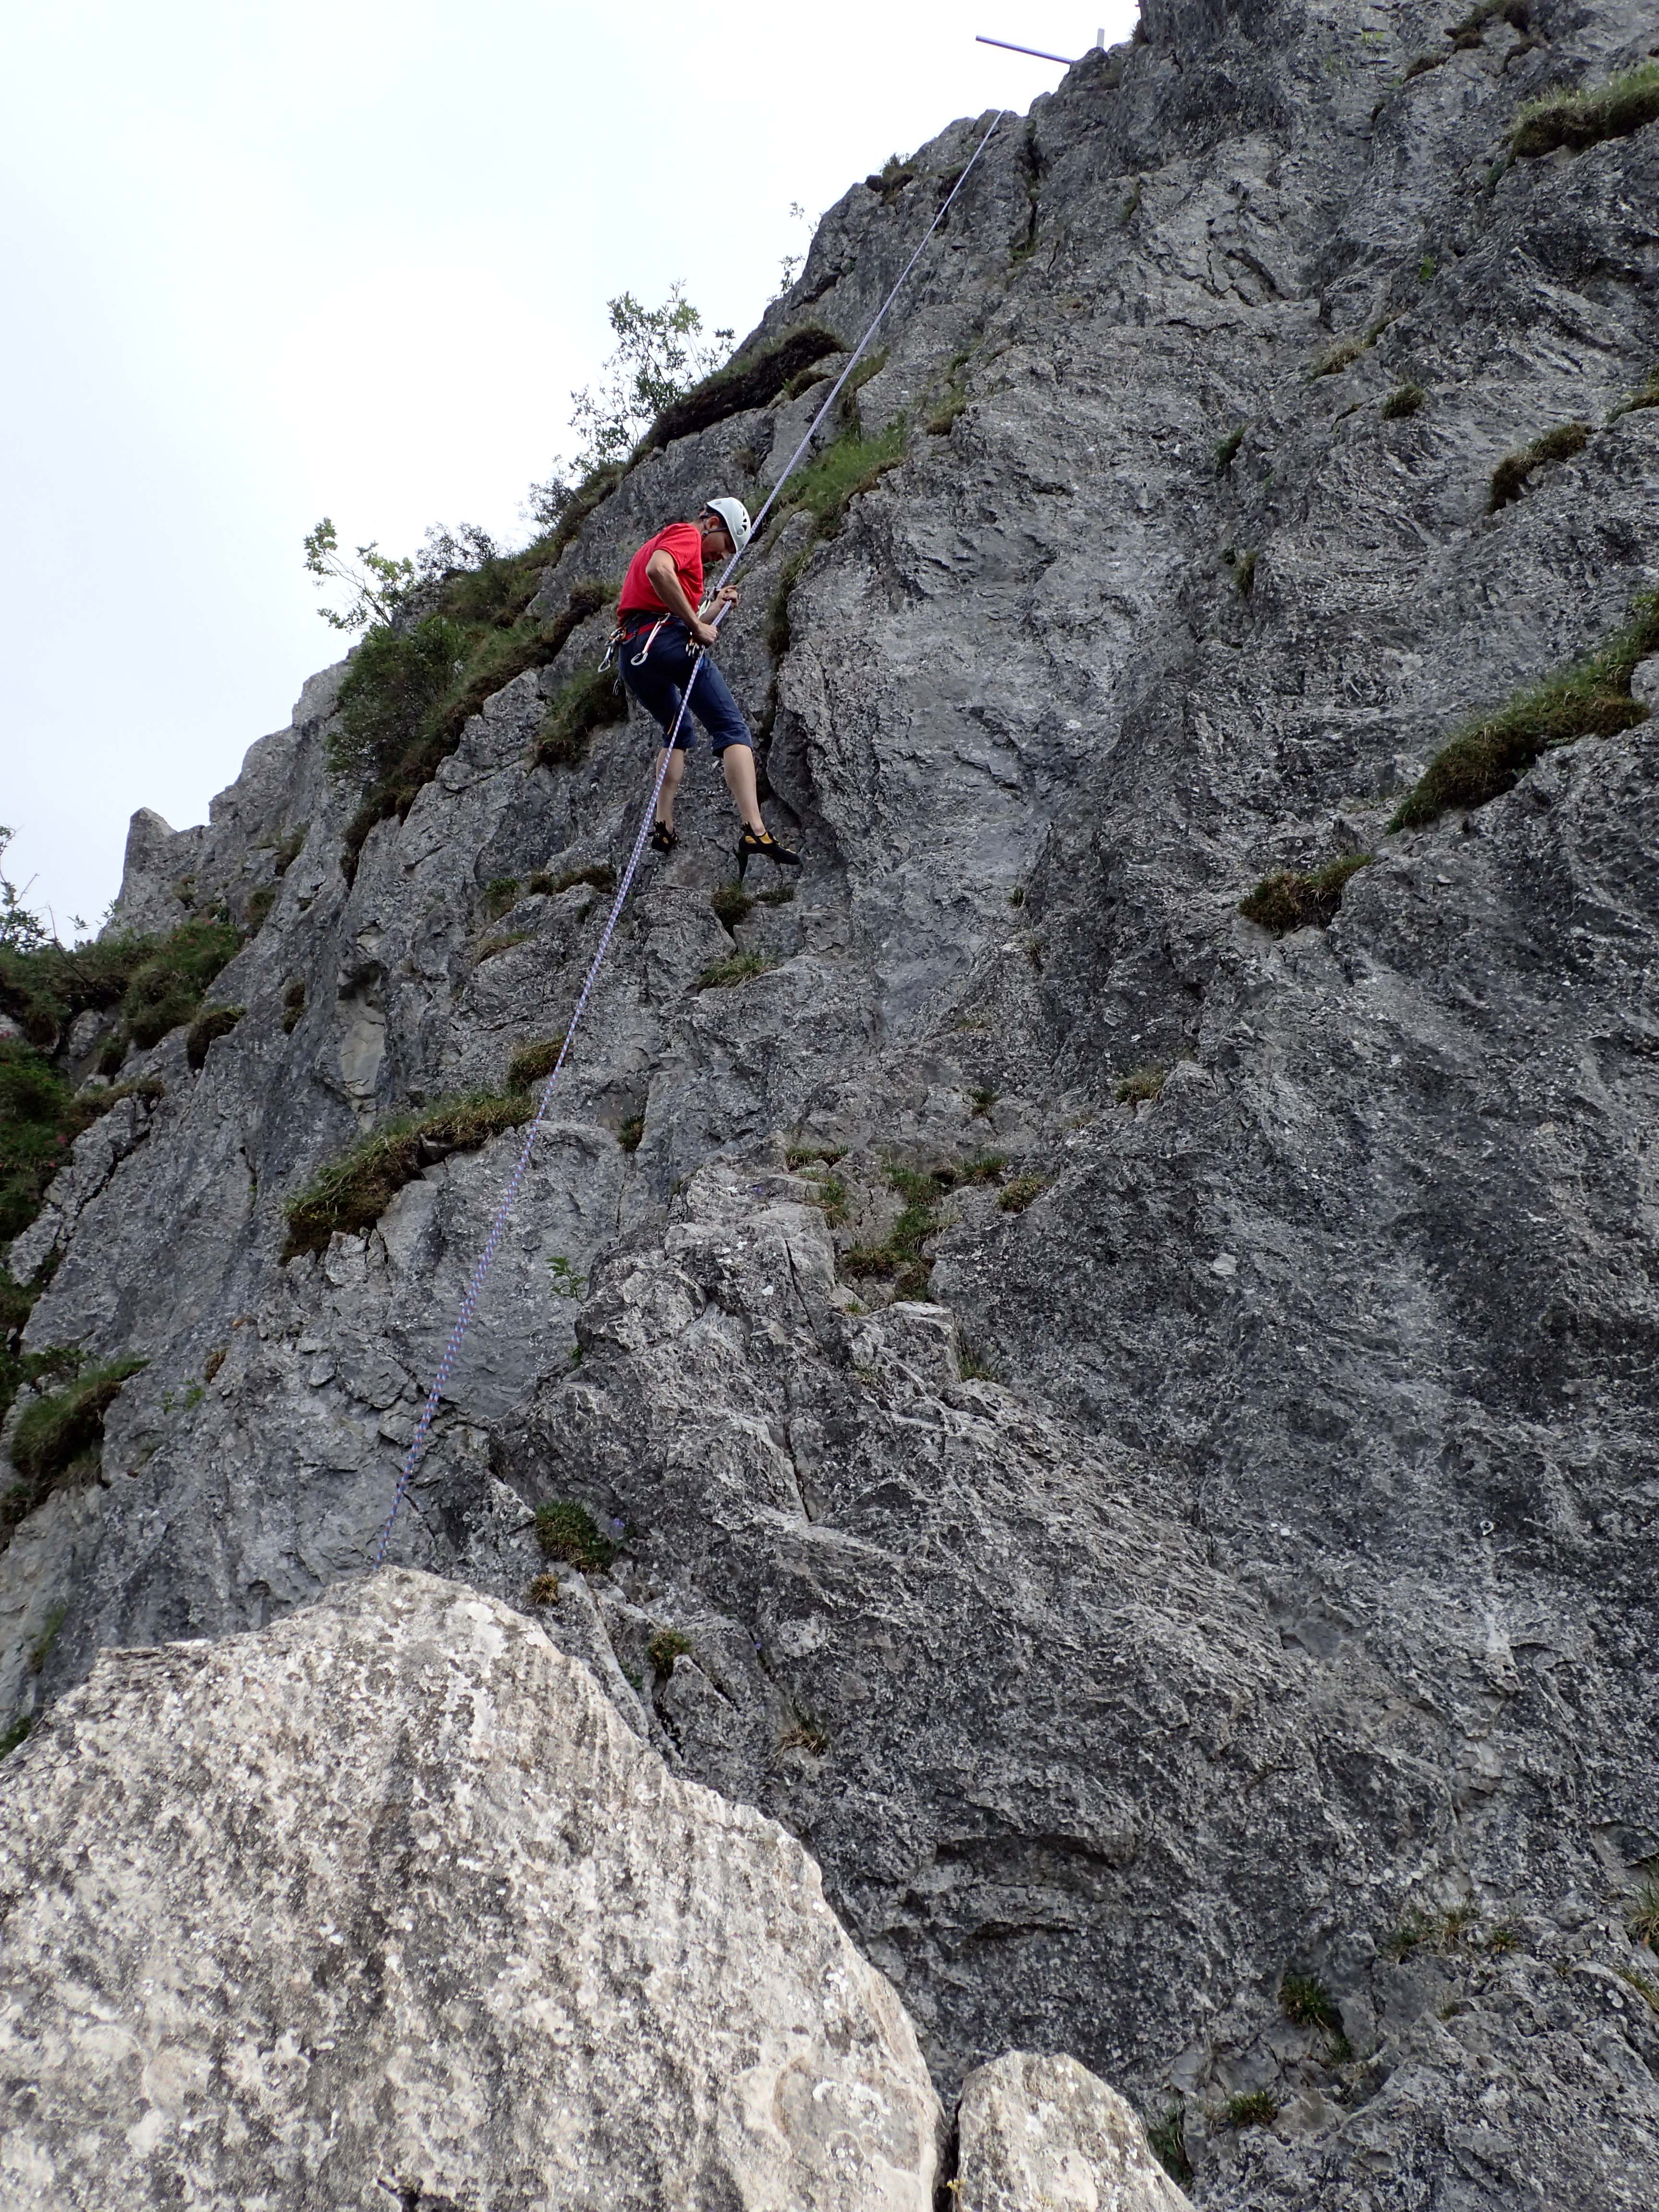 In fact, abseiling might be one of my favorite parts of climbing. It sure is the laziest part. 😉
 Back down again, Kay was pretty smiley. And handsome. Don’t forget that!
 One last selfie and it was time to head back on the bike. The ride back down the curvy hill was certainly easier than the way up. On the way up, I felt like I was in danger of falling off because of the heavy backpack, but on the way down I just needed to make sure that I did not dive into Kay.
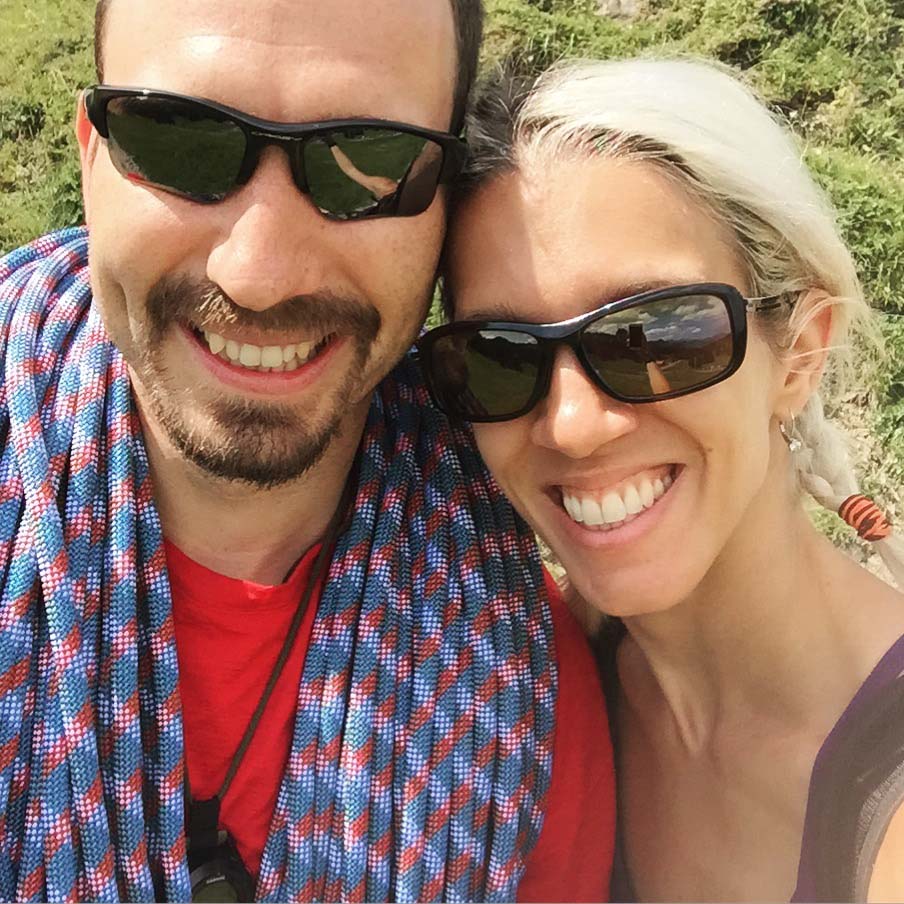 We are hoping that we’ll be able to get some more climbing done this summer, but things are starting to get tight. Only a couple more weeks until Kay is off for the army and weekends are filling up left and right.
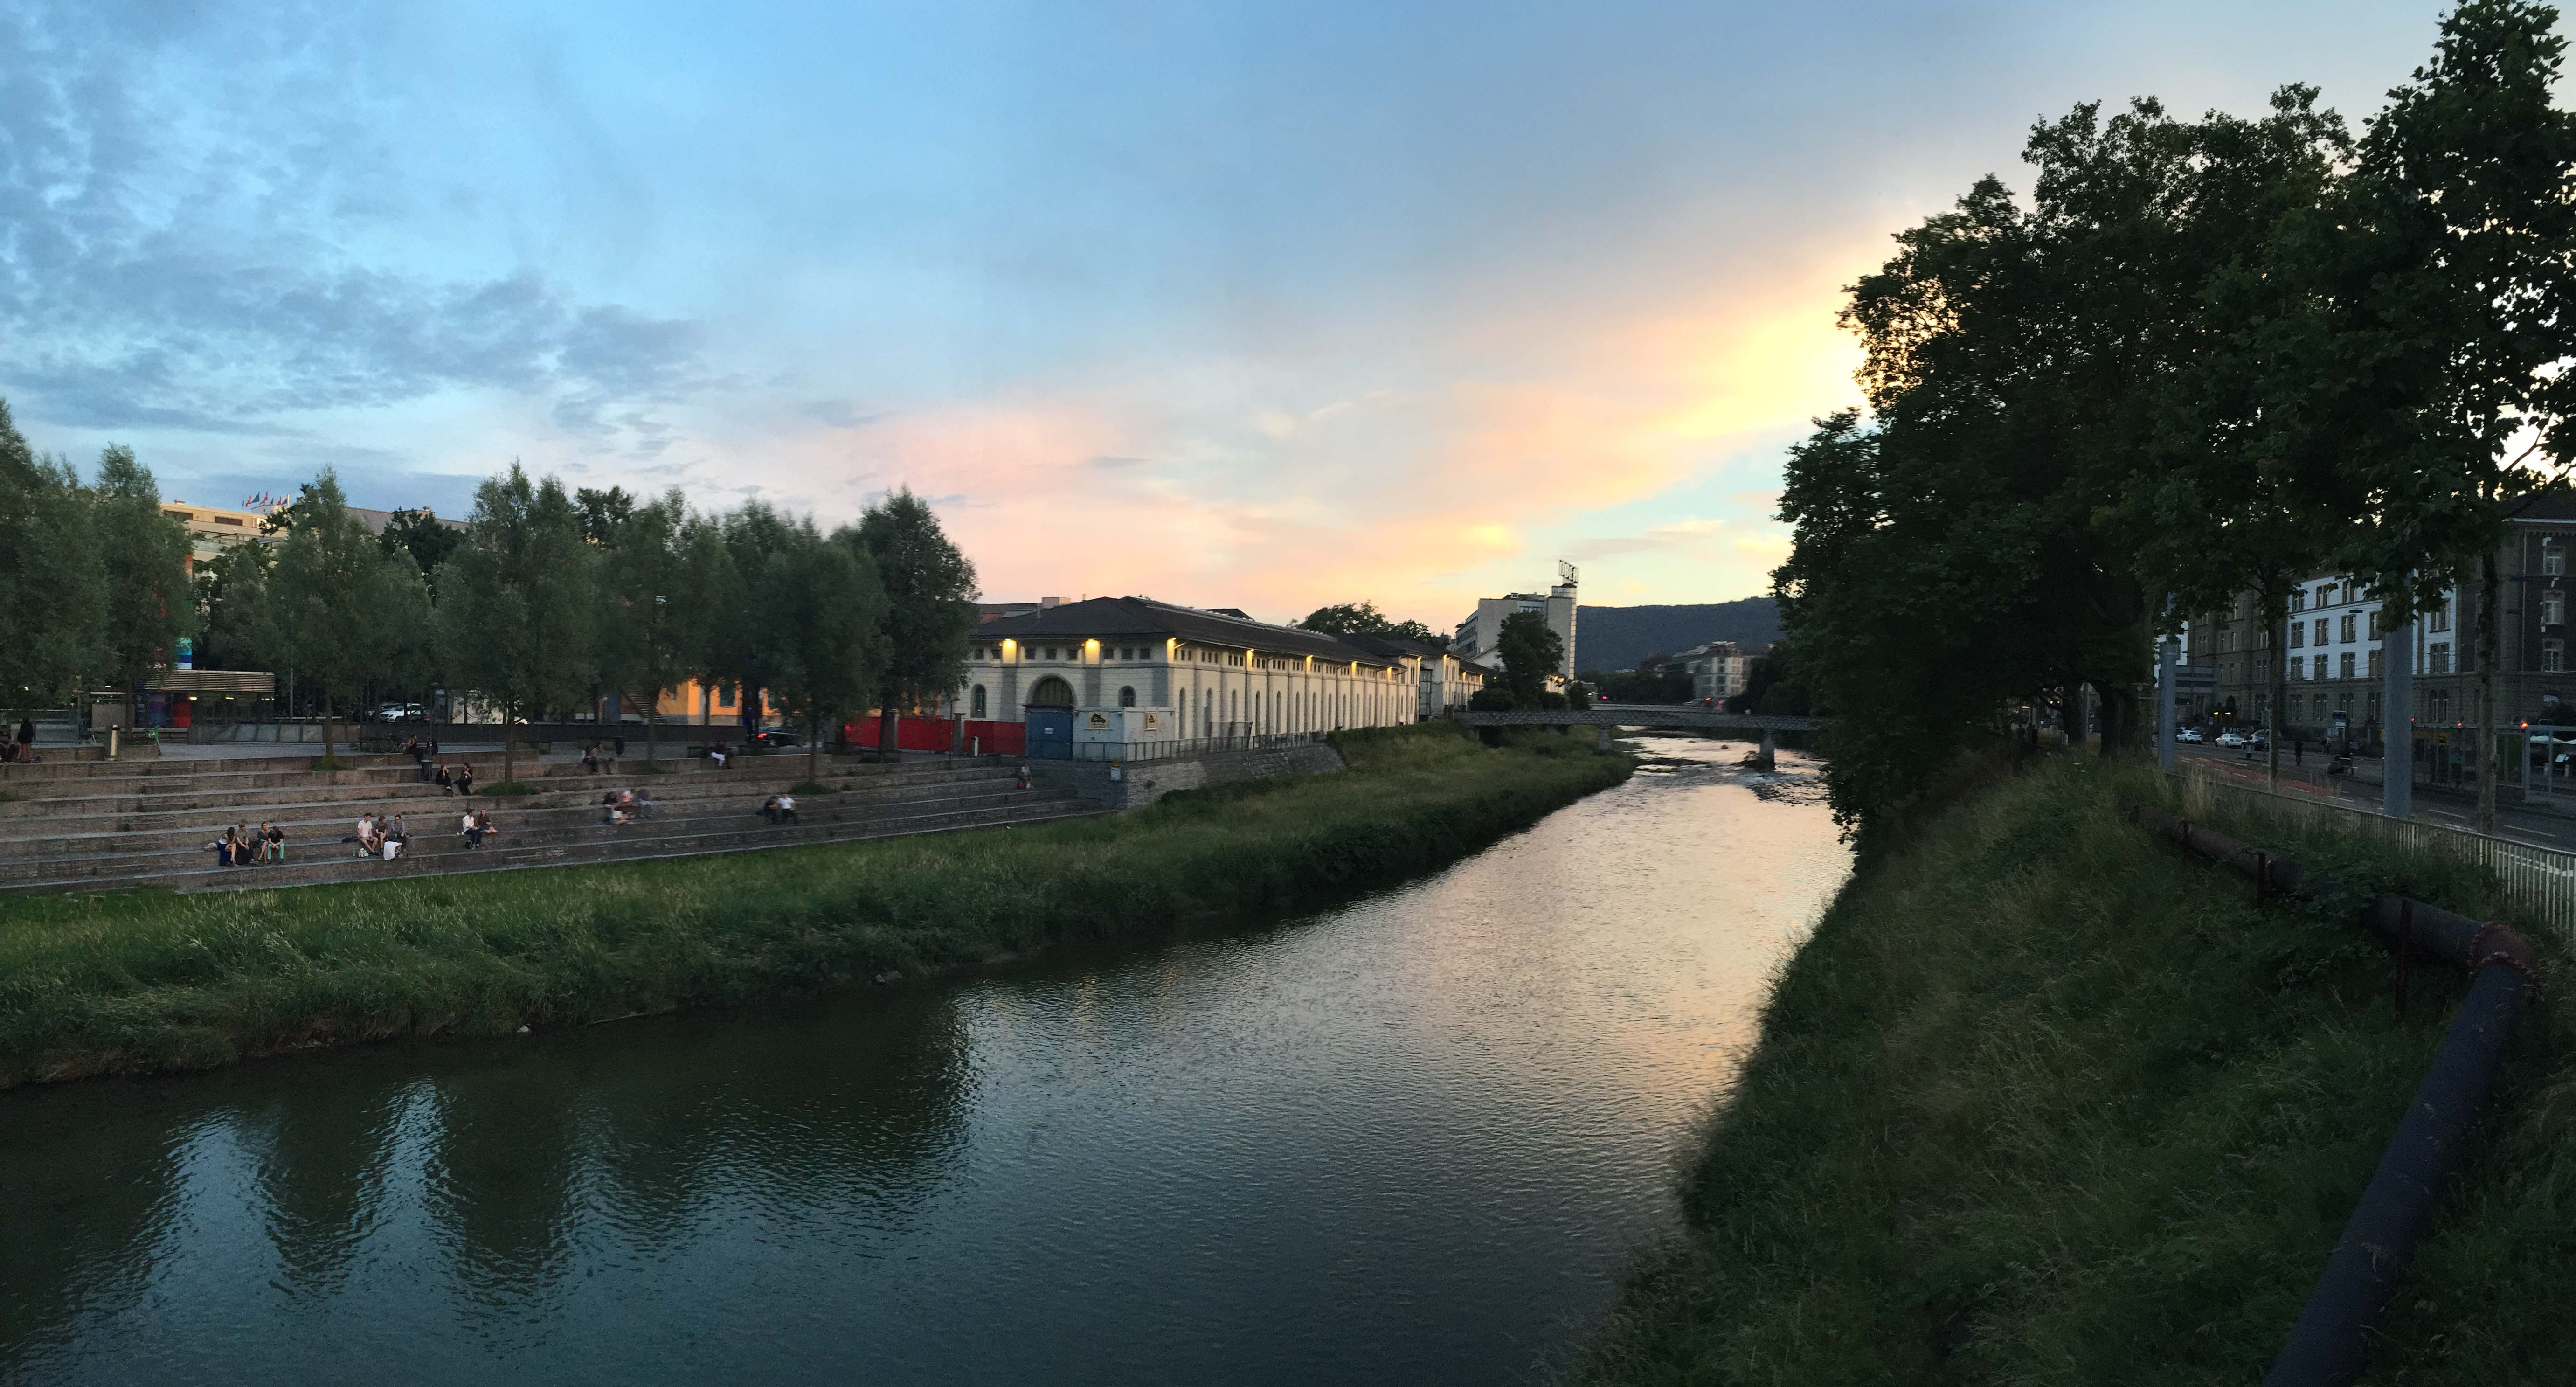 (Walking past the Sihl river on a warm night.)
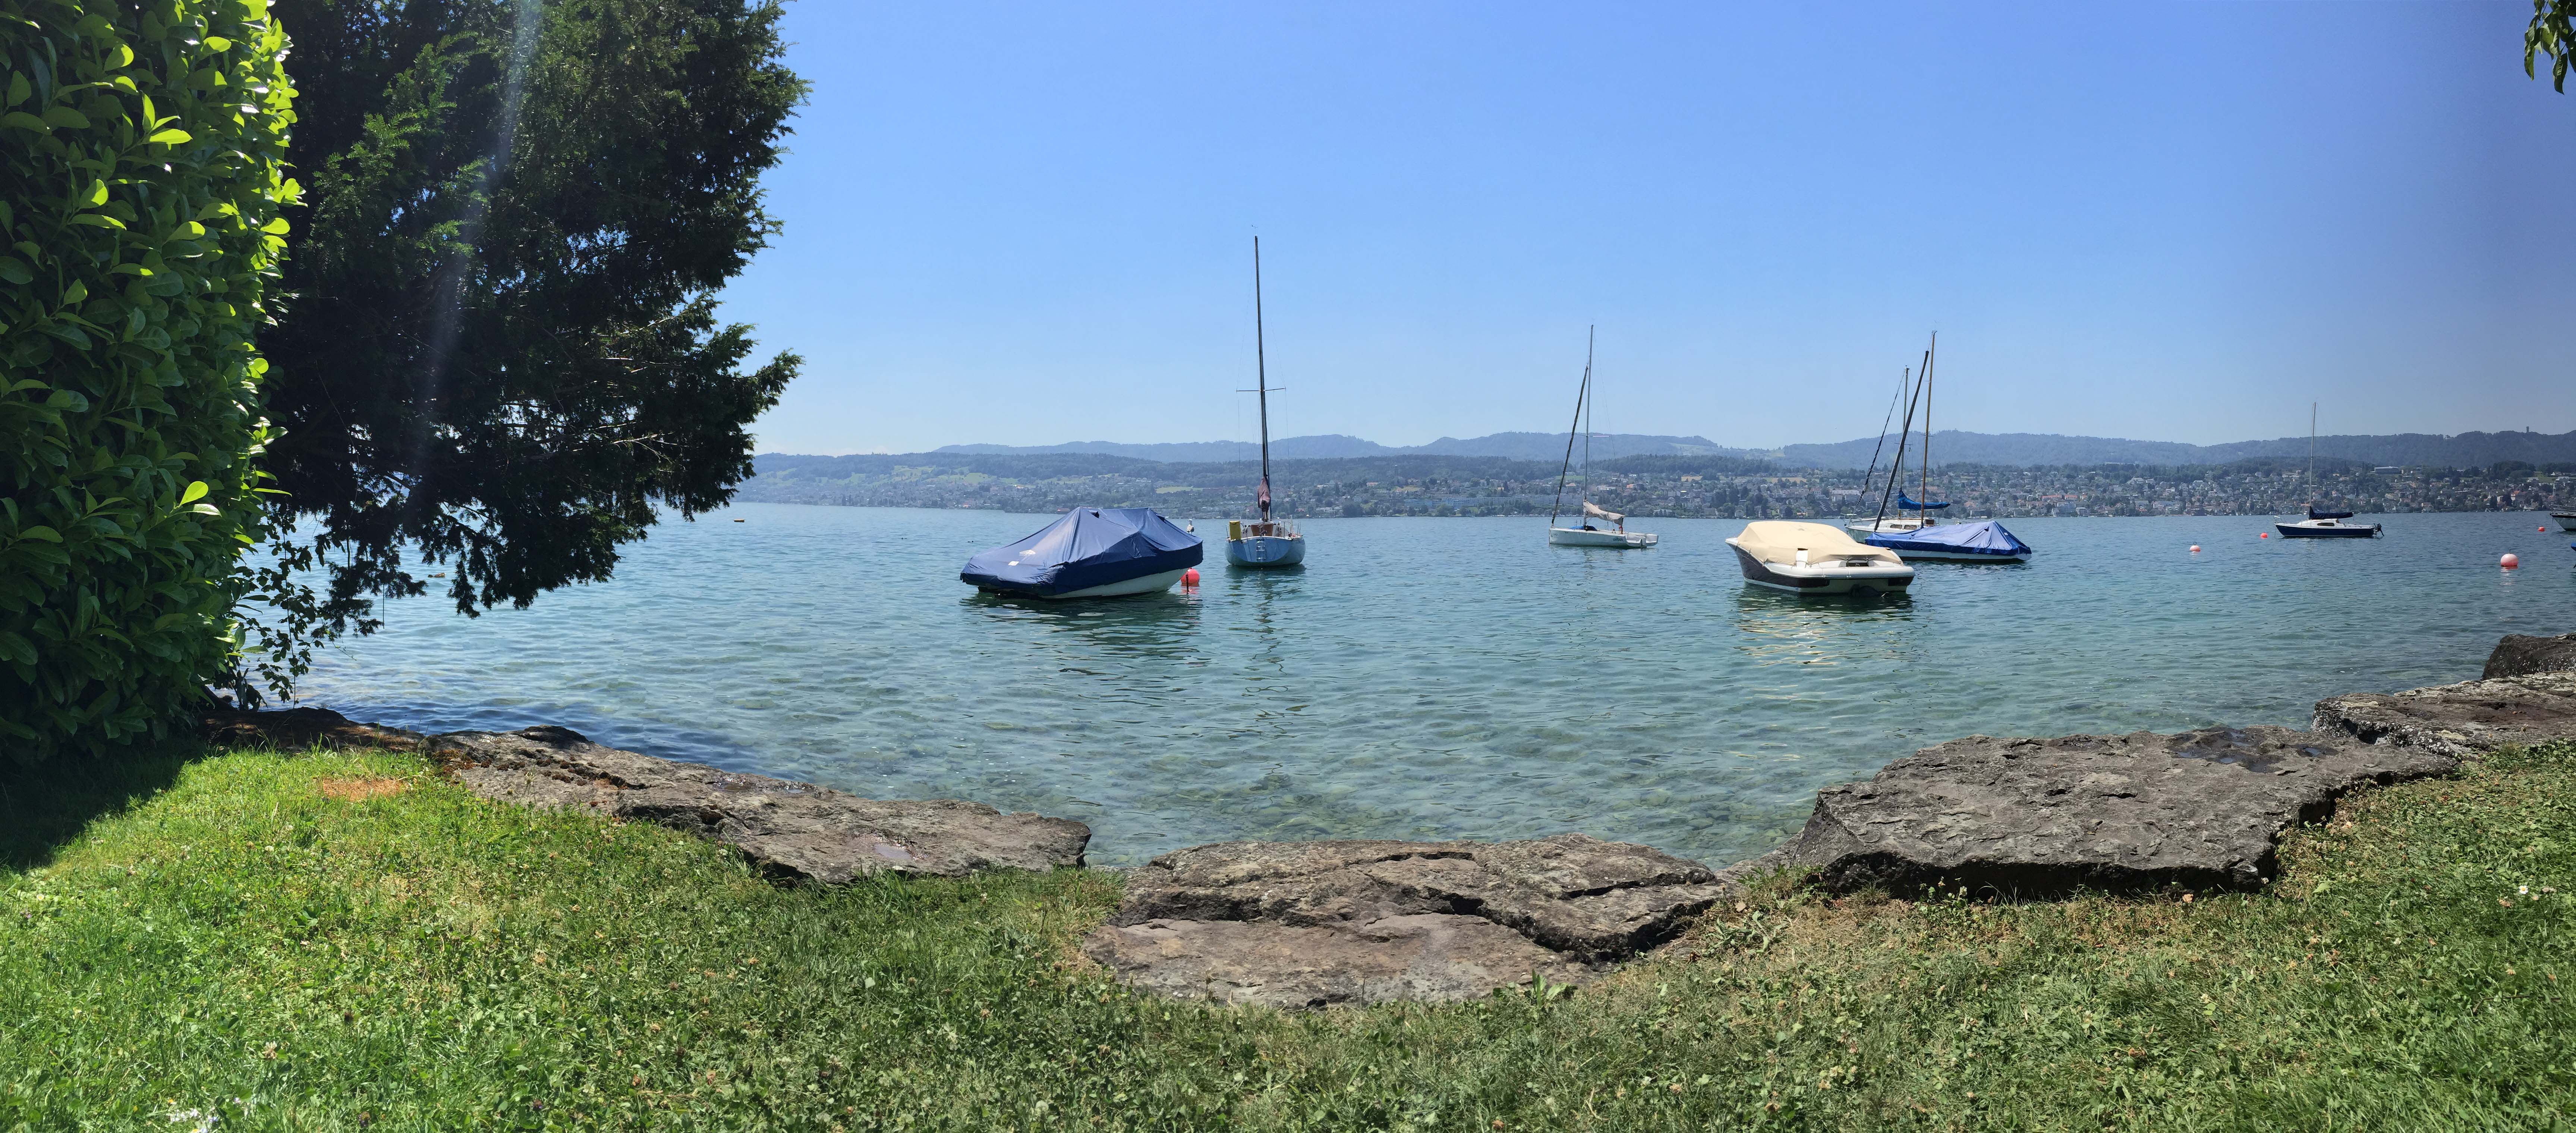 Now that Kay is “in” his school, the stress of applications is over and we are really trying to maximize our time together.
 (Bürkliplatz, on the way to Bade Enge for my birthday)
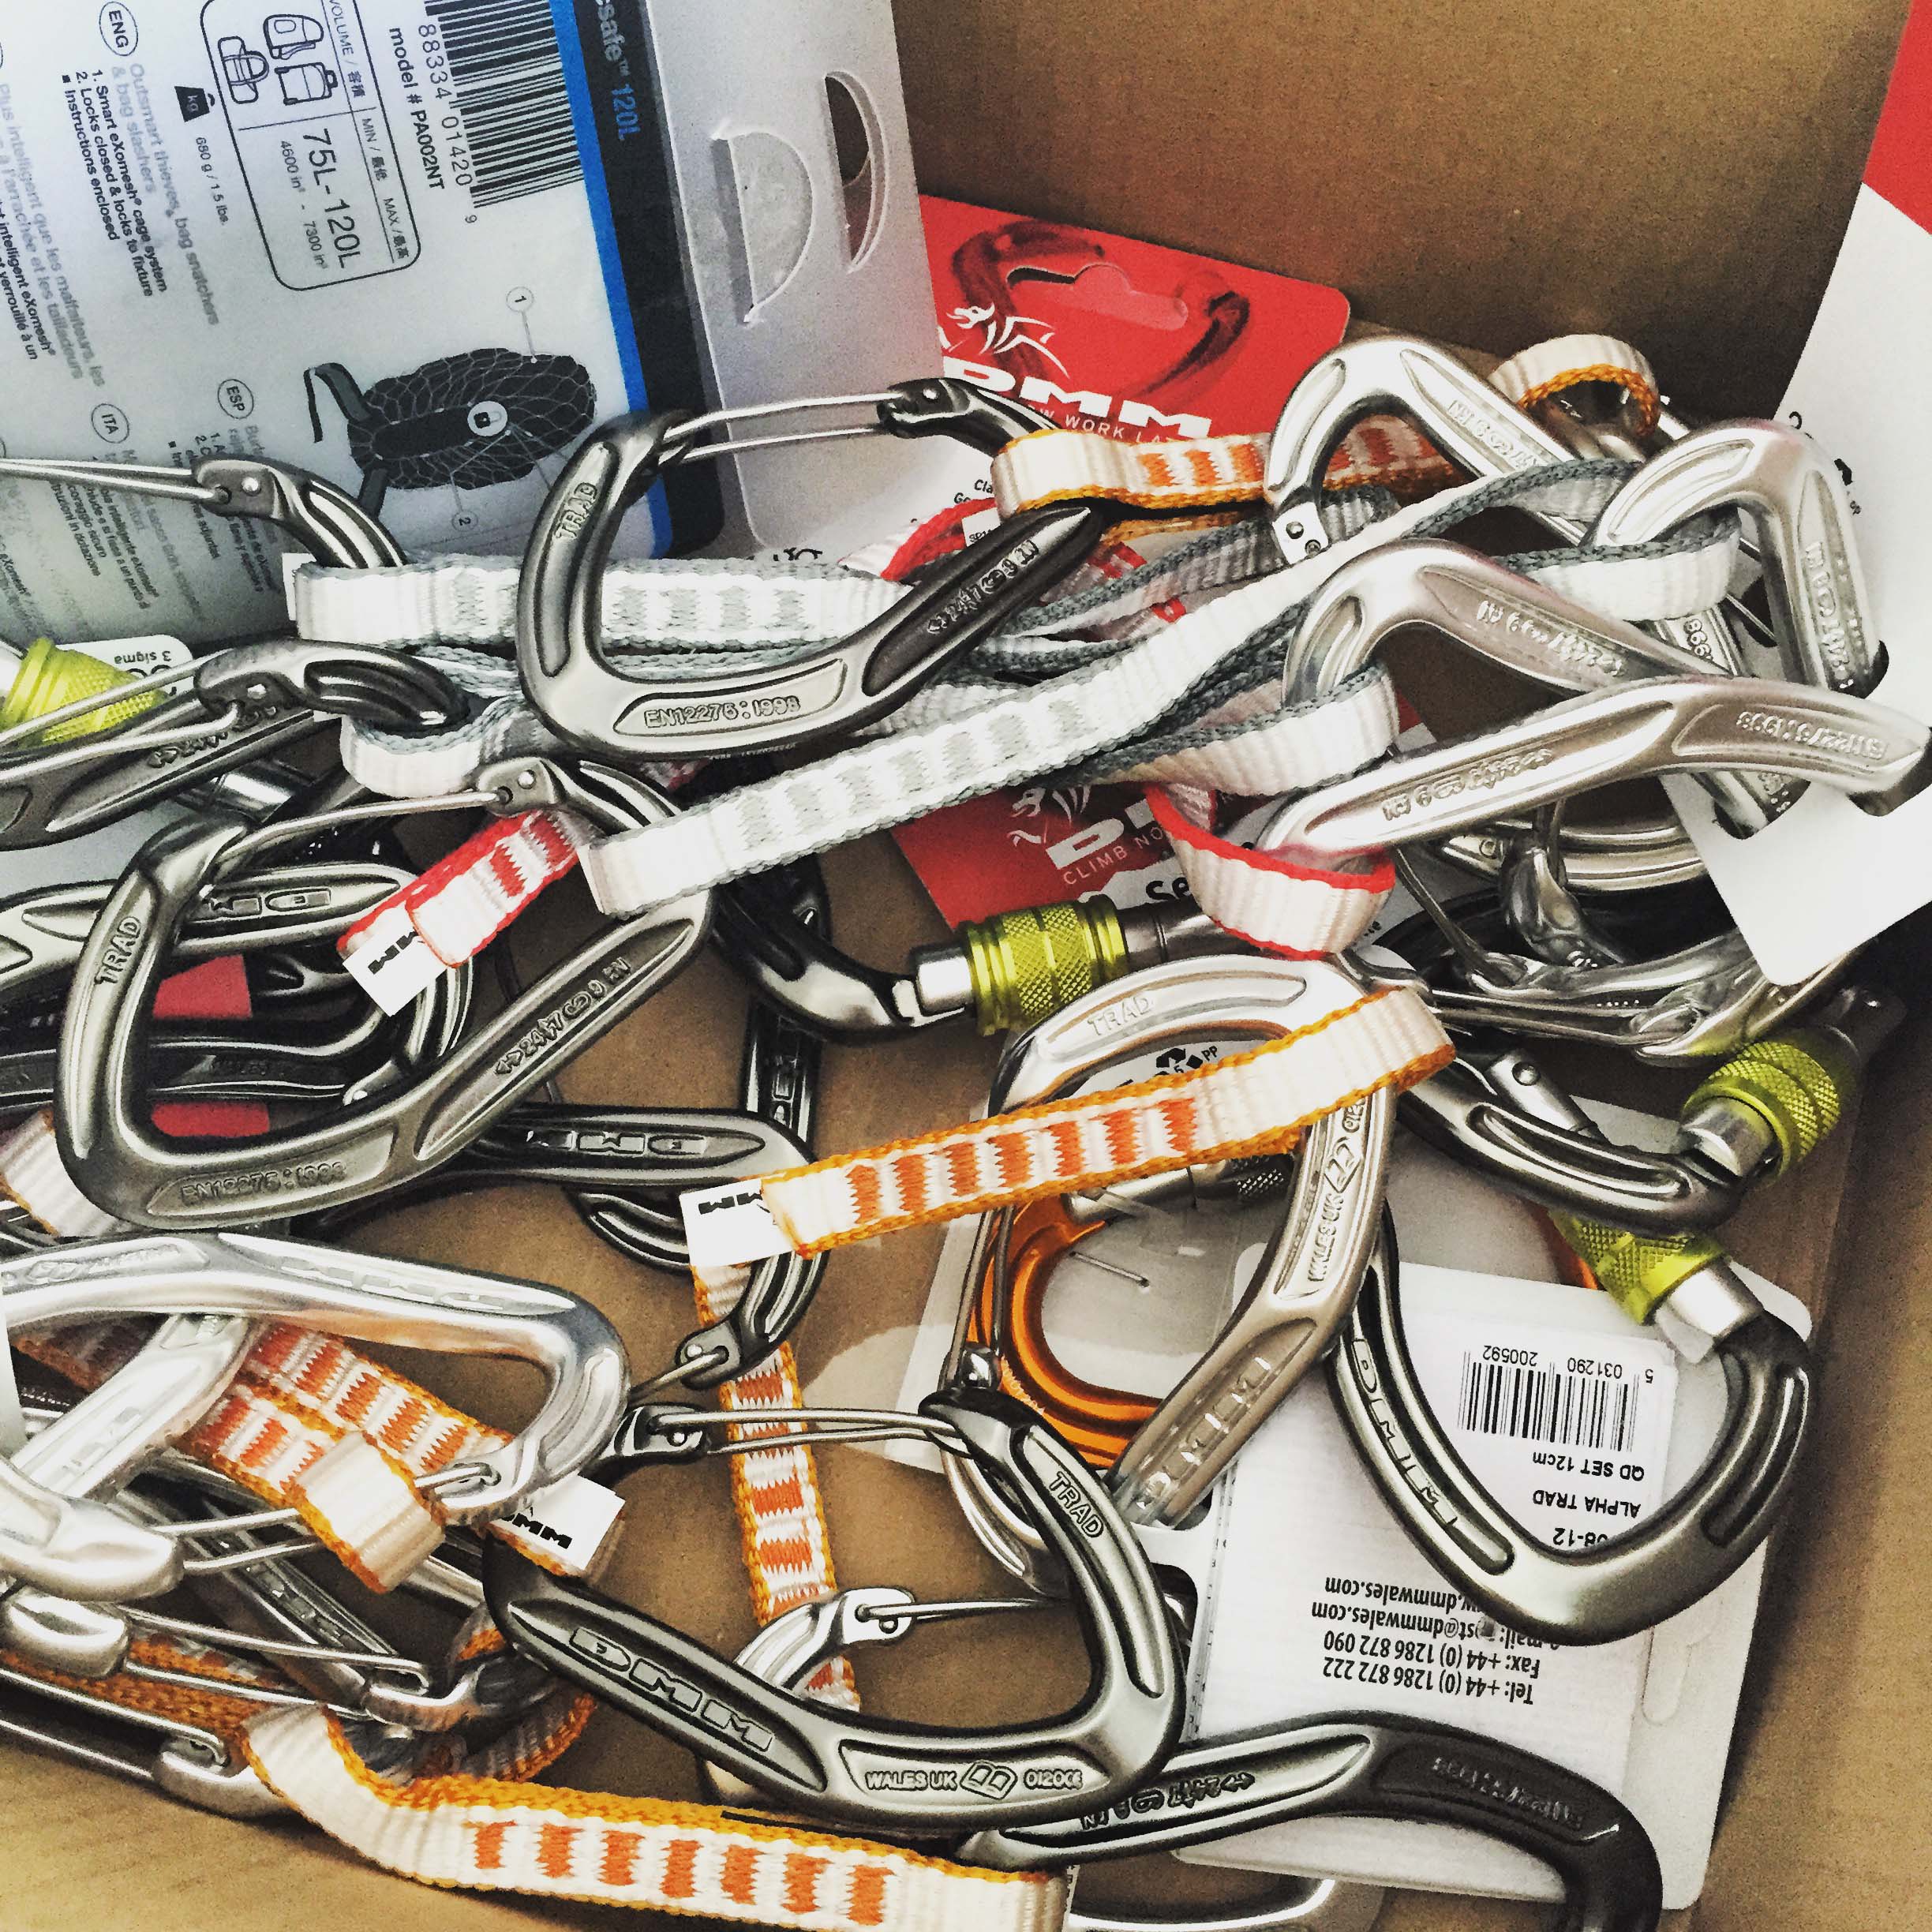 My cute boy on my birthday. We probably won’t see each other on either of our birthdays next year.
 Evening sun.
 Below we were swimming at
 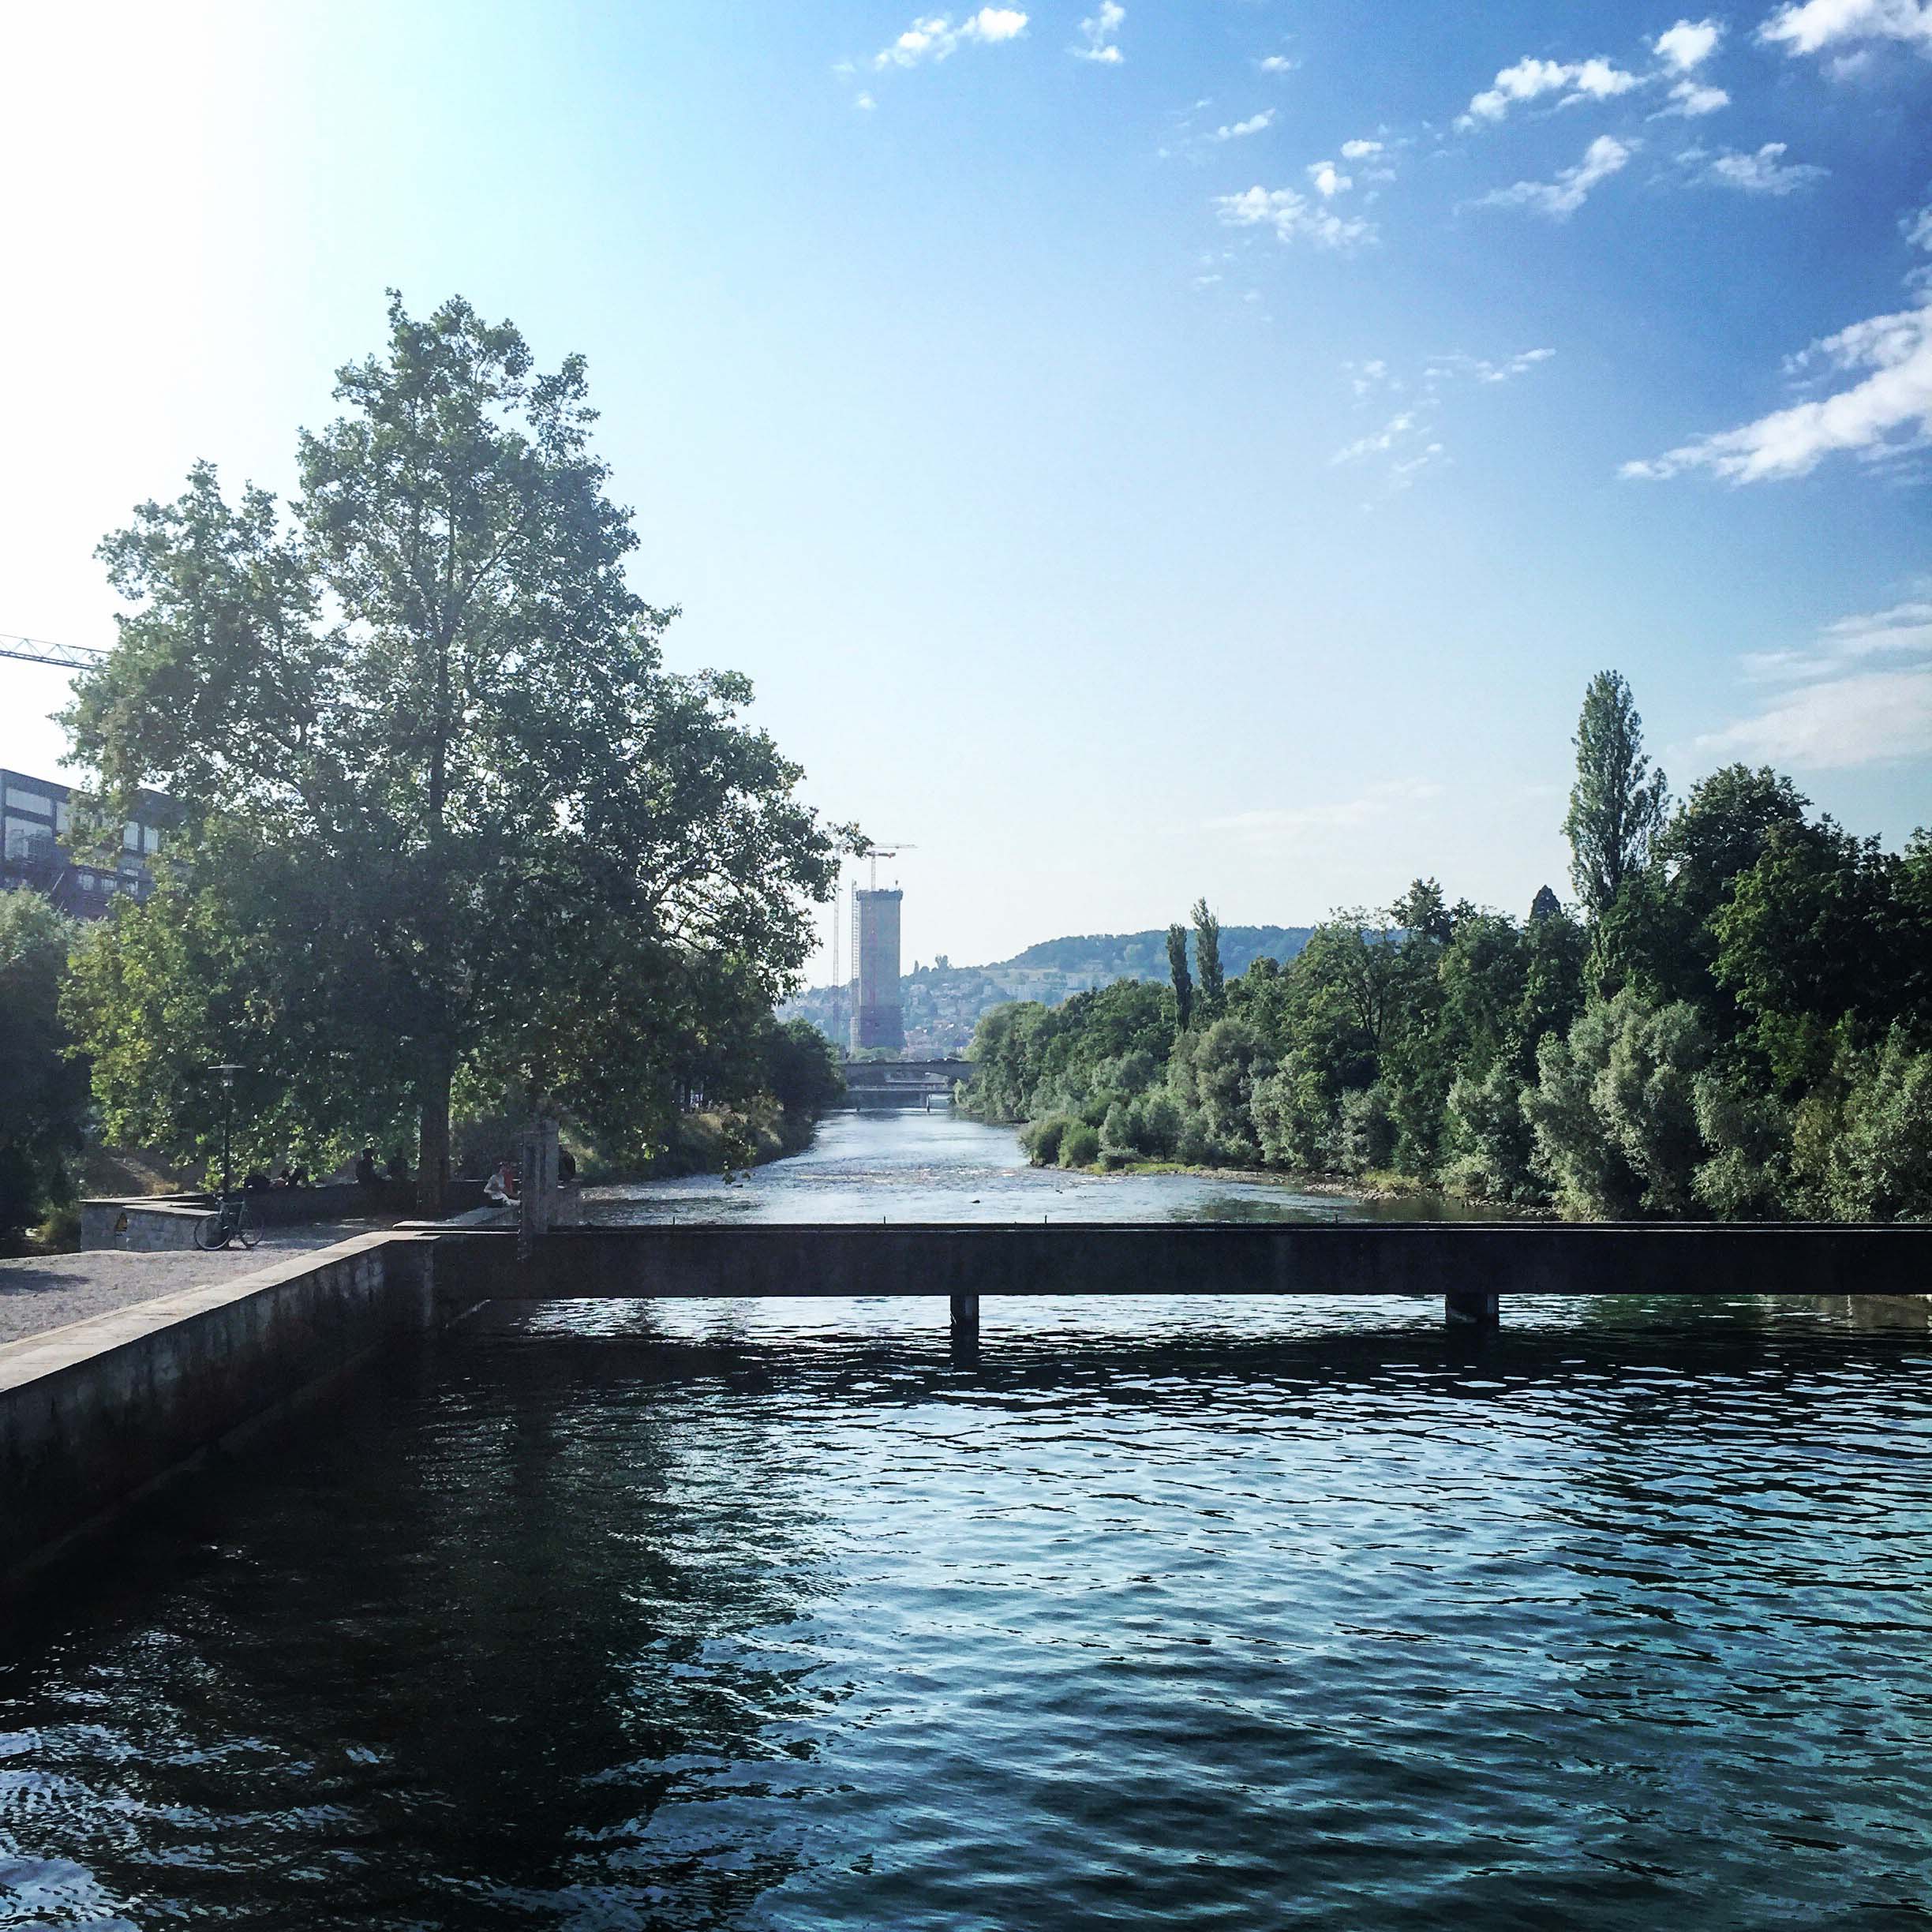 Sushi in the park near Limmatplatz. Everyone was playing in the park and enjoying themselves. With the warm weather, there’s really a lively feel about the city.
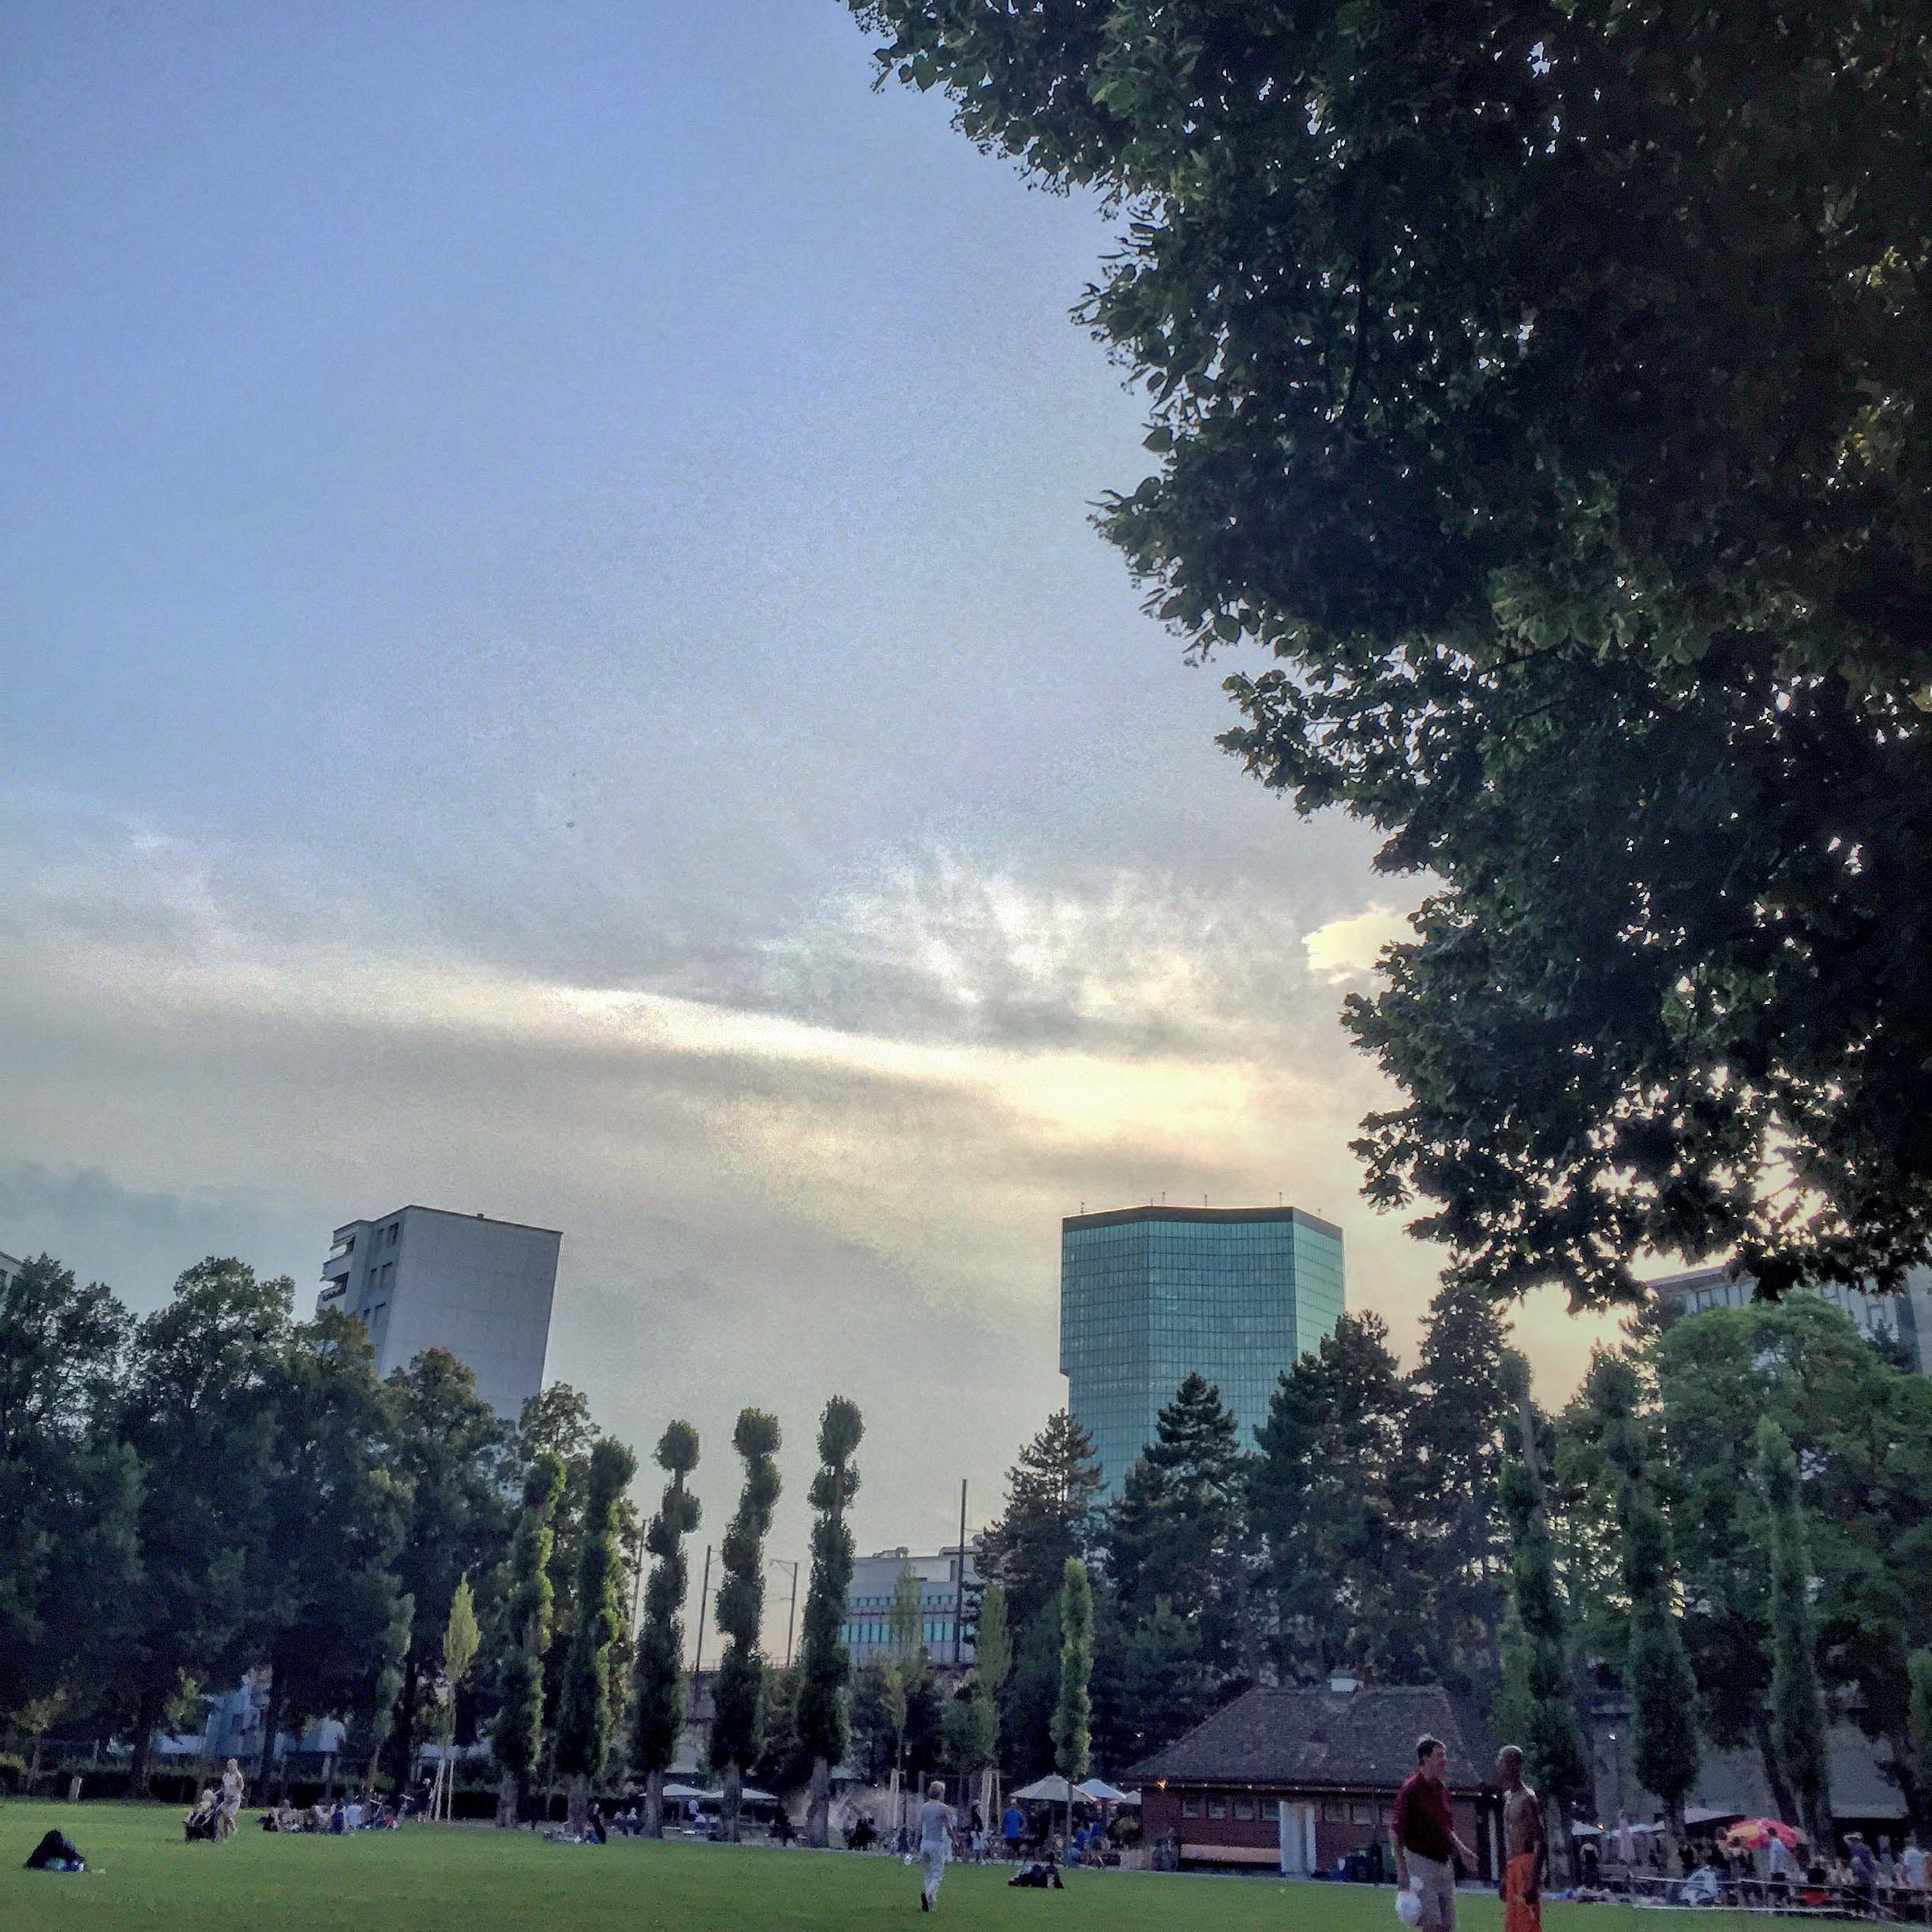 I’m also obsessed with all these flowers planted around many towns around Zurich and in the city. I didn’t notice them last year, so they must be new, but they are beautiful.