Tag Archives: DIY

Burning for Blonde: Don’t try this at home.

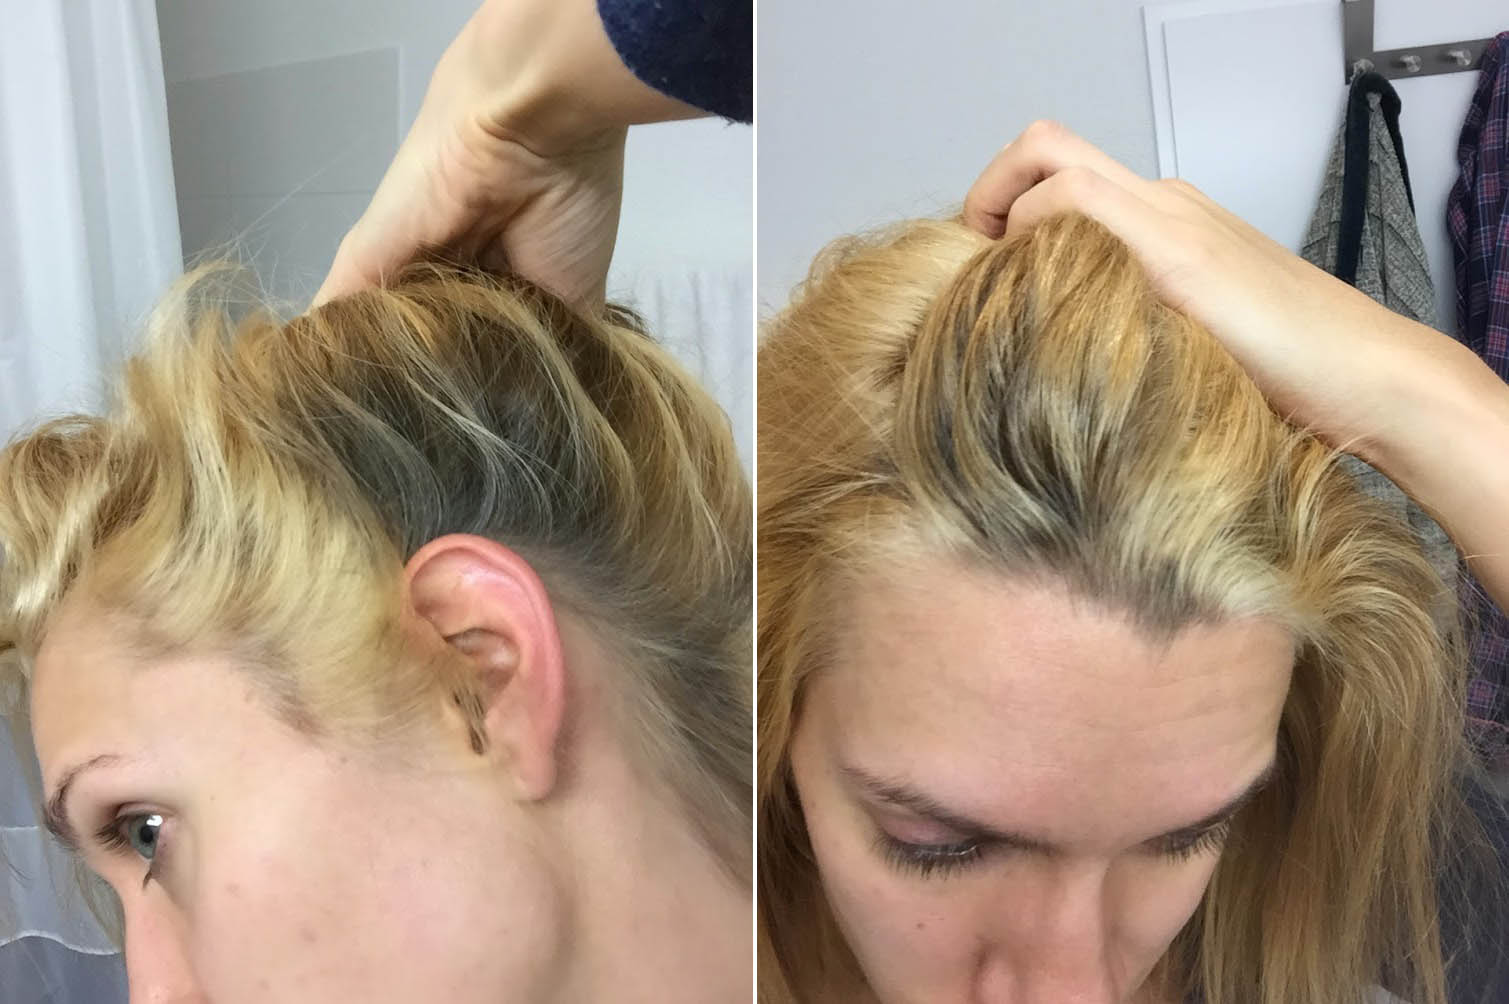
Well folks, I really overdid it this time. A couple weeks after our sunny weekend in Athens, I decided that almost seven weeks of regrowth meant that it was time to do another root job.

May 3rd in Athens:

IMG_6314After sectioning off my hair, I mixed up my bleach and developer and got to work as I always have with my roots, but this time it was different. About 6-7 minutes into my application, my scalp started to burn fairly intensely.

I became nervous because this has never happened to me while bleaching my hair before, but it’s obviously a very, very bad sign. I was nervous of two things: giving myself a chemical burn or stopping immediately with half of my roots half-developed. Neither are really lovely hair situations to deal with later on.

Since I was almost done getting to the top of my roots and finishing application, I decided to at least finish applying the bleach and then see if I should rinse it off if the pain persisted or got worse. At 8.5 minutes I was done applying, but my lower scalp really burned. I was going to rinse it off right then, but then it sort of stopped hurting around 10 minutes developing time and seemed normal again.

I let my hair process normally and then I showered and conditioned as usual as well, but it was clear that my hair and my scalp really did not care for this last root job. When I got out of the shower, it was clear that much of my hair was breaking off all around, leaving me with tons of little frizzies and the rest was fried to straw.

May 15 after a LOT of hair oil and wax:
IMG_6431

Not only that, but my color is still uneven. It’s darker yellow in some spots, but I cannot take the orange out without adding in too much purple or gray to the lighter, whiter parts. It’s a mess. My hair is a hot mess and it depresses me. I don’t even like the fact that my skin is so tan right now from all the time outdoors. I don’t like my platinum blonde, tan look. I hate it!

Now is the part where regret is sinking in: My scalp did not really hurt the rest of the evening, but I could tell that I did chemically burn it slightly. The skin on my head felt tight when I flexed my face muscles.

The next morning I woke up with very slight scabs in many spots where it had burned. It doesn’t seem to be bleeding (My advice, don’t ever google “bleach scalp burn”!) or continuing to seep, so I am treating it as a regular burn by applying neosporin and aloe vera. It’s kind of like having a bad case of dandruff that’s been scratched too much, so I’m trying very hard not to touch it at all and realizing that I will need to be extremely patient to get out of this blonde mess.

Part of me wishes that I could go back in time and decide to never bleach my hair. The other part of me vows that this is the last time I bleach my hair at home DIY style. If I want platinum in the future, I will have to face the facts and pay up at the salon. While I continue to be terrified of Swiss salon prices, I think I will have to go visit one to figure out how to grow my hair out from here. I really want to just go back to natural brown and let my whole head of hair grow out, because this straw left here is just pitiful and makes me sad.

My plan now is to grow my hair out for at least a month before I think about dyeing it at all. It’s sad, but I am not even happy how the color turned out, but I know that it would be healthier if I wait at least two months or more to try and address my root problem by then. Sigh. This was a big, fat fail.

Have you ever had a chemical burn from hair products? Did you ever immediately regret coloring your hair? Please tell me I am not alone!

Planting Time

It’s that time of year!

We haven’t been away on holiday yet, but most of our weekends in 2015 have been spent traveling or busy with other things, so it was a struggle to get some plants in the ground before April was over.

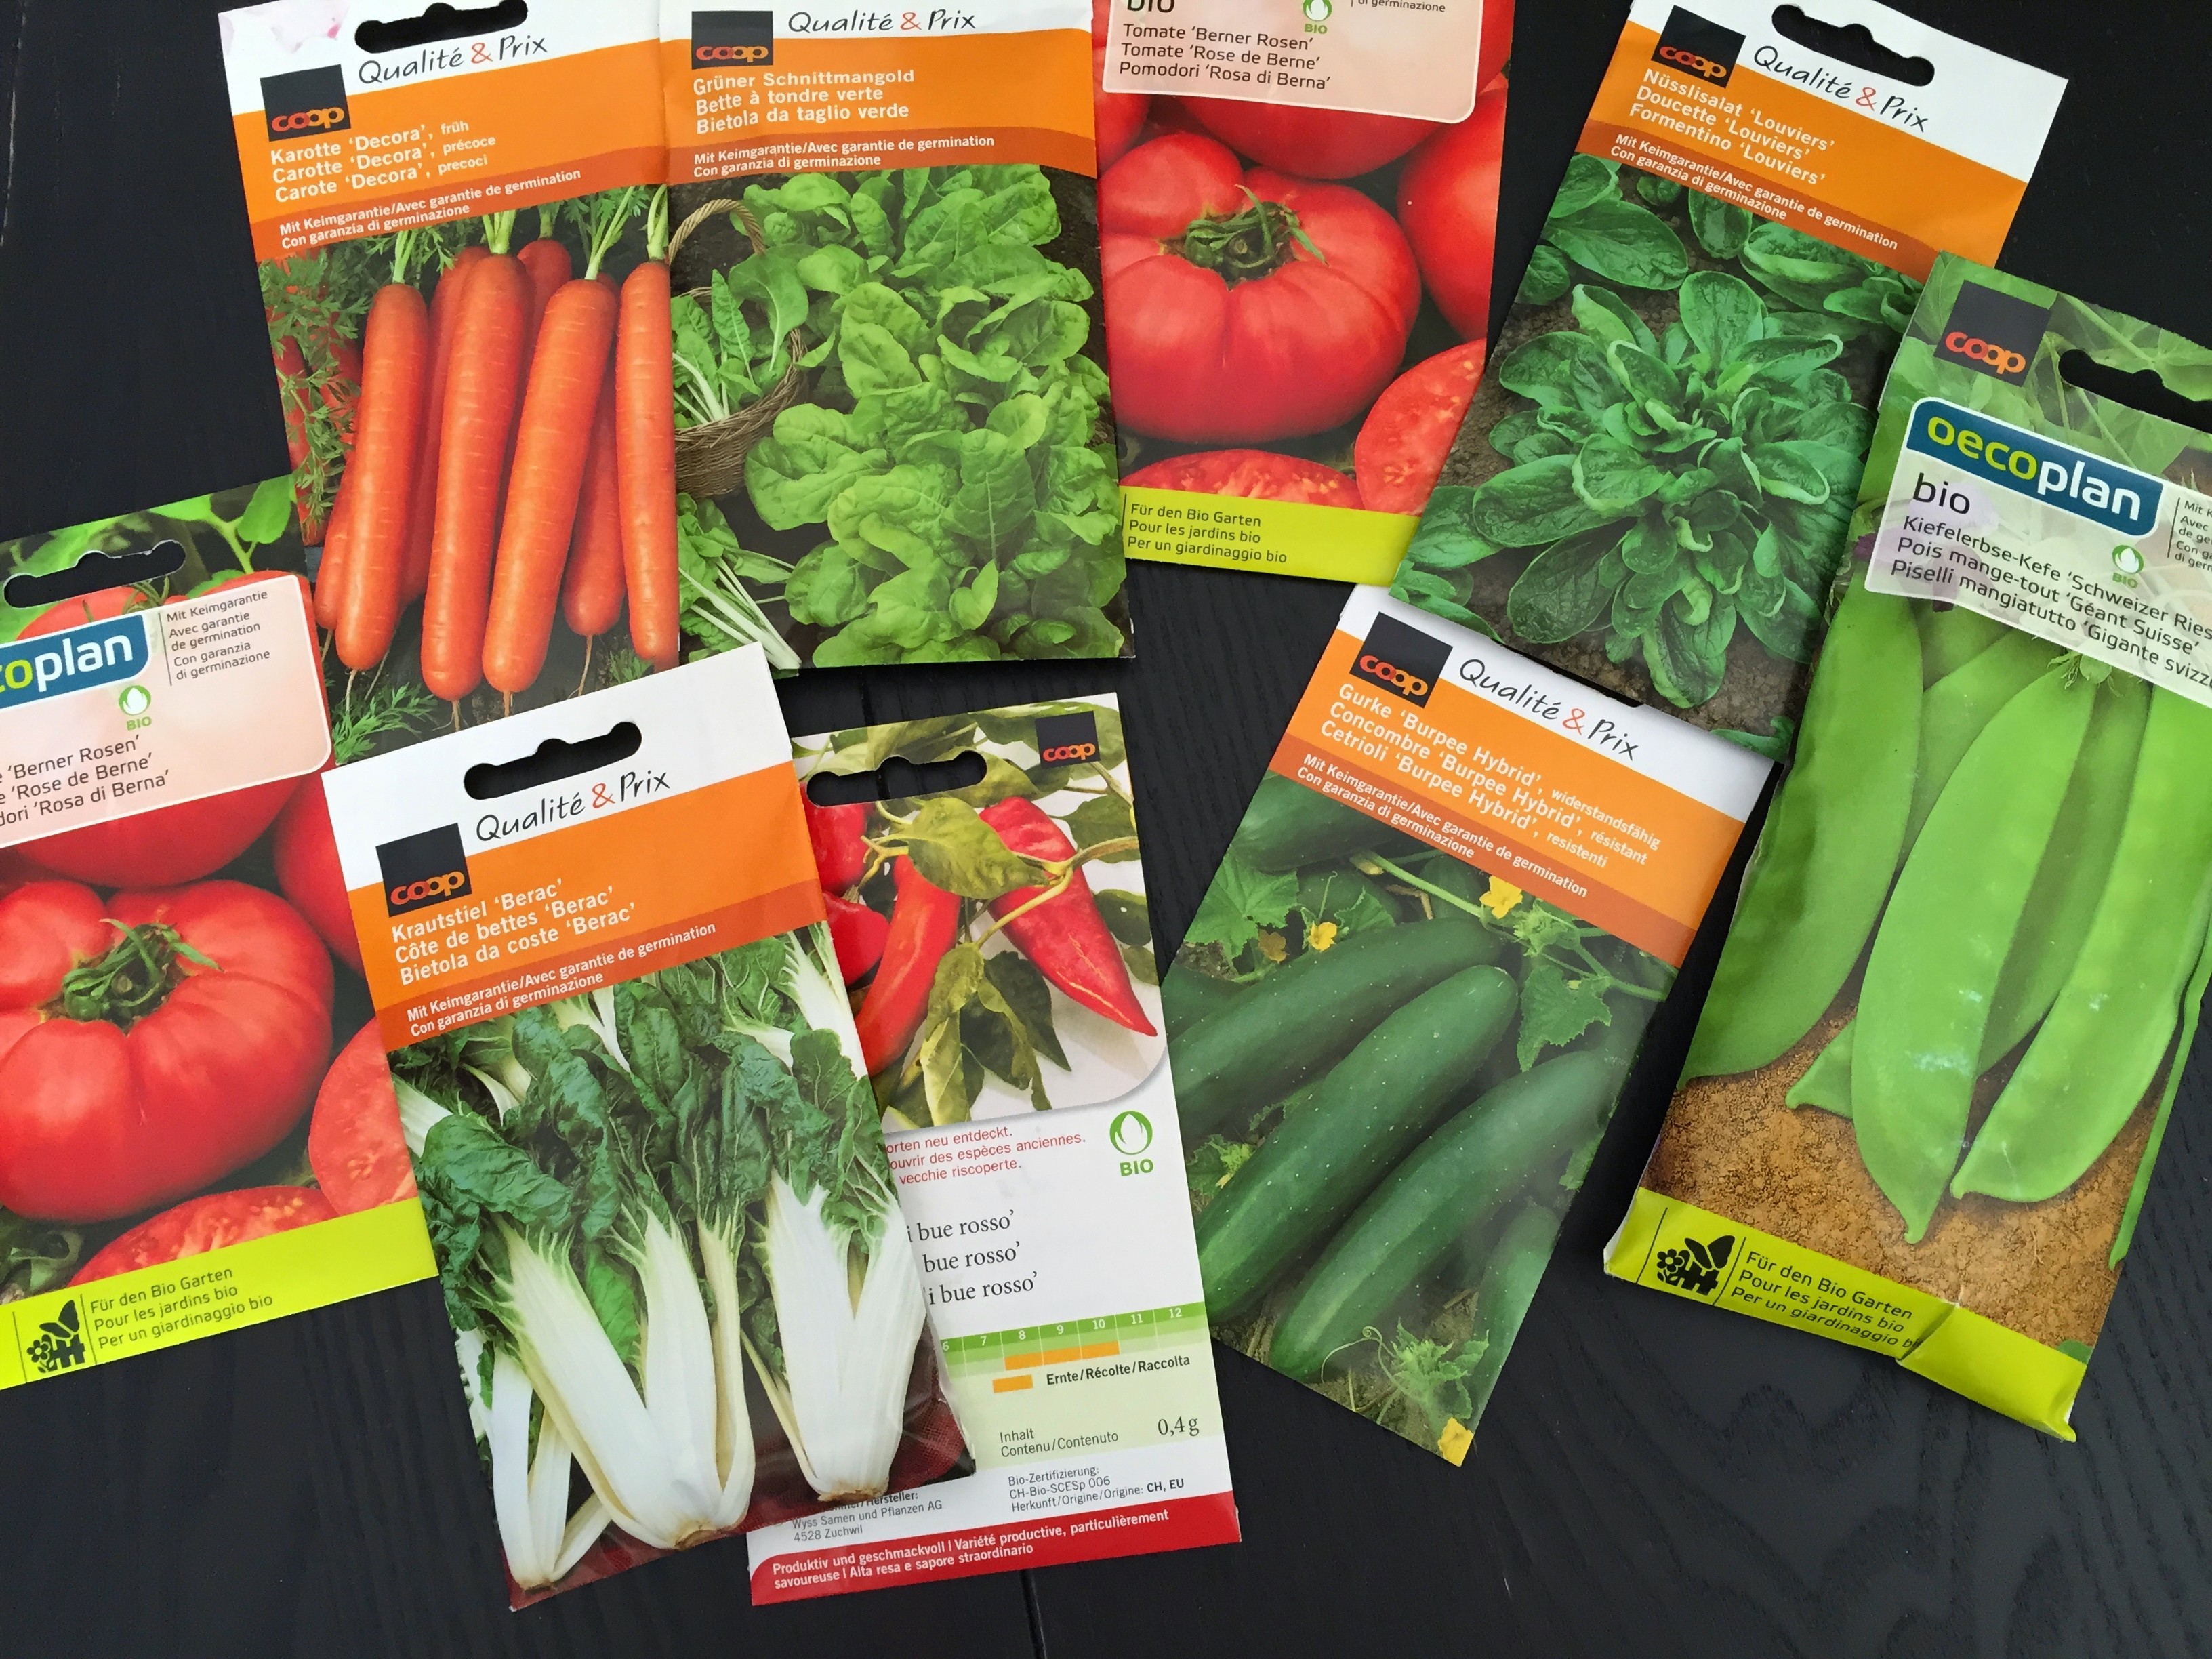
I really wanted to go to a gardening center, but that involves organizing a car rental, so I decided to go ahead and try some more seeds this year in addition to my usual starter plants. I bought a lot more varieties than last year!

I’ve got seeds for tomatoes, Swiss chard, cucumbers, peas, carrots, peppers, and a few types of lettuce. I am also using some more yellow squash and cilantro seeds from last year.
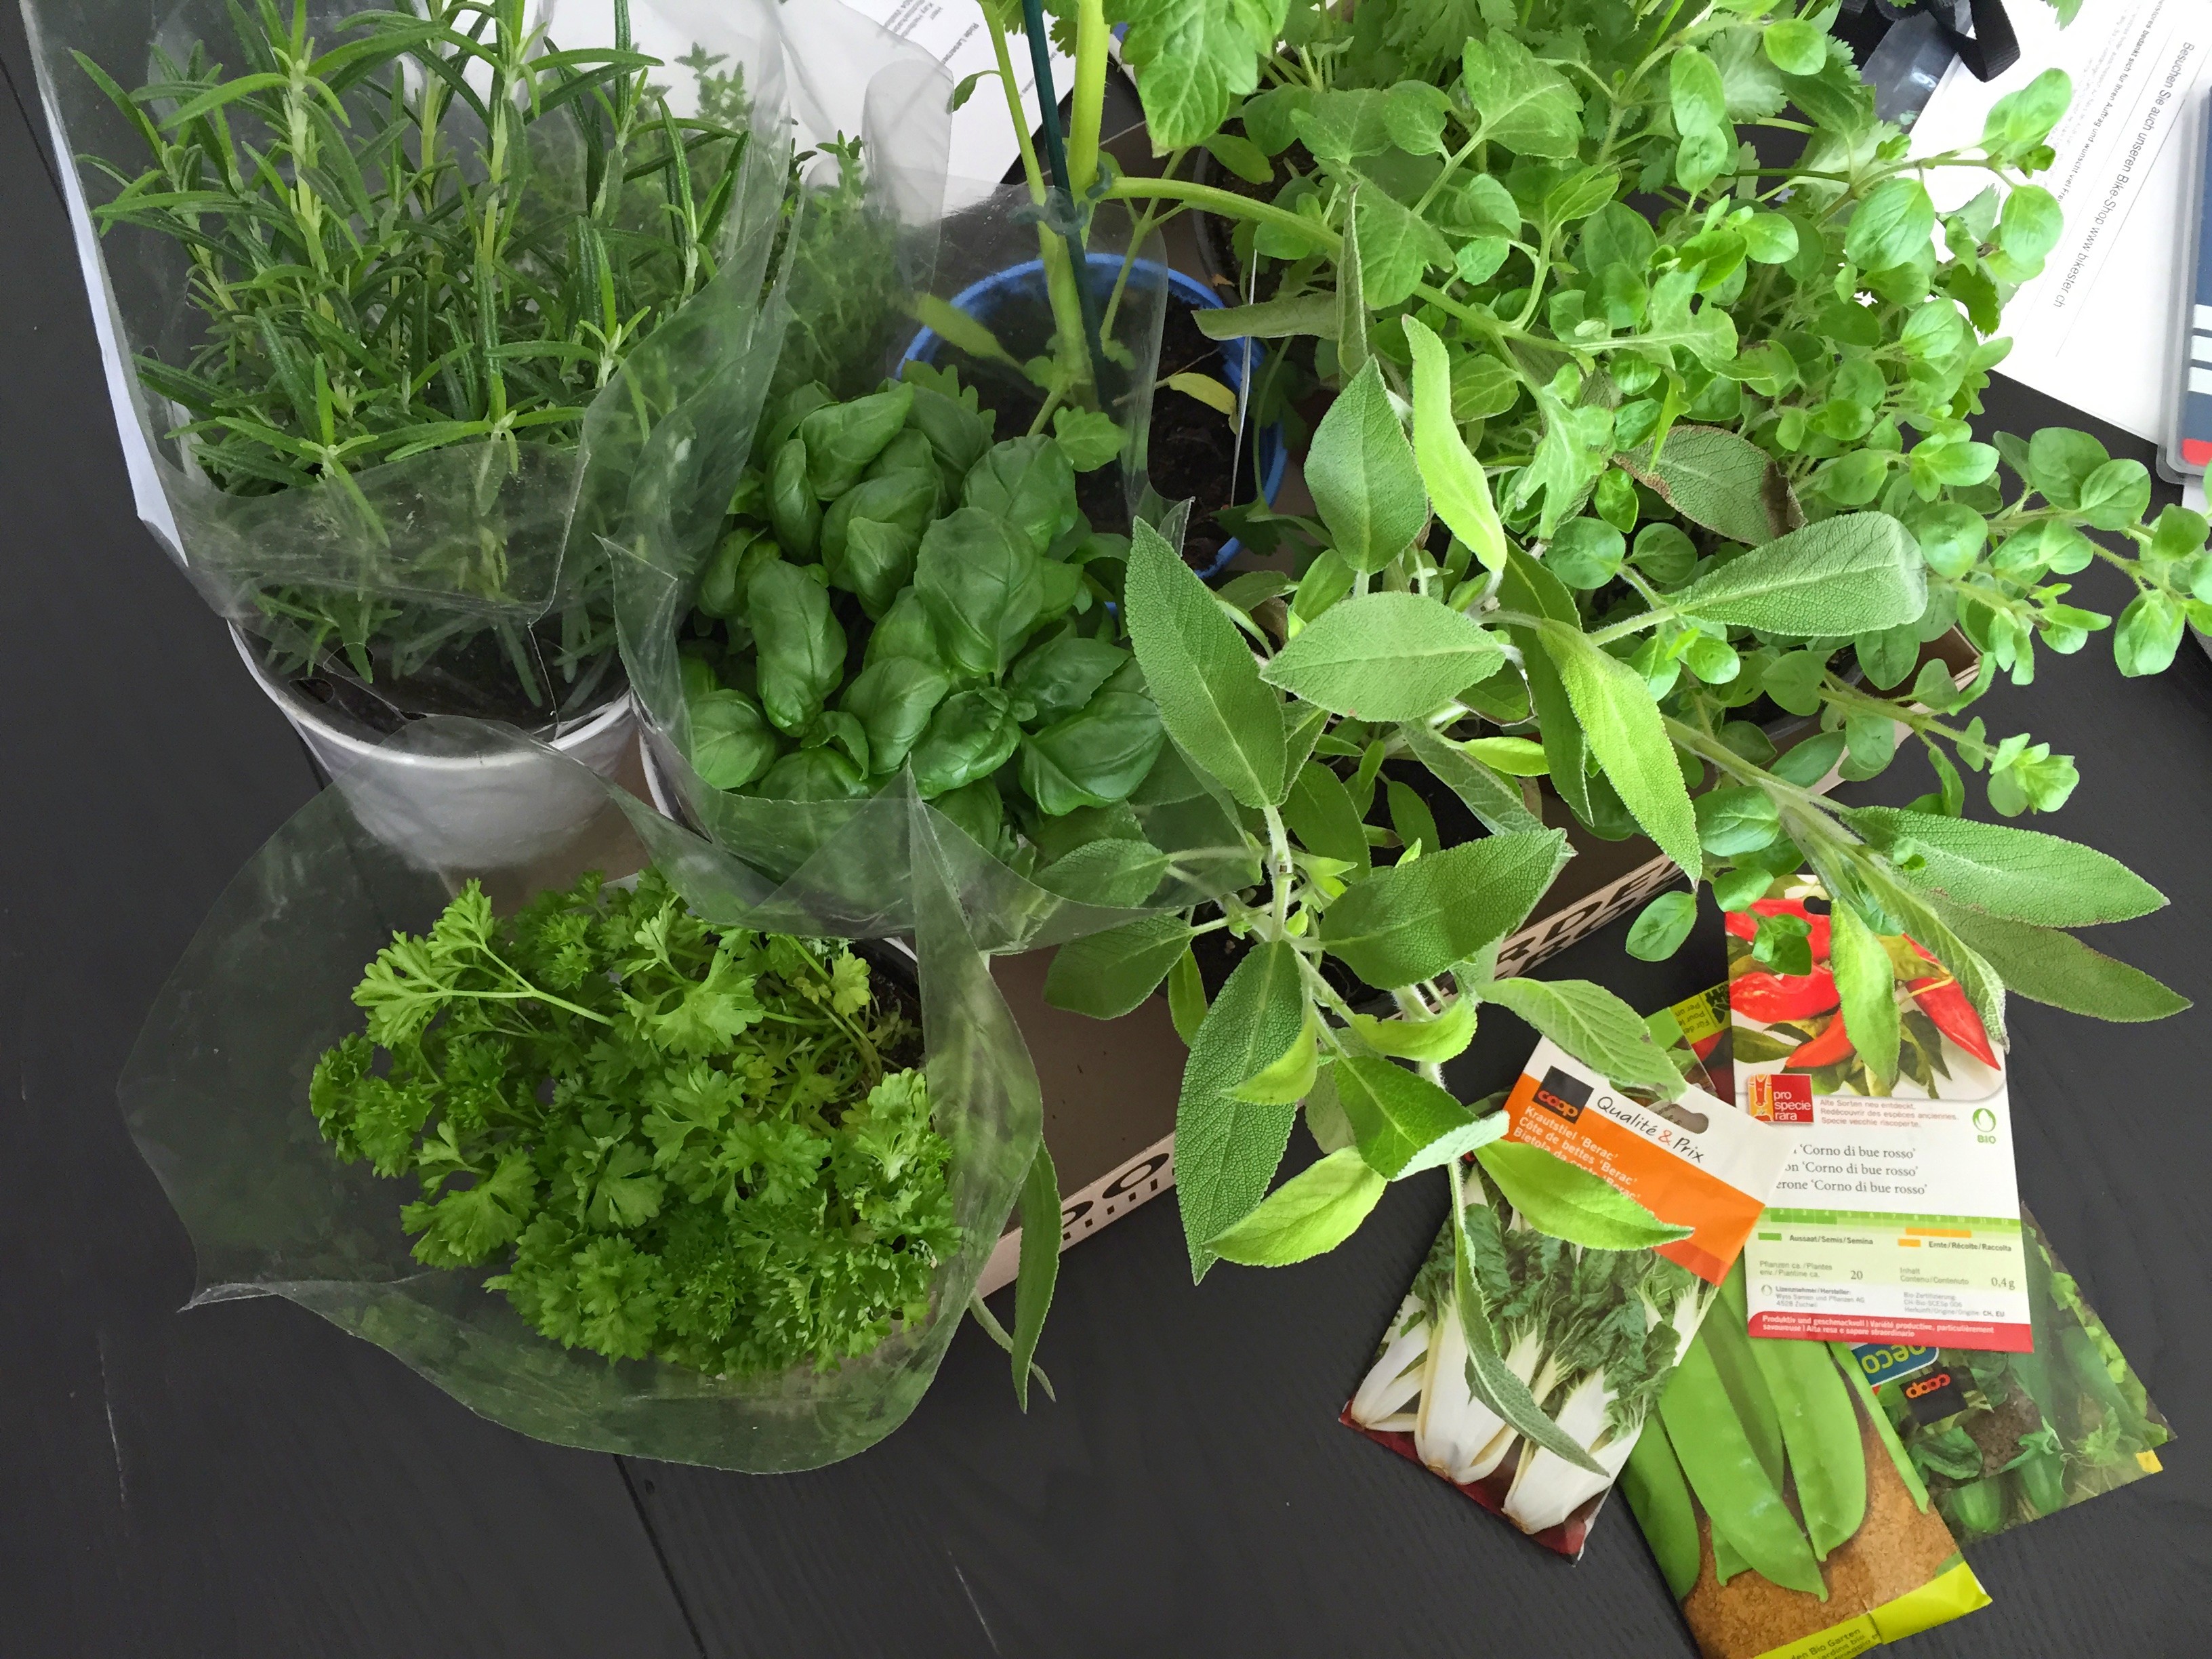
I haven’t planted all the seeds yet because I need more pots and soil. Some are OK to plant in May outdoors, so I think I will wait until then. I also planted already the starter plants for basil, parsley, sage, oregano, rosemary, cilantro, thyme and a cherry tomato plant.

Also coming back from last year is the lavender, mint, chives and even one of the parsley plants seems like it is perking up a little.

What are you planting this year?

Back to Blonde

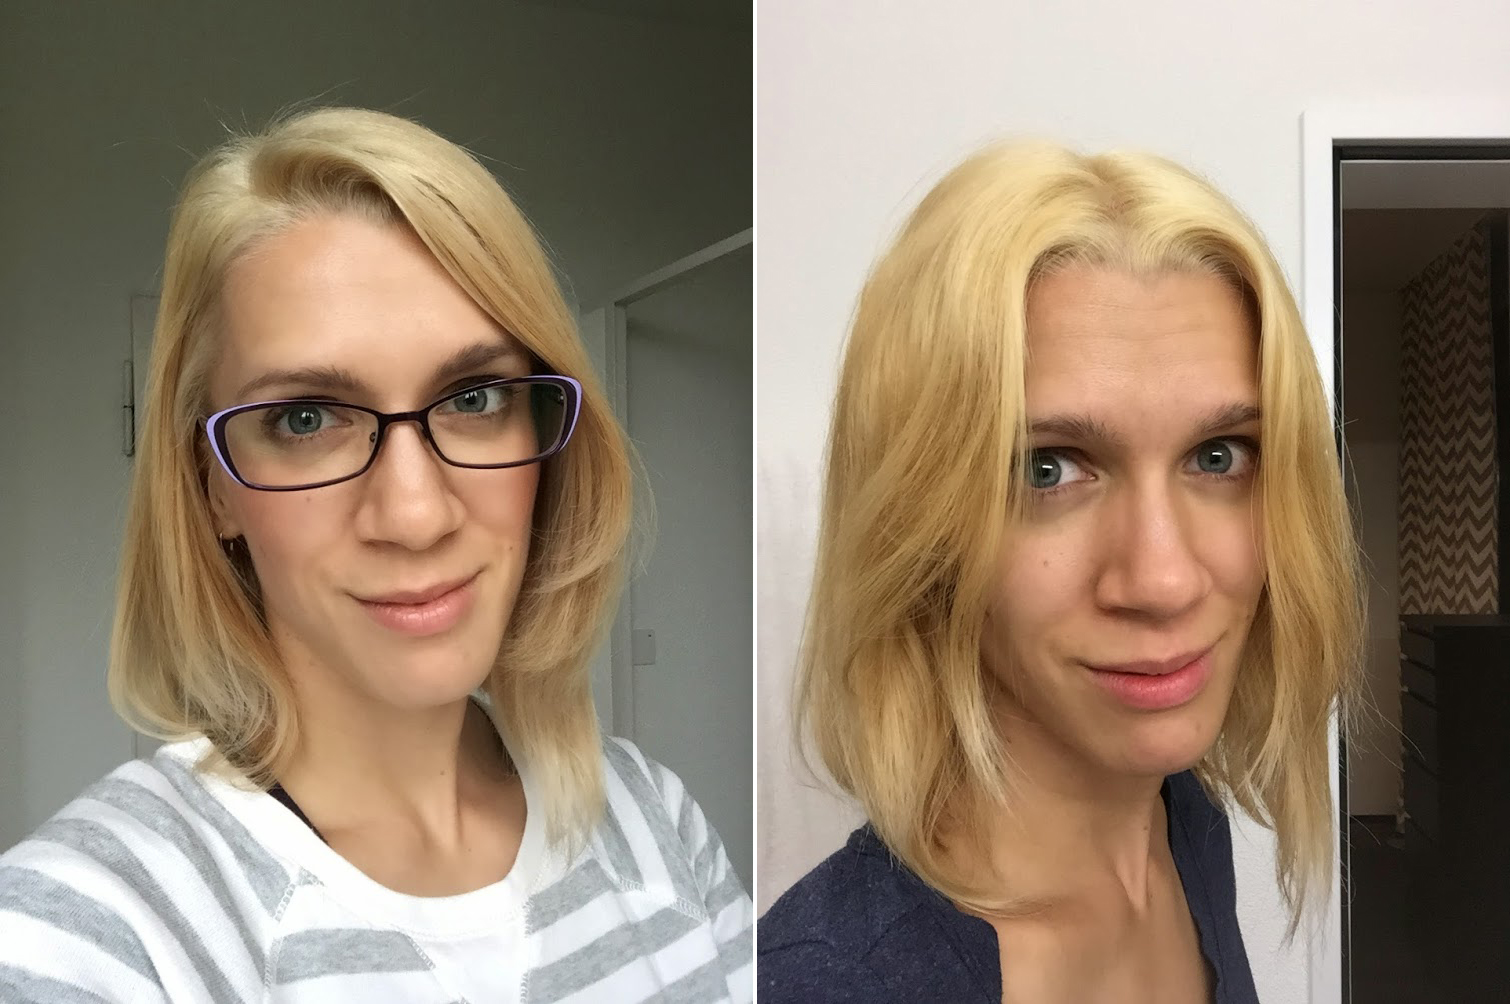
So this happened over the weekend…

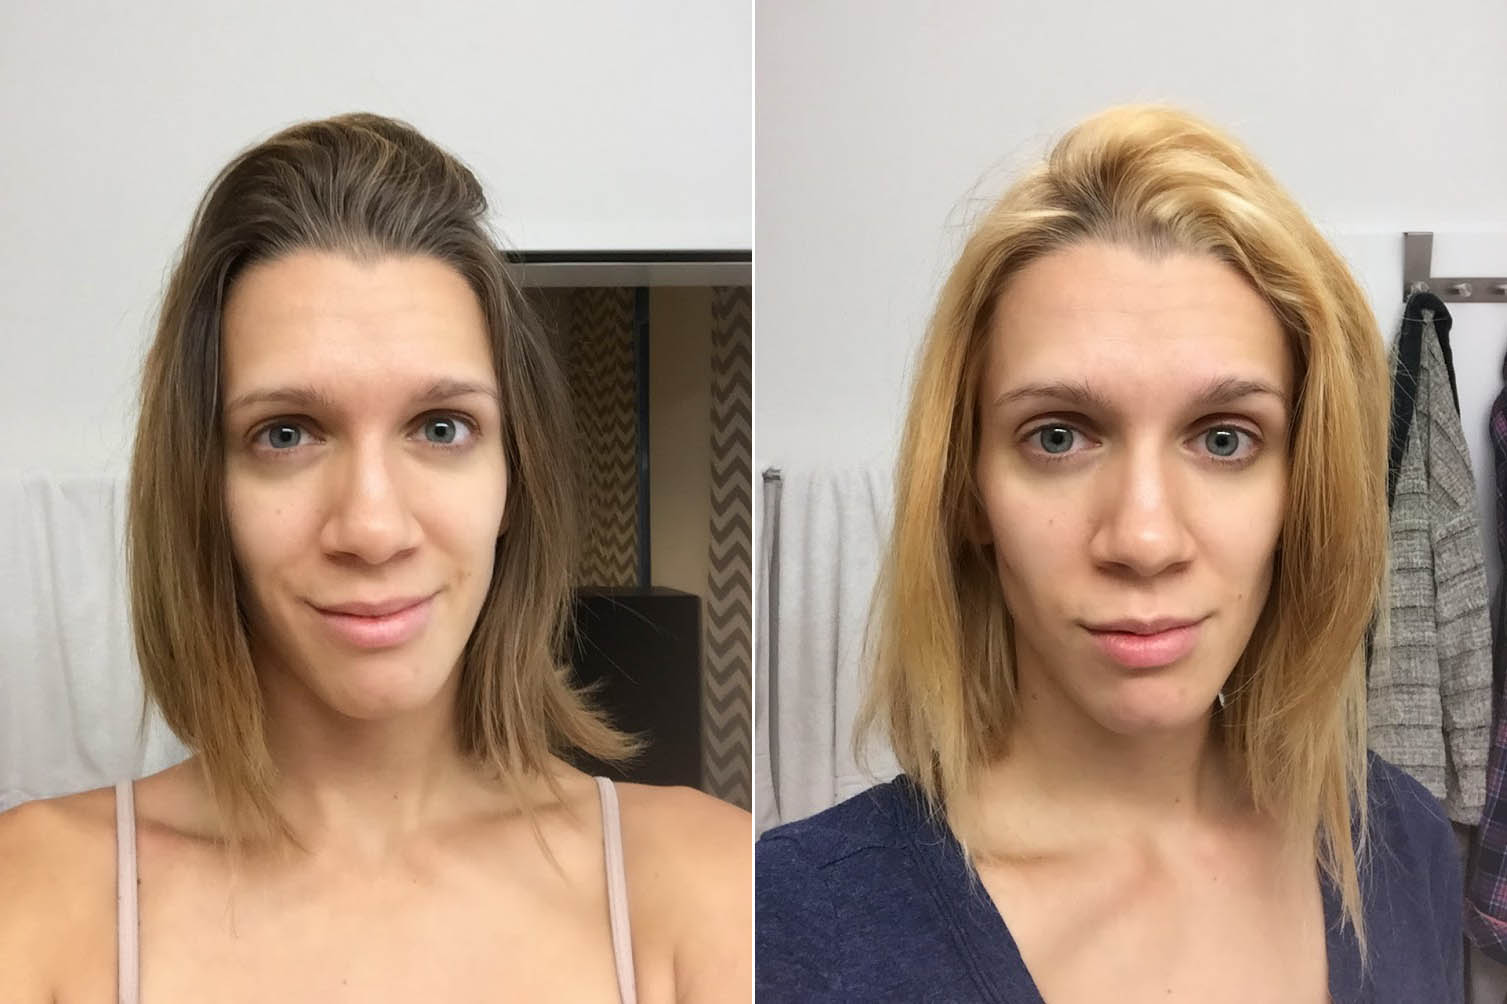
I’ve been thinking about going bleach blonde again for a few years and since my scalp finally seems healthier since quitting gluten (amazing!) I decided to go for it.

For a few reasons, I decided to DIY it:

  • Hairdressers in Switzerland are $$$. My last trim, only a trim on short hair was $100!
  • Instant gratification: I wanted to do it ASAP one Saturday
  • I enjoy dyeing my hair myself

That said, this did not go so well. Switzerland is kind of strict about professional hair products and they don’t sell them in stores here. Leave it to the professionals and go pay $300 for your dye job!

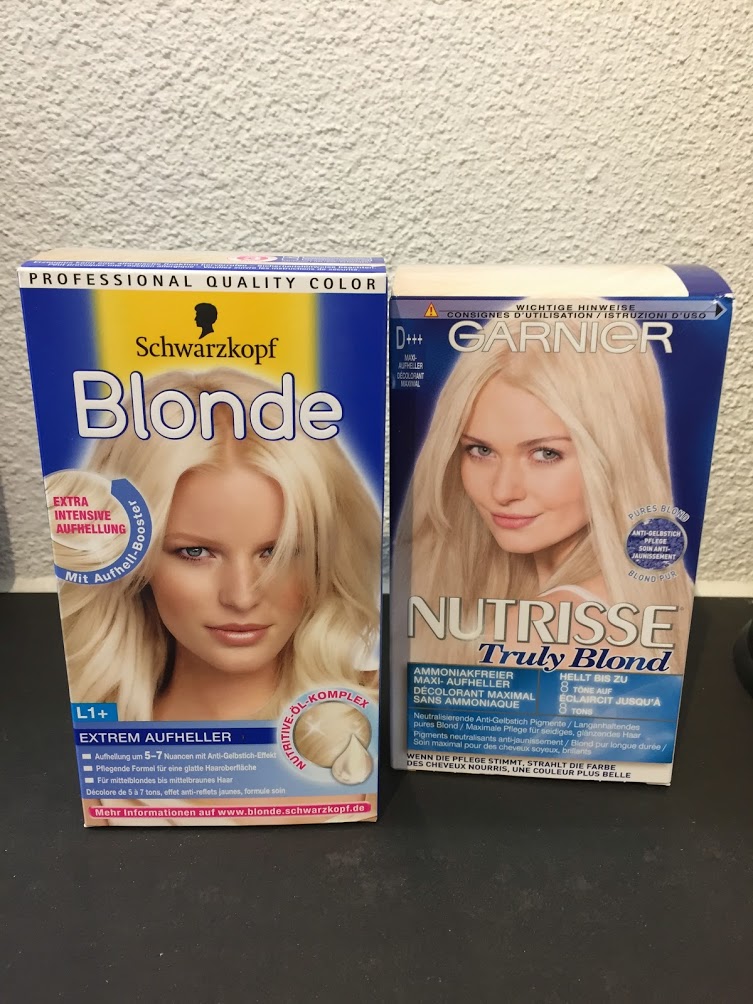
The best I found in Migros and Coop were box bleach kits, but it looked like I would be able to order my own bleaching ingredients easily off Amazon, so I bit the bullet and did it.

This was a bad idea for a few reasons:

  • Splotchiest bleach job I have ever given myself. I didn’t catch all my roots because I ran out of bleach mix.
  • I didn’t leave the bleach in quite long enough to process
  • I realized in my Amazon checkout that even though the items said they would ship to Switzerland, they would not in fact ship to Switzerland
  • I had no idea what bleach powder or developer were called in German, let alone where to buy them ASAP in Swiss land

I started the timer when I began the application and from start to finish I only left it in for 45 minutes. I took a little longer applying than I usually do, so the top layers especially did not have enough time to process.

It was so patchy that I immediately blow dried my hair (bad, I know!) to survey the damage thinking, “OMG, what have I done to my pretty natural hair?! What have I done? Crap, crap, crap!”

After I blow dried, I immediately opened up the second bleach kit I bought (even worse, I know!) and went for the patchy stuff. I worked quickly and left it on for 30 minutes because I was afraid of frying my hair. The results were still much too buttery, but I deep conditioned and resigned myself that I would have to go to work on Monday like this.

After a lot of searching and some German learning, I found a place where I could order 30v developer, 13v developer, bleach powder and Wella toner. I couldn’t buy the same American brands as I wanted to on Amazon, but they were at least professional salon grade products.

My hair needed toned like WHOA and I had to go to work on Monday and Tuesday looking like a butter head, which didn’t invoke the sort of reactions I was hoping for. I mostly hoped people would ignore my drastic change until I could fix it.

Tuesday afternoon my weapons arrived and that night I did another very small round of bleaching to try and address my patchy spots again, only leaving the bleach in for 28 minutes because I was super afraid of literally melting my hair off.

After that I toned with Wella’s Color Touch Relights 18 and left it on for about 7 minutes after application. It has the tendency to turn grey, which I was reading about while I was applying, so I rushed to the bathroom to wash it out before I started looking like an elderly woman.

It’s SO much better in person with the toning. I am never bleaching my hair without toner at home ever again! Never bleaching with a bleach kit again! I really missed mixing my own developer and powder and lord knows what happens if you run out of your mix while you are working. With developer and powder, you just mix some more!!

I still think I could fix the patchy spots a little bit more, but I will wait and do that later. I might look into bleach shampooing to try and even out the level a little more before re-toning after I do my roots, but overall I am pretty happy.

Not sure how long I will stay blonde, but I now have a big tub of lightening powder and bottles of developer.

Lesson learned: Never bleach your hair with box kits. It turns out poorly whether you are 16 or 27.

Have you ever gone bleach blonde?

Curtain burnout

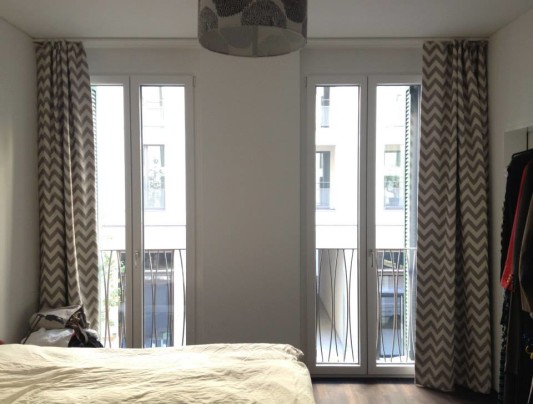
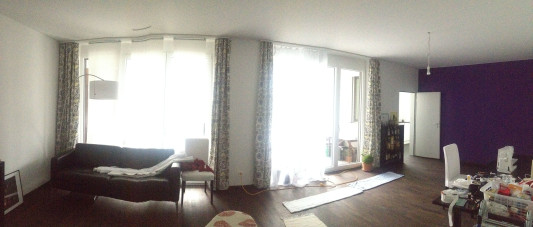
After I bought my fancy used Bernina, I got straight to work and sewed seven (7!) curtains the first week I had it. That included two blackout curtains for the bedroom, four semi-decorative curtains for the living/dining room and one sheer curtain.

The reason why I stopped at seven was because that last curtain, the sheer curtain, didn’t turn out well.

It was perfect on both sides, but in the middle it was about 2″ longer than it was supposed to be so it drags on the floor in the middle. I am not pleased.

I called it a day and took a break from sewing to put the dining room back together for early Thanksgiving with friends and the next weekend I attempted sewing another sheer curtain. This time I planned on gathering the fabric up at the top and doing a better job cutting the fabric straight so I wouldn’t have this uneven hem problem.

Well, suffice to say, I had problems handling the sheer voile and I don’t think I used the correct gathering stitch on my machine. My bobbin finished in the middle of my gathering seam, which didn’t really help… and then I had difficulty pulling the gathering in.

When I finally got it around the right width for our windows, I had trouble sewing the curtain rail tape over the gathering. I put the finished curtain up and was disheartened to see that I’d accidentally pulled some of the curtain into the gathering in spots and as a result, my hem was super uneven and looks horrible.

Sooo I’ve given up on curtains for awhile. I am trying to muster the will to attempt them again, but this voile is so slippery and unmanageable!

Have you attempted curtains in your home? How did they turn out?

Breaking our brand new retractable awnings

During our first days back at work after the move, Kay noticed that from the hours of 6-8pm (you know, when we get home from work) the retractable awnings were doing close to nothing to shade us while we tried to eat on our balcony.

The sun was setting and covering the already sun-baked tiles in a blaze of fiery light. And that perturbed Kay as he tried to eat his dinners and lay in his hammock.

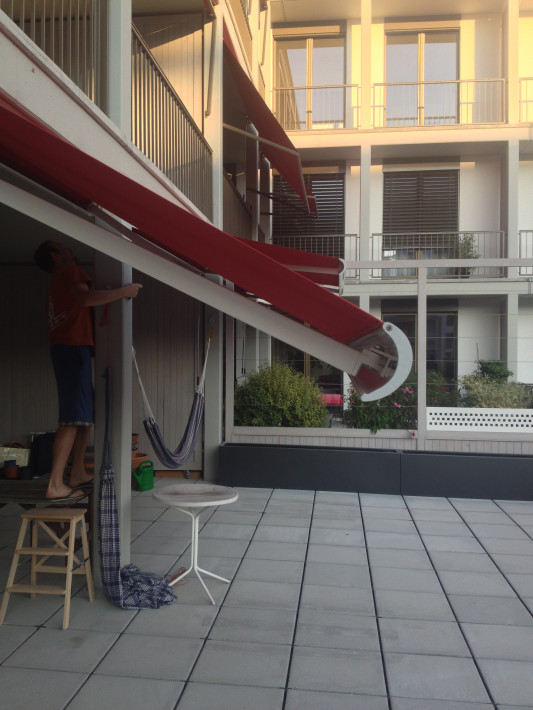
It bothered him so much that in our first full work week in the flat, he brought home tools from work to try and turn the awnings at a lower angle so that they would block out more sun. This involved a lot of lifting (on my part) and cursing on Kay’s part.

It was easy to lower the first side, but he was having trouble making the awnings lay straight. They were lopsided. Kay went to fix the awning on the right and he could not for the life of him get the awning to lower. And this all happened to be during the sunniest time on the balcony.

Meanwhile, my arms were getting incredibly sore and I was increasingly frustrated that we were spending time messing with the awnings and possibly, very expensively, breaking them instead of spending time organizing our very messy new home. We were both really worried that Kay had somehow broken them.

We left them lopsided for the evening and went to bed defeated.

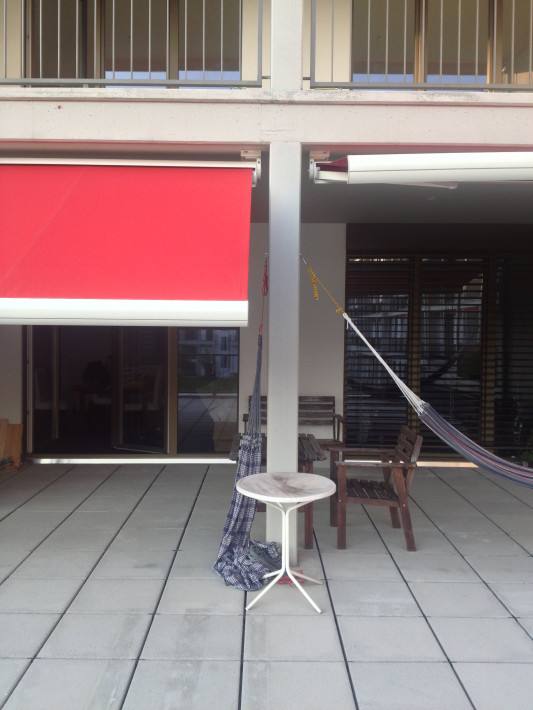
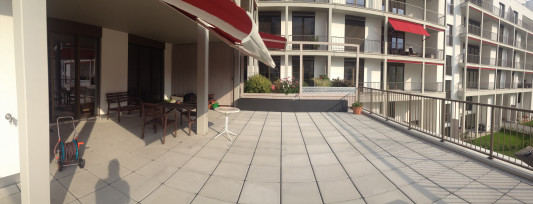
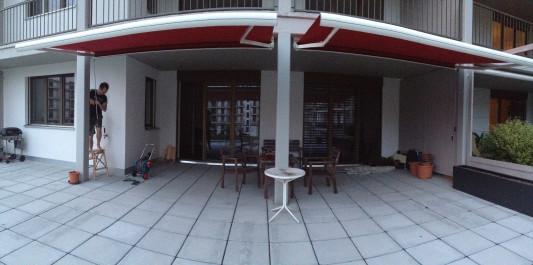
Below you can actually see that the flats above us have awnings that come out and then flip down to really block the sun coming in. They didn’t do them like this on the big terrace level because we obviously have a lot more walking area, but we were a little envious of our smaller-balcony neighbors enjoying a shady dinner.

After a few days and some more calls to the awning business that told Kay this was an “easy fix” he figured out how it worked to fix the awnings. We got one side down as low as we wanted, but by then it was too dark to see if the shade was worth the cost of not being able to walk under the awning anymore.

We waited another day until I took these pictures and you could see that the shade below is a lot more than it was before, where it was almost non-existent. But to Kay, it still wasn’t enough shade and having to duck under the awning in the middle of the balcony was a huge waste of terrace real estate.

So you know what we did? We got back out there and put the awnings back up to their original spots. (Ugh, more lifting… I’m such a weenie!)

I stood there holding the awnings, my arms burning… wondering why we did anything in the first place, but some things you don’t figure out until you try them out.

It took awhile, but we got both awnings level with each other again. They are still great during the daytime, but it’s clear that with our “sunny balcony” we will have to invest in some other sun blocking solution elsewhere on the balcony so that we can enjoy some shadier dinners. And thankfully we didn’t really break the awnings. I don’t want to imagine how much they would have cost to repair or replace.

And you won’t find me complaining about how sunny it is… I’m glad for it! And I’m sure we will appreciate the sun more when the temperatures dip down lower towards the autumn. It will make the balcony more useable during the year than otherwise.

Did you ever have any big “Why did we do that??” moments with house projects?