As requested, here is my gluten free traditional lasagna recipe.
If you are still fine eating meat and cheese, subbing some gluten free noodles into an old recipe will work just fine! I based this on a popular one from All-recipes that I used to use for years before switching to a gluten free lifestyle. I also heartily recommend the make-ahead option at the bottom. 🙂
Yield: 12 servings… or if you’re like us, more like 6 servings. 😉
Oven: 190ºC / 375ºF
Ingredients:
- 450g (1lb) sweet Italian sausage
- 340g (3/4) pound lean ground beef
- 1/2 cup minced onion
- 2-3 cloves garlic, crushed
- 1 800g (28 ounce) can crushed tomatoes
- 100g (3.5 oz) tomato paste
- 500ml (16.9oz) canned tomato sauce
- 1/2 cup water
- 2 tablespoons white sugar
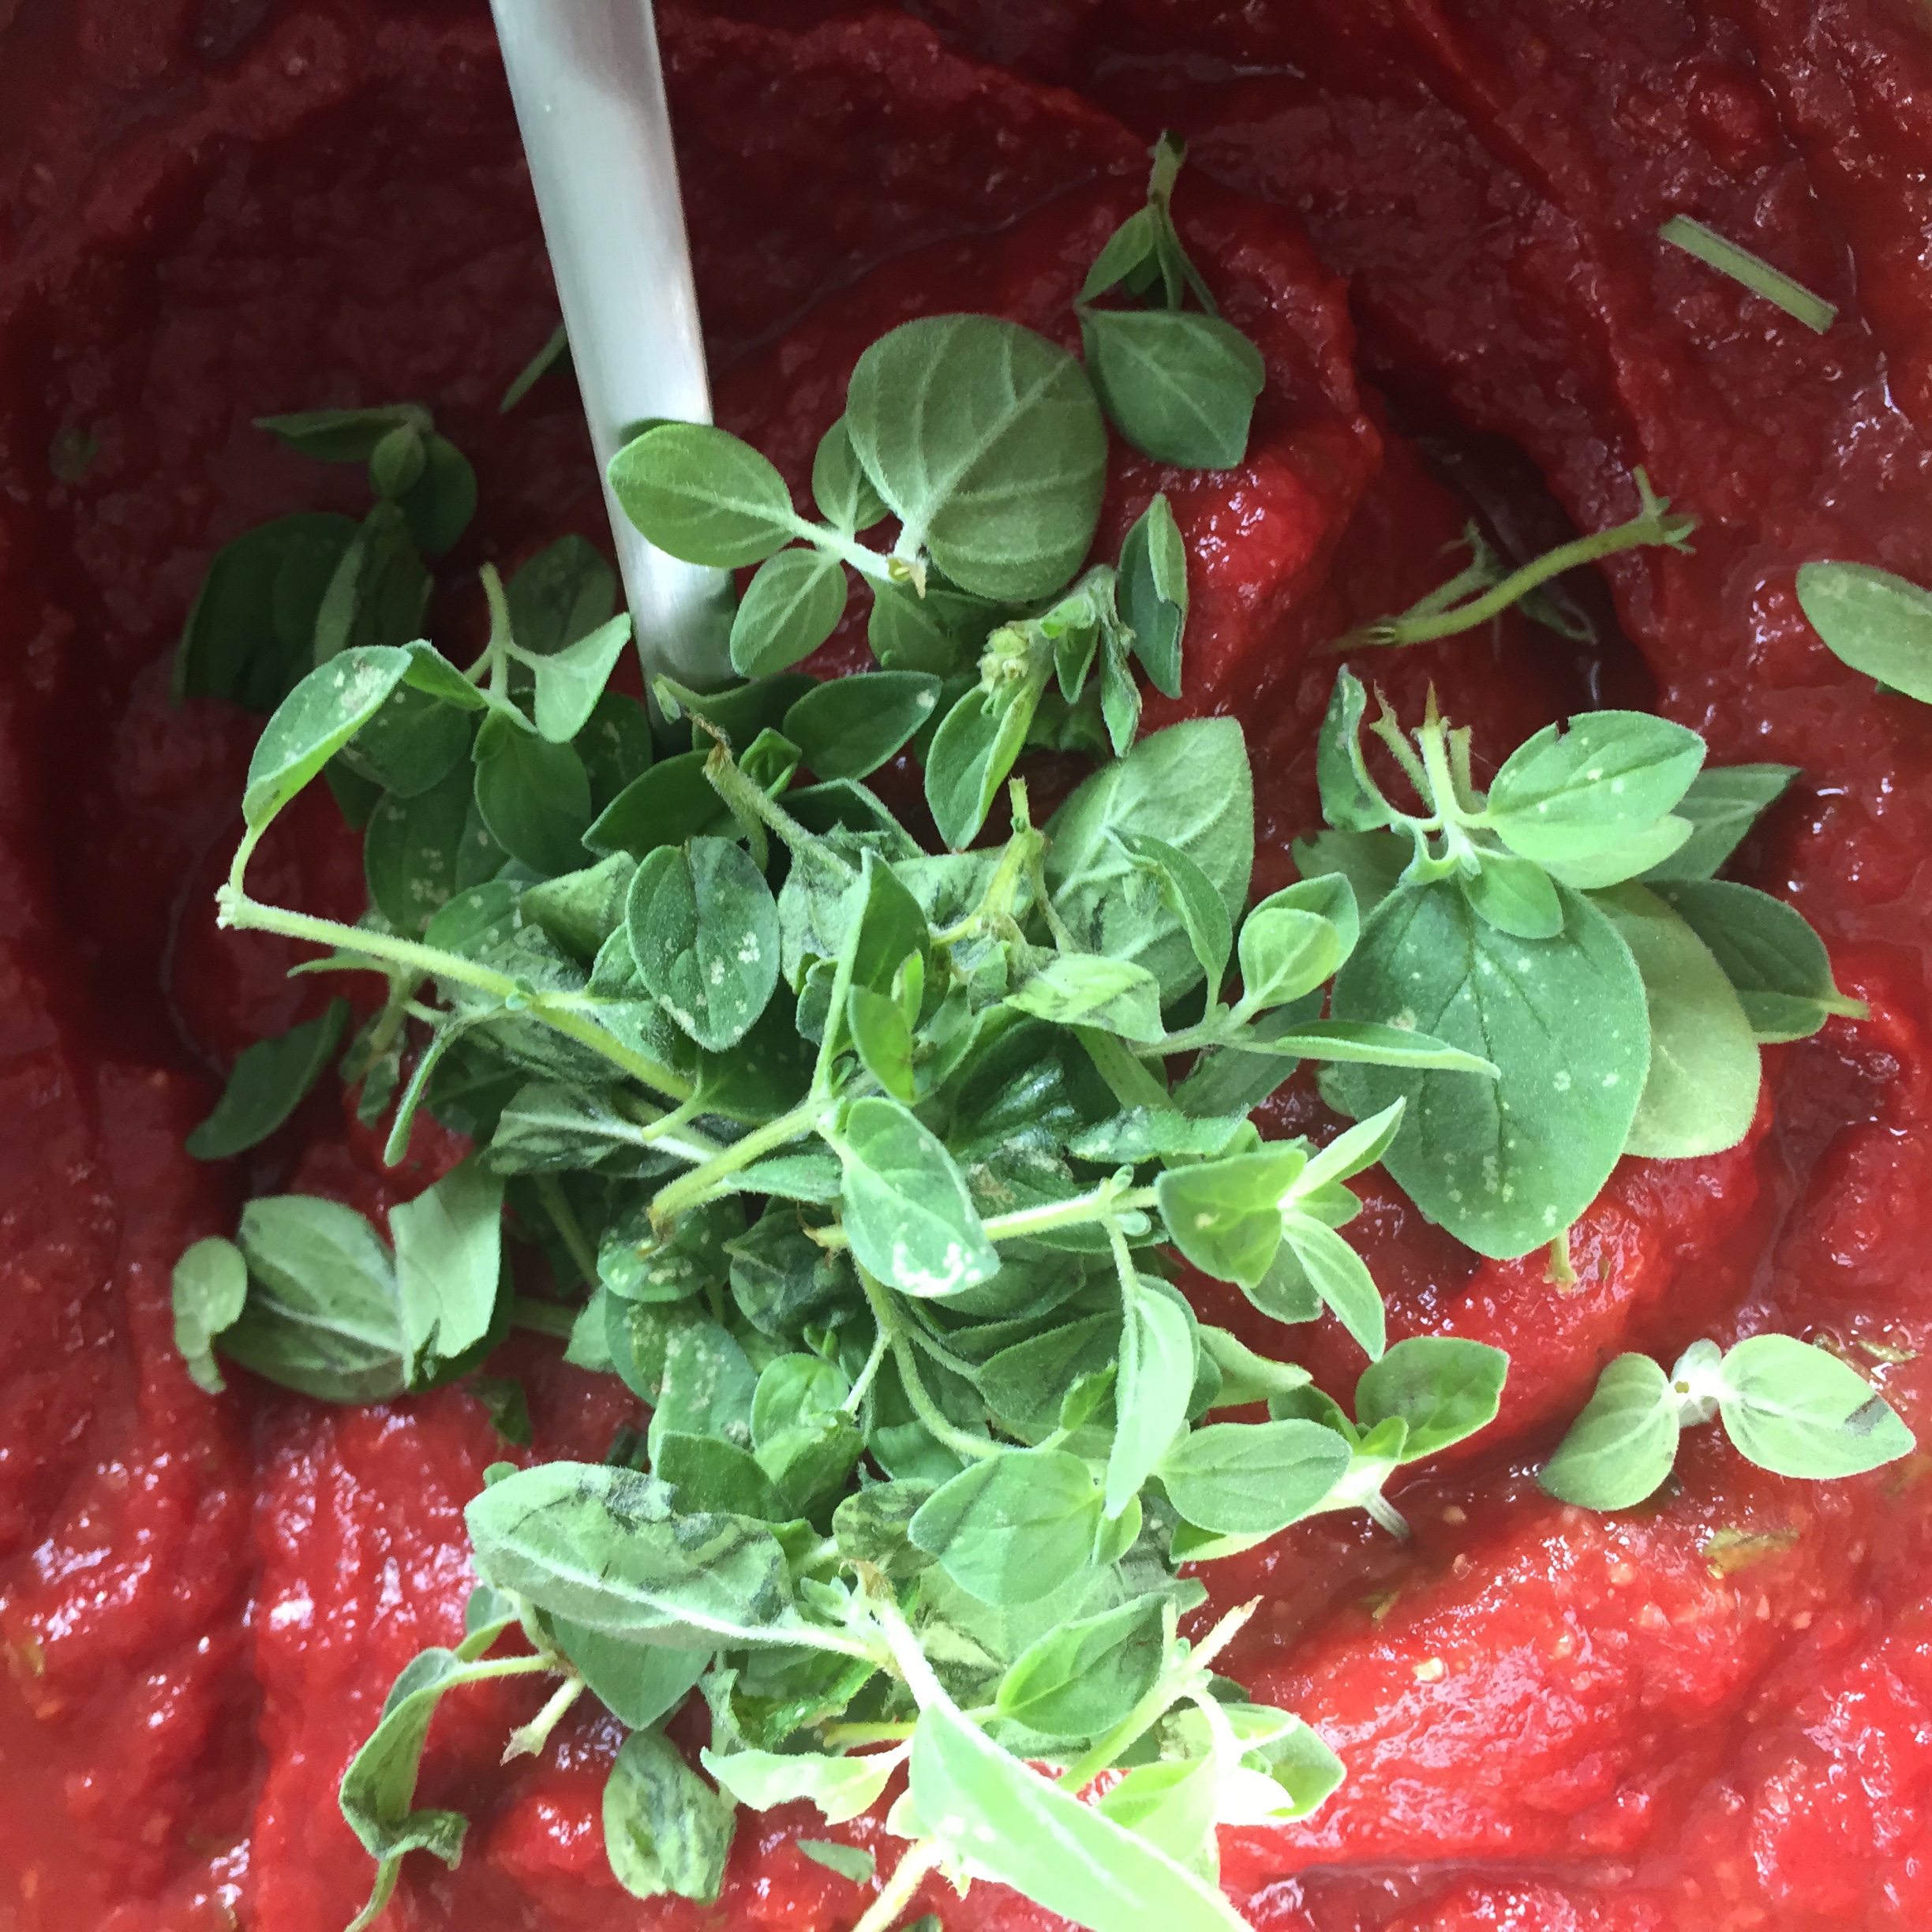
- 2 tablespoons fresh basil cuttings
- 2 tablespoons fresh oregano cuttings
- 1 teaspoon Italian seasoning
- 1 tablespoon salt
- 1/4 teaspoon ground black pepper
- 4 tablespoons chopped fresh parsley
- 12 gluten free lasagna noodles, like from Schär
- 450g (15oz) ricotta cheese
- Pinch of nutmeg
- 1/2 teaspoon salt
- 340g (.75lb) mozzarella cheese, sliced
- 3/4 cup grated Parmesan cheese
Same Night Directions:
1. In a big pot, brown the beef and sausage with the onion and crushed garlic.
2. Stir in tomatoes, tomato paste, tomato sauce, water, sugar, fresh basil and oregano, Italian seasoning, salt, black pepper and two tablespoons of the parsley. Simmer for 1.5 hours.
3. Fill a bowl with hot water and soak the noodles while you start preparing the pan for layers. Preheat oven to 190ºC. In a mixing bowl, combine ricotta with the other 2Tbs of parsley, nutmeg, and salt. Adding an egg is optional, but not necessary.
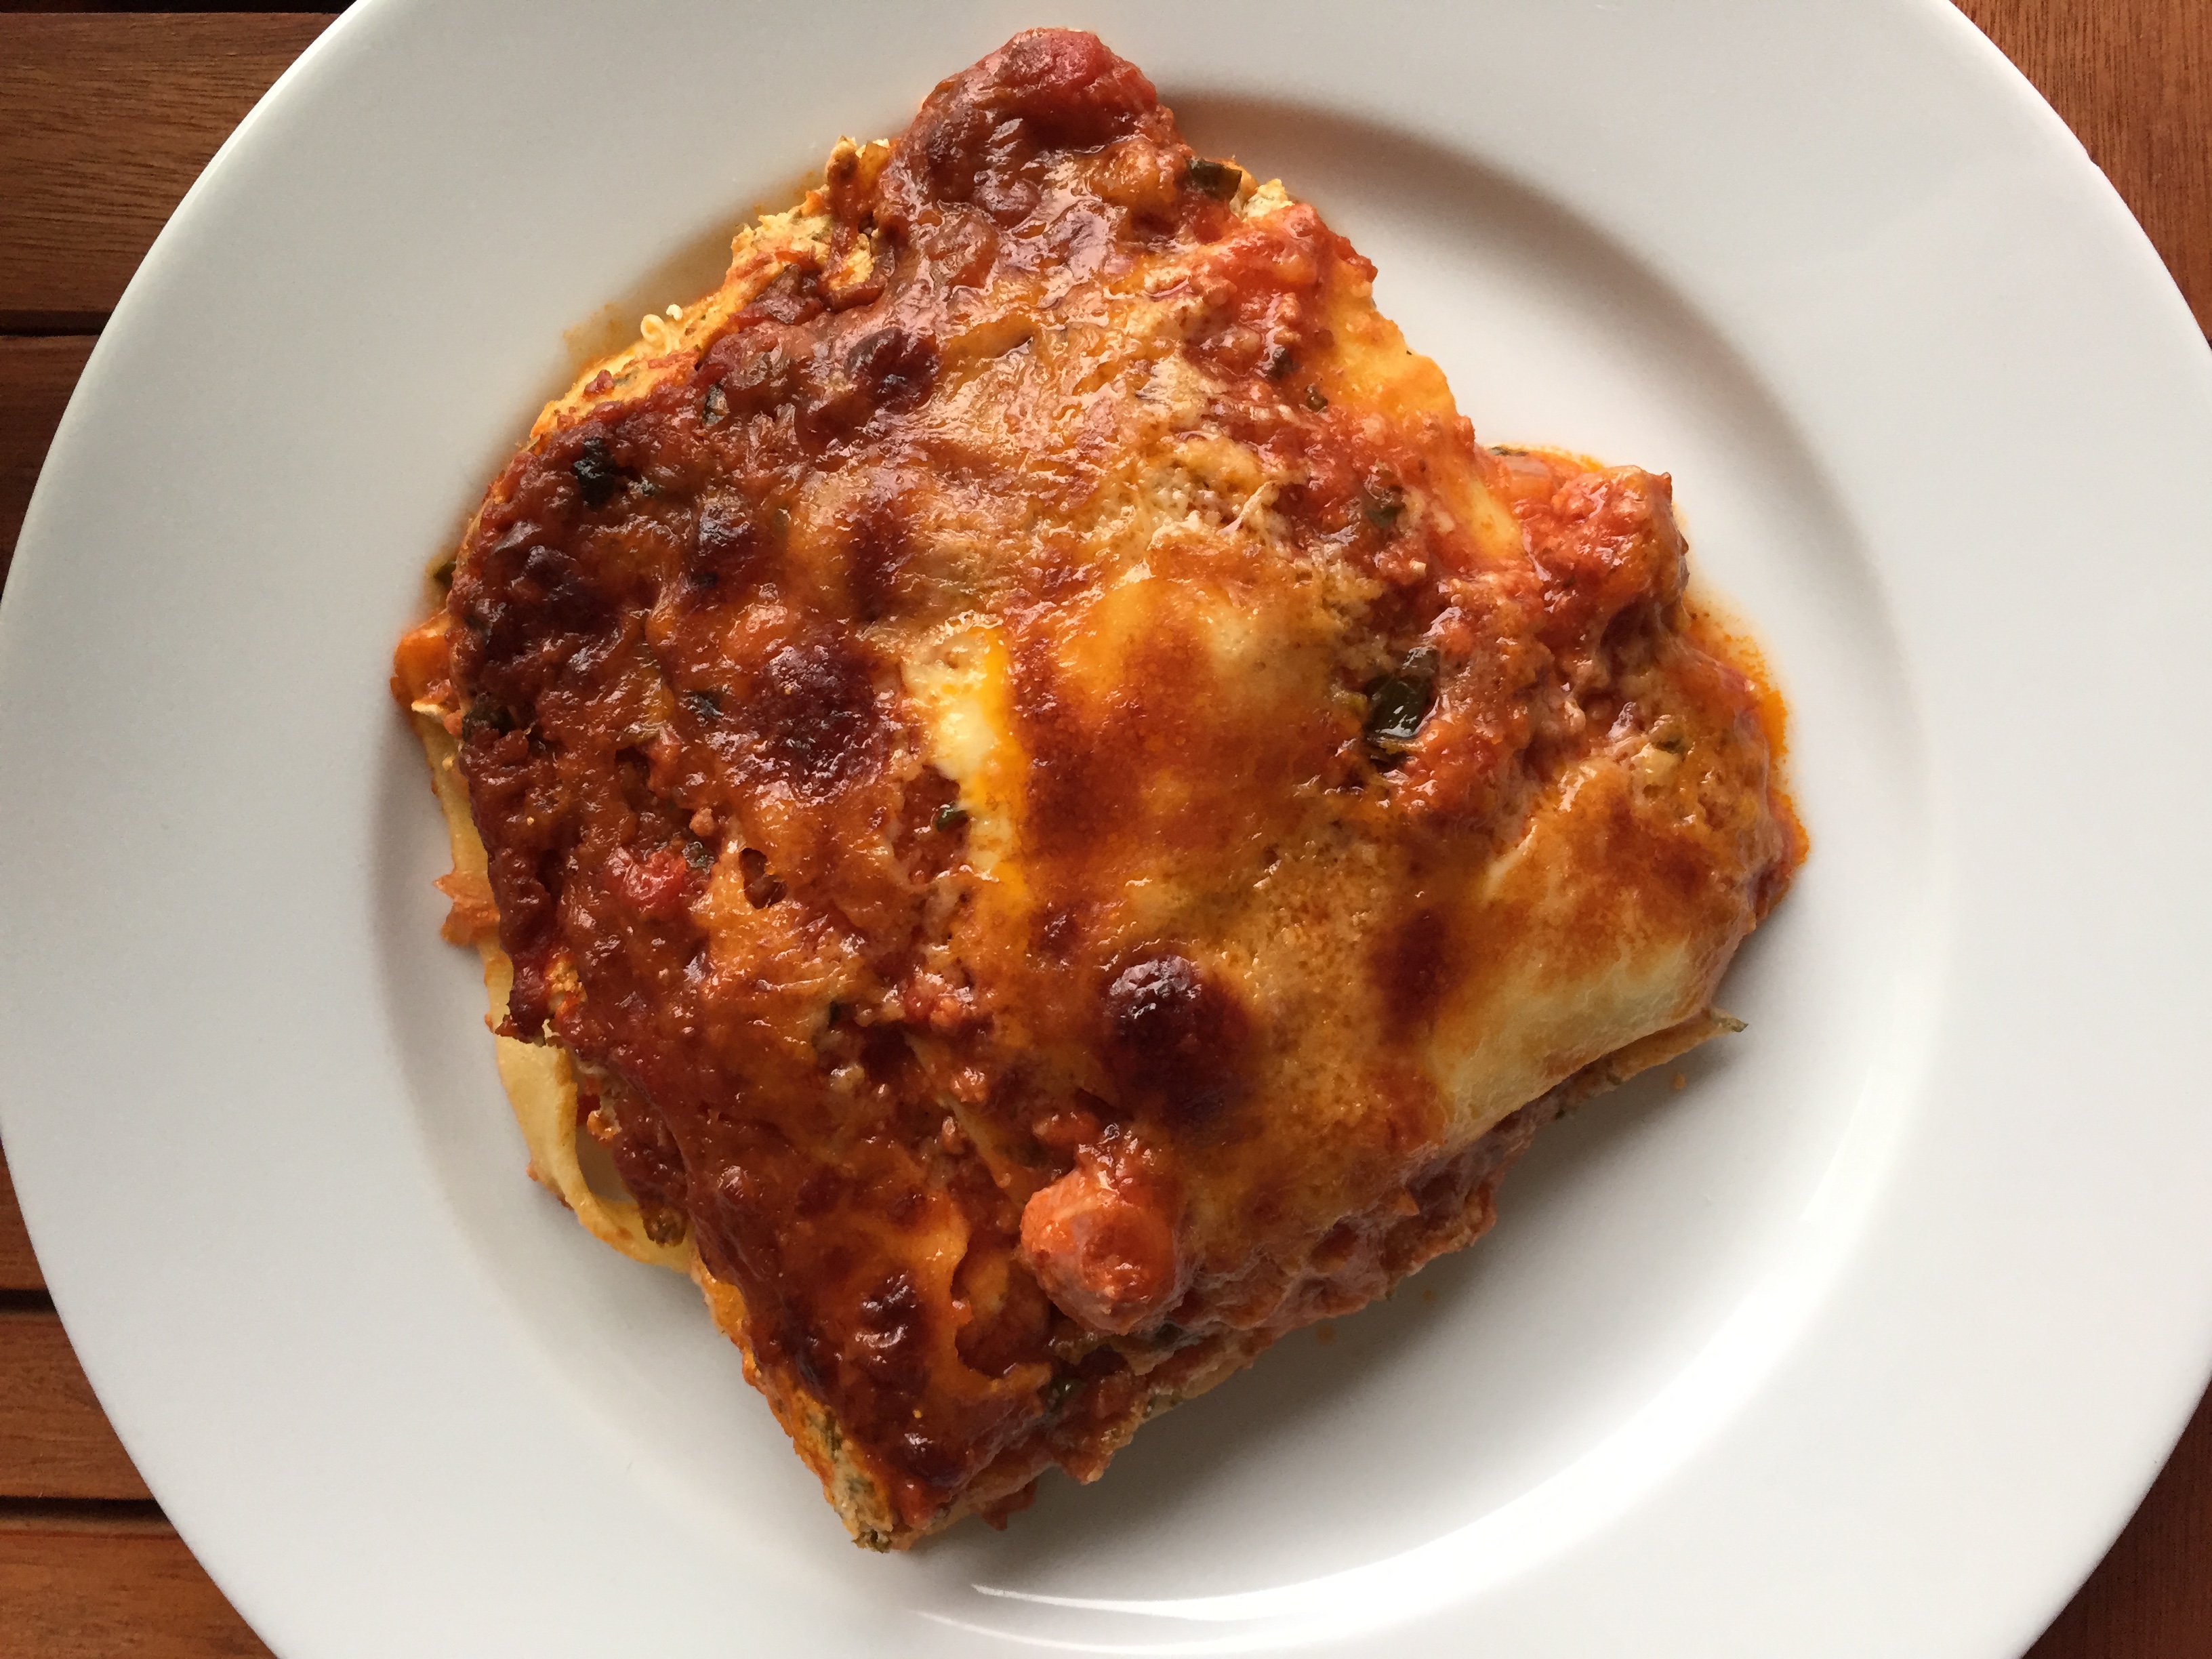
4. To assemble, use 1.5 cups of sauce on the bottom of a 9×13 inch (23×35 cm) baking dish. One layer of noodles over the sauce. Break to fit. Spread one half of the ricotta mix over the noodles. Top with 1/3 of the mozzarella slices, do another layer of sauce, add 1/4 of parmesan on top. Repeat those layers and top with remaining mozzarella and parmesan.
5. Cover with foil and avoid letting the foil touch the cheese. Bake 25 minutes covered, 25 minutes uncovered and then let the lasagna rest outside the oven for an additional 15 minutes before serving.
It’s fine if your tomato mix varies a little bit. If you have too much sauce at the end, you can always save it and use with pasta, but I usually use mine up. My tomato sauce always comes in larger packages here than my original recipe, so I use 500ml and then less tomato paste, because that comes in tubes here, but if it’s more convenient for you to use a 6oz can of paste, do that and just use less tomato sauce.
Extra cheese is never a problem either. I usually buy extra parm and just load it on top.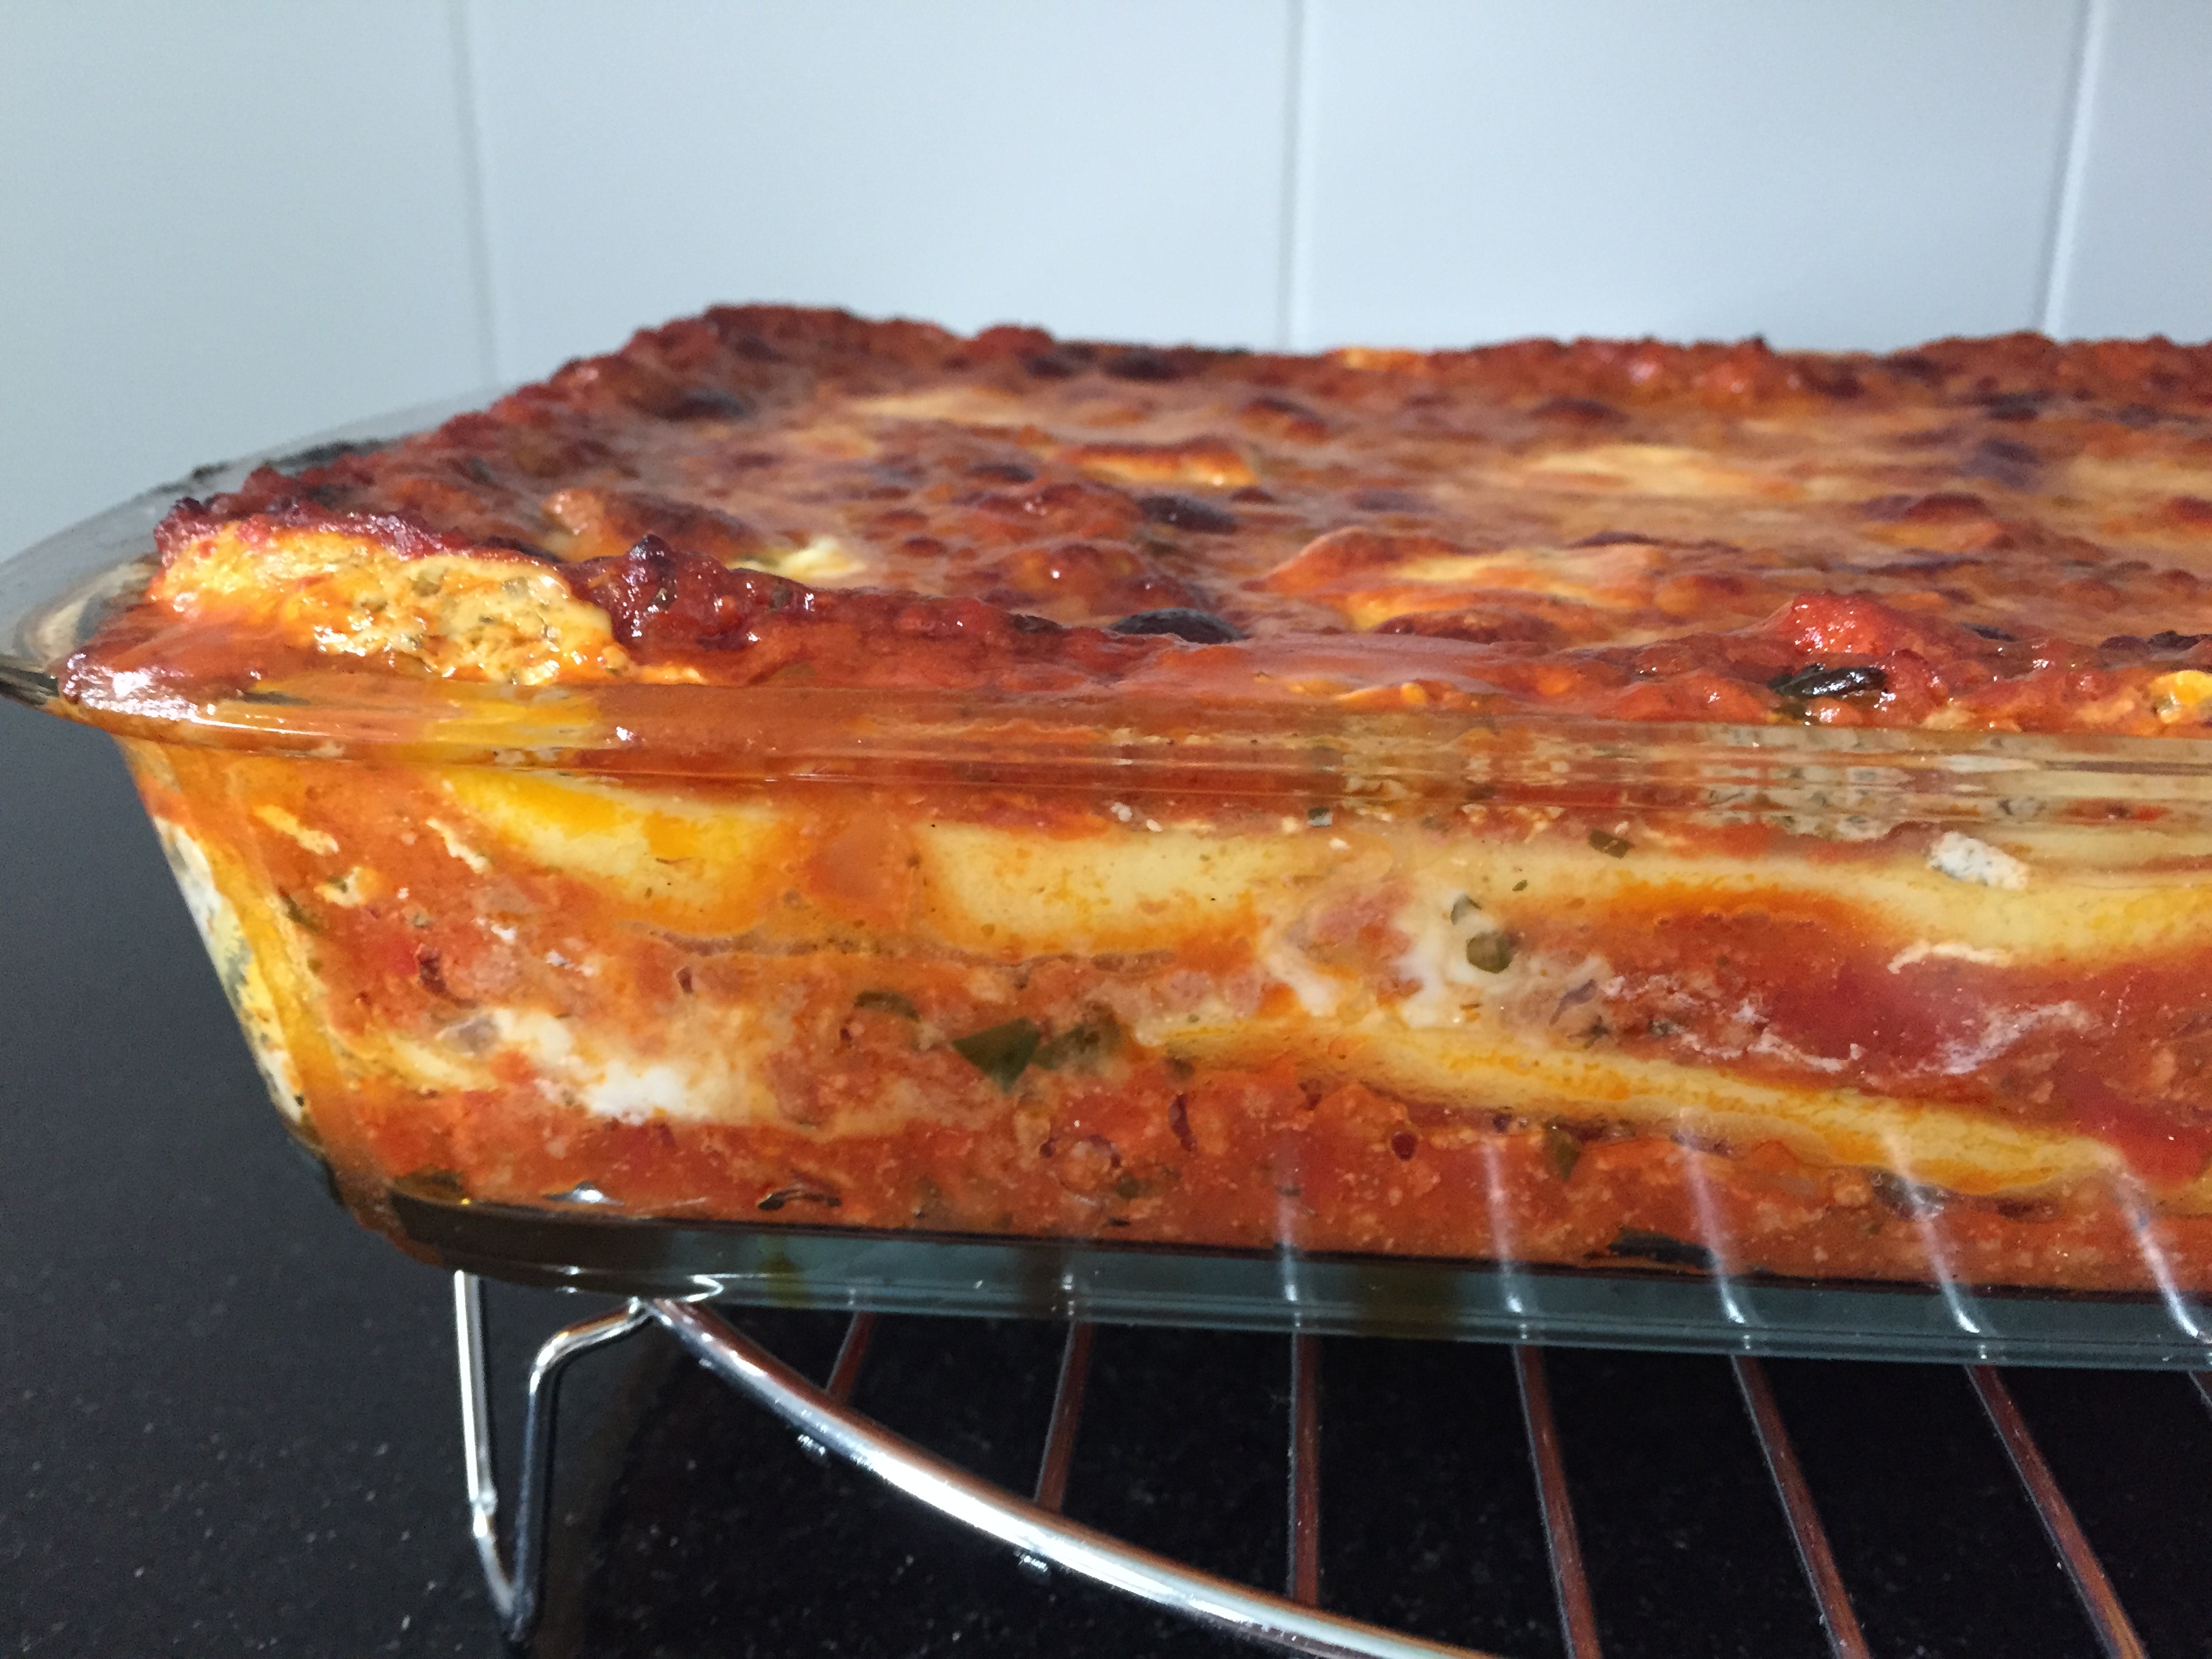
Now, if you don’t have time to watch the sauce simmer for that long, what I really love is to just make this ahead the night before. To do that, follow the instruction above with these changes:
1. Brown the meat as directed above, then mix in all the spices but don’t simmer. Proceed directly to the assembling after you mix up your ricotta mix in a bowl.
2. Skip soaking the noodles and assemble as directed above, but with dry noodles.
3. When the lasagna is put together, cover with foil and refrigerate overnight. Refrigerating will blend the sauce flavours for you without the extra work of stirring. It will also soften your noodles just fine without soaking or cooking ahead.
4. The day you bake it, pull the lasagna out to warm up for around 40 minutes before following the baking instructions above.
Good luck and happy baking!
Do you have any secret lasagna tips?

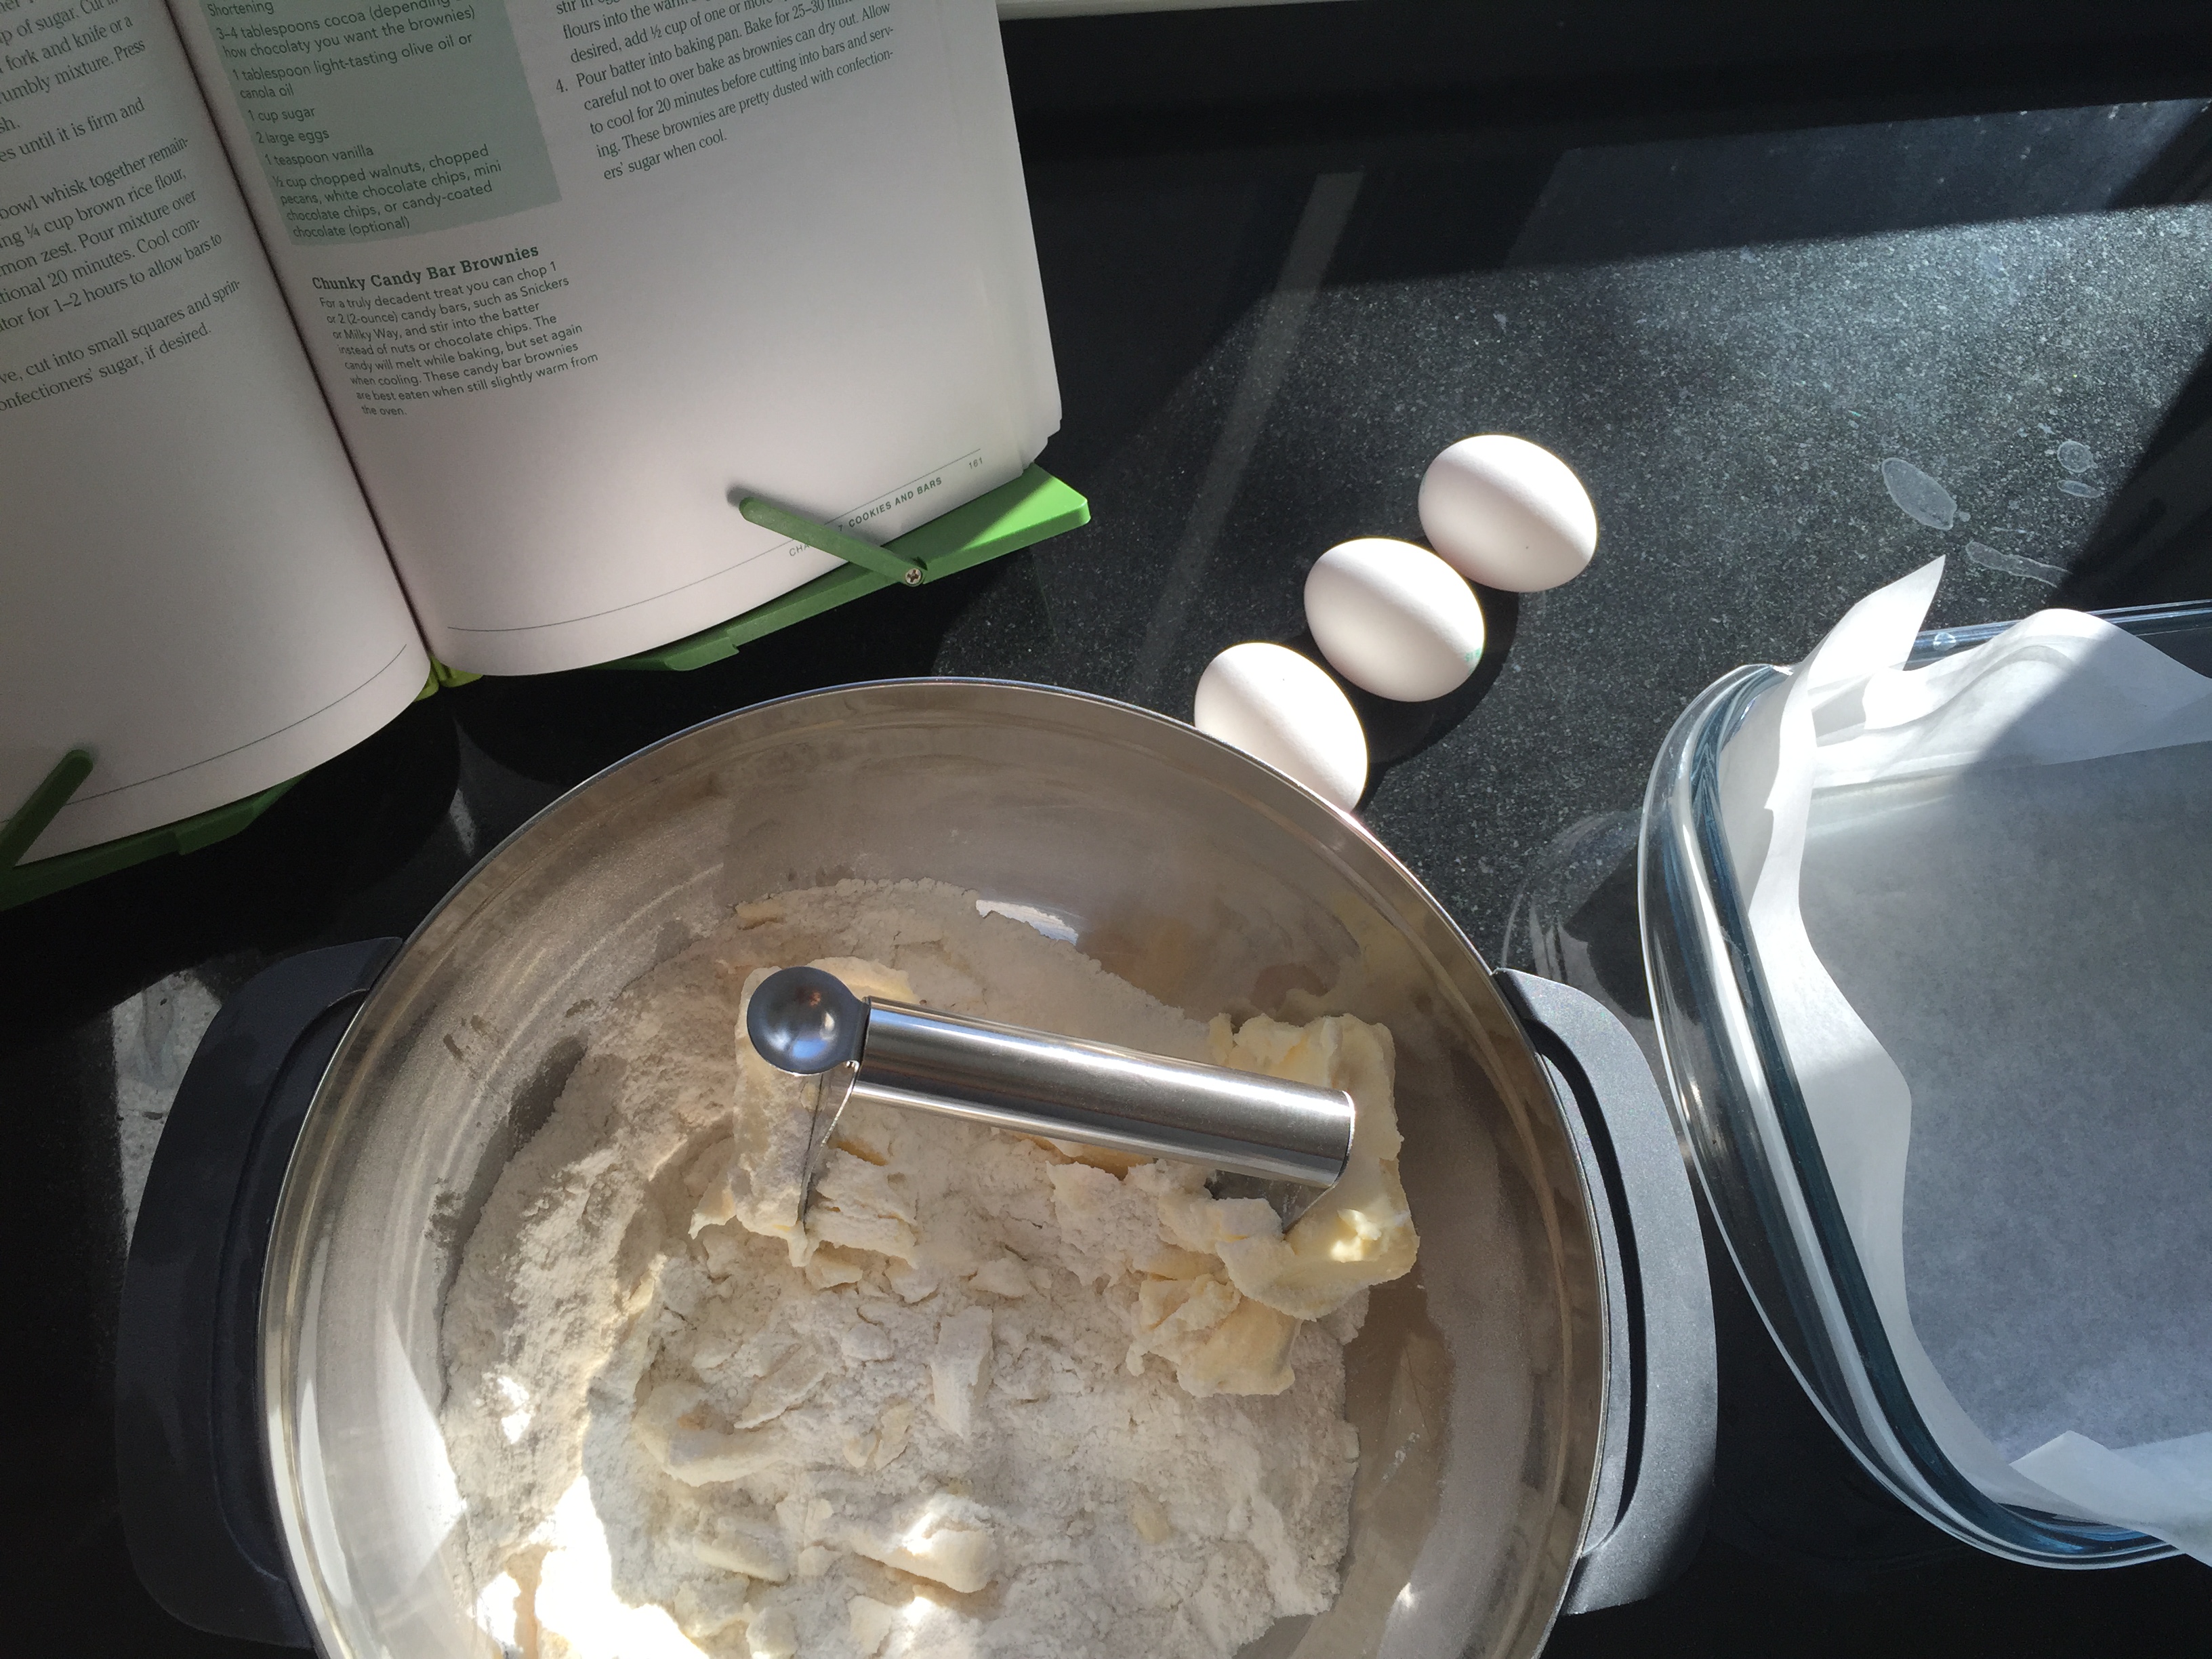 I’ve tried out lemon bars a few times now before going gluten-free and while I have made my sister’s recipe with a gluten free flour mix, I think the crust here turned out better using the proper ratio of flours.
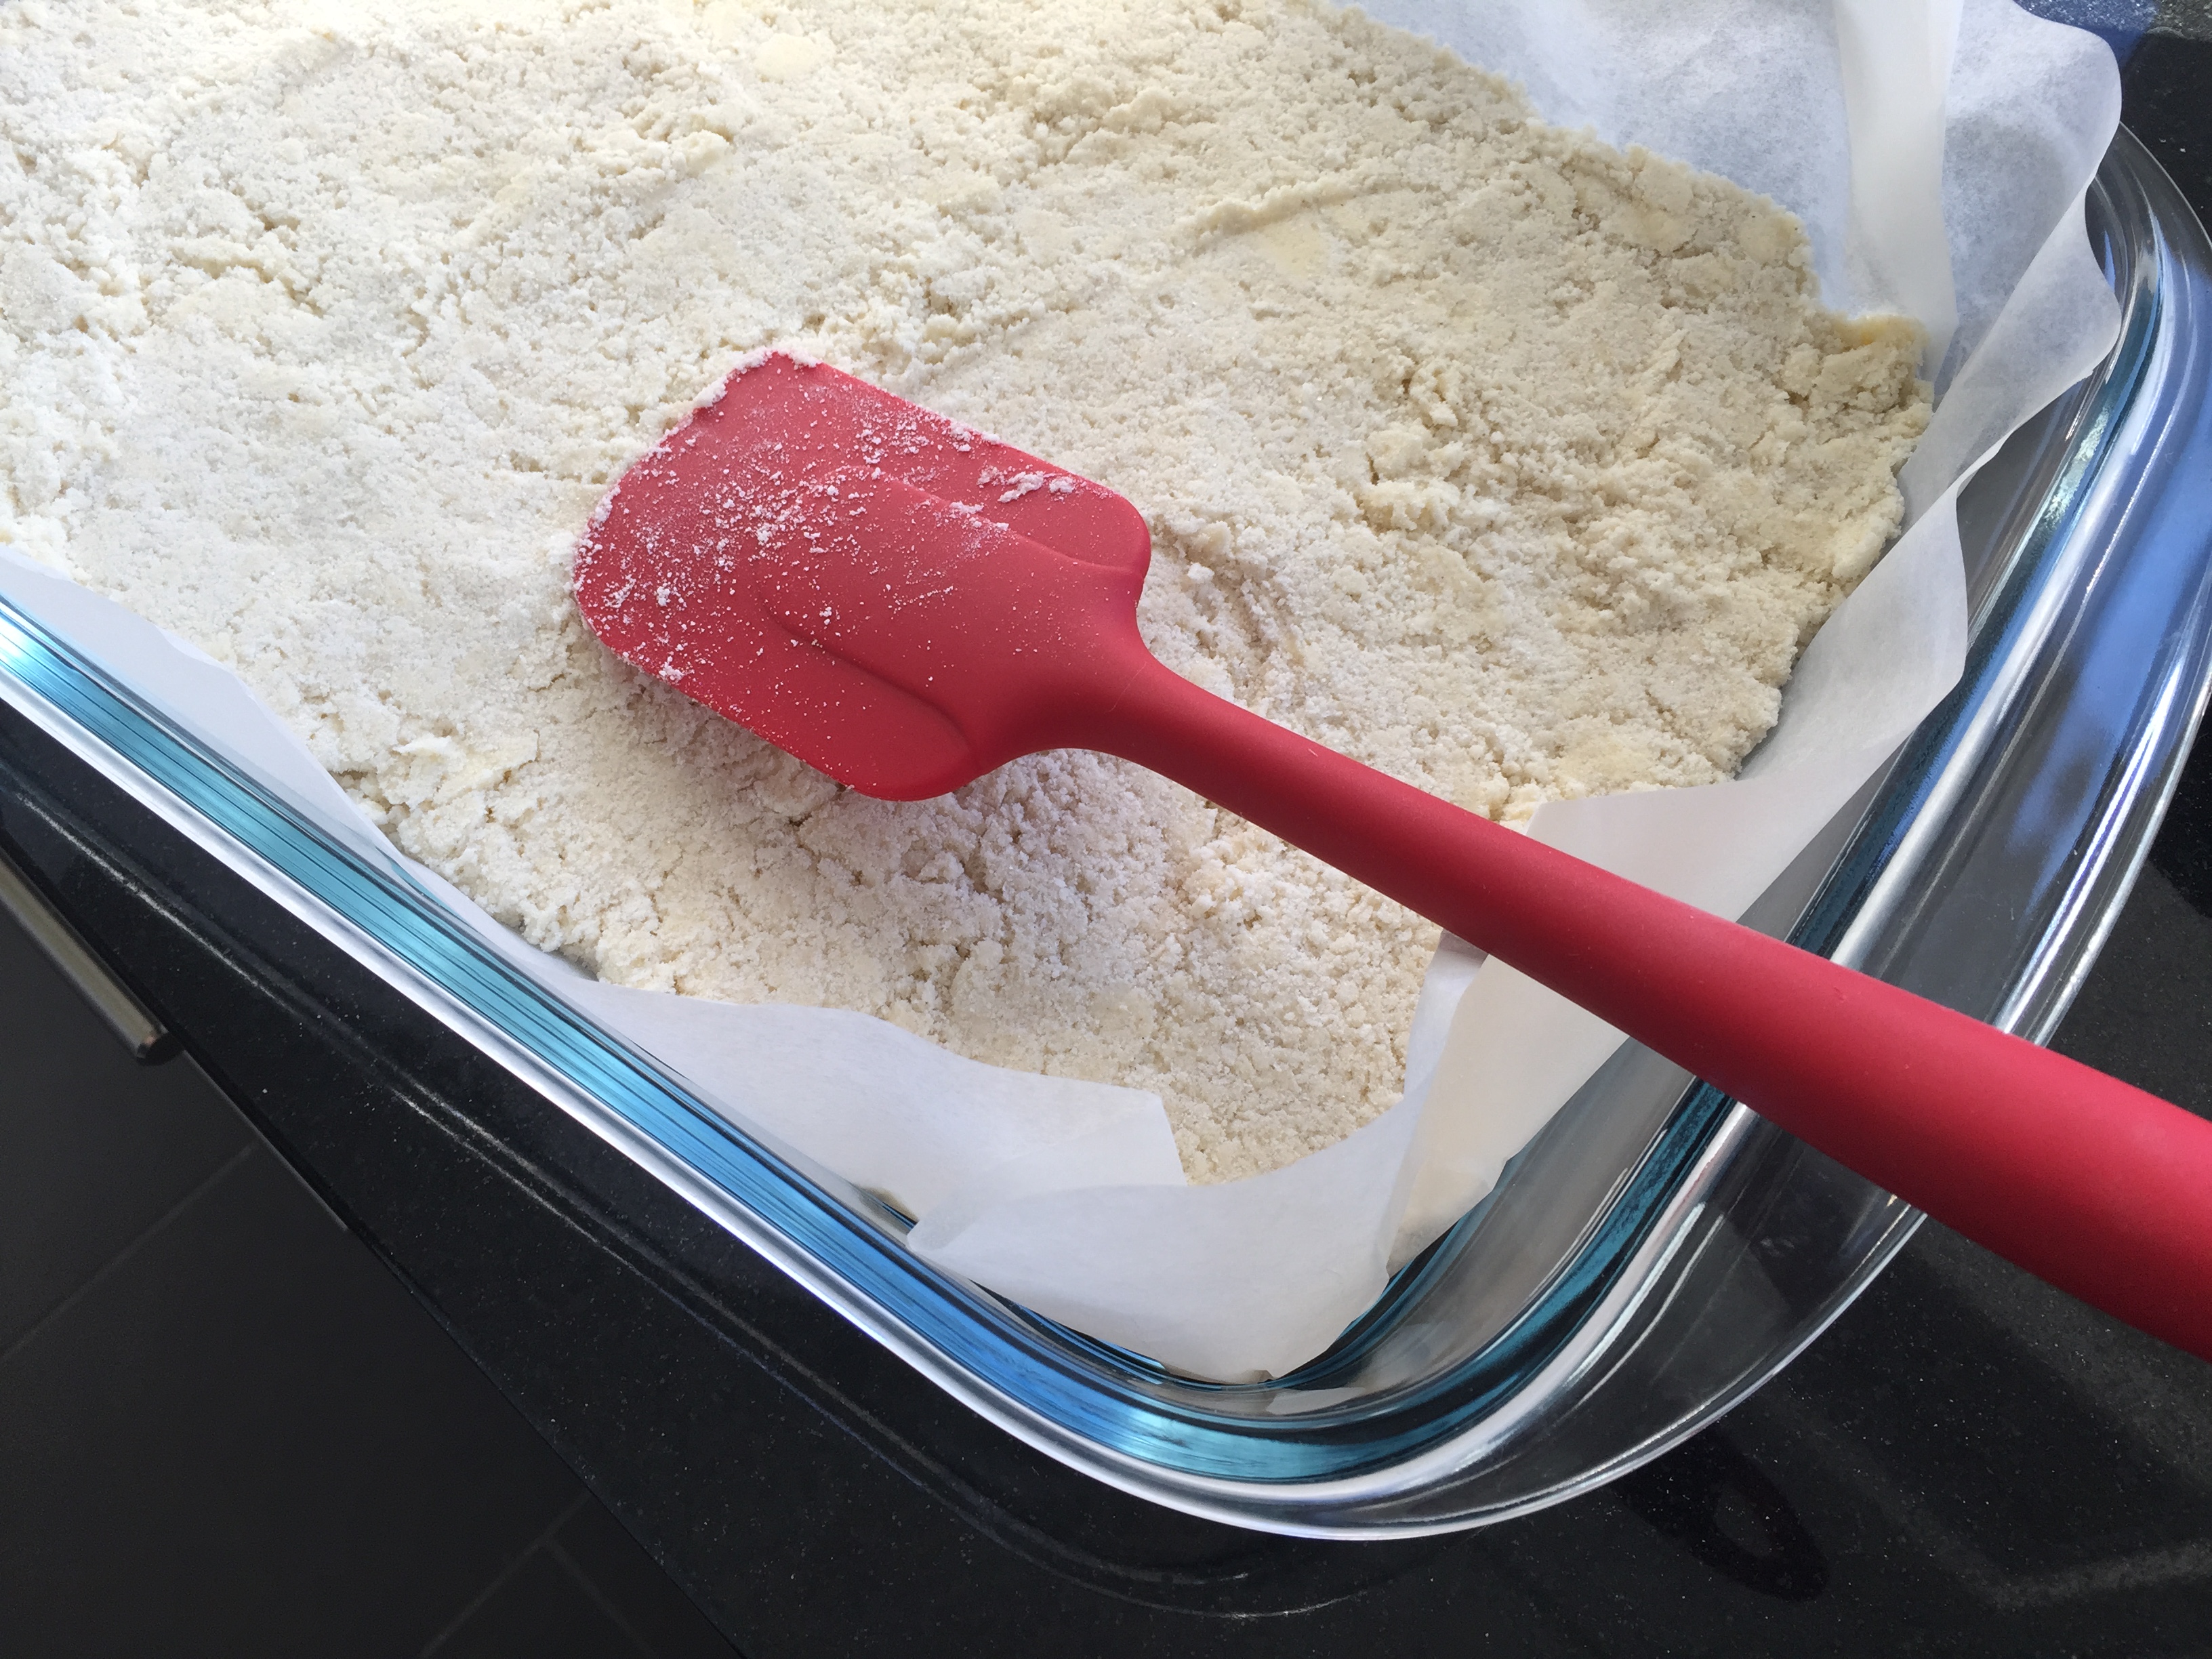 Maybe it also had something to do with lining the pan with parchment, but these were a lot easier to get out of the pan than some lemon bars.
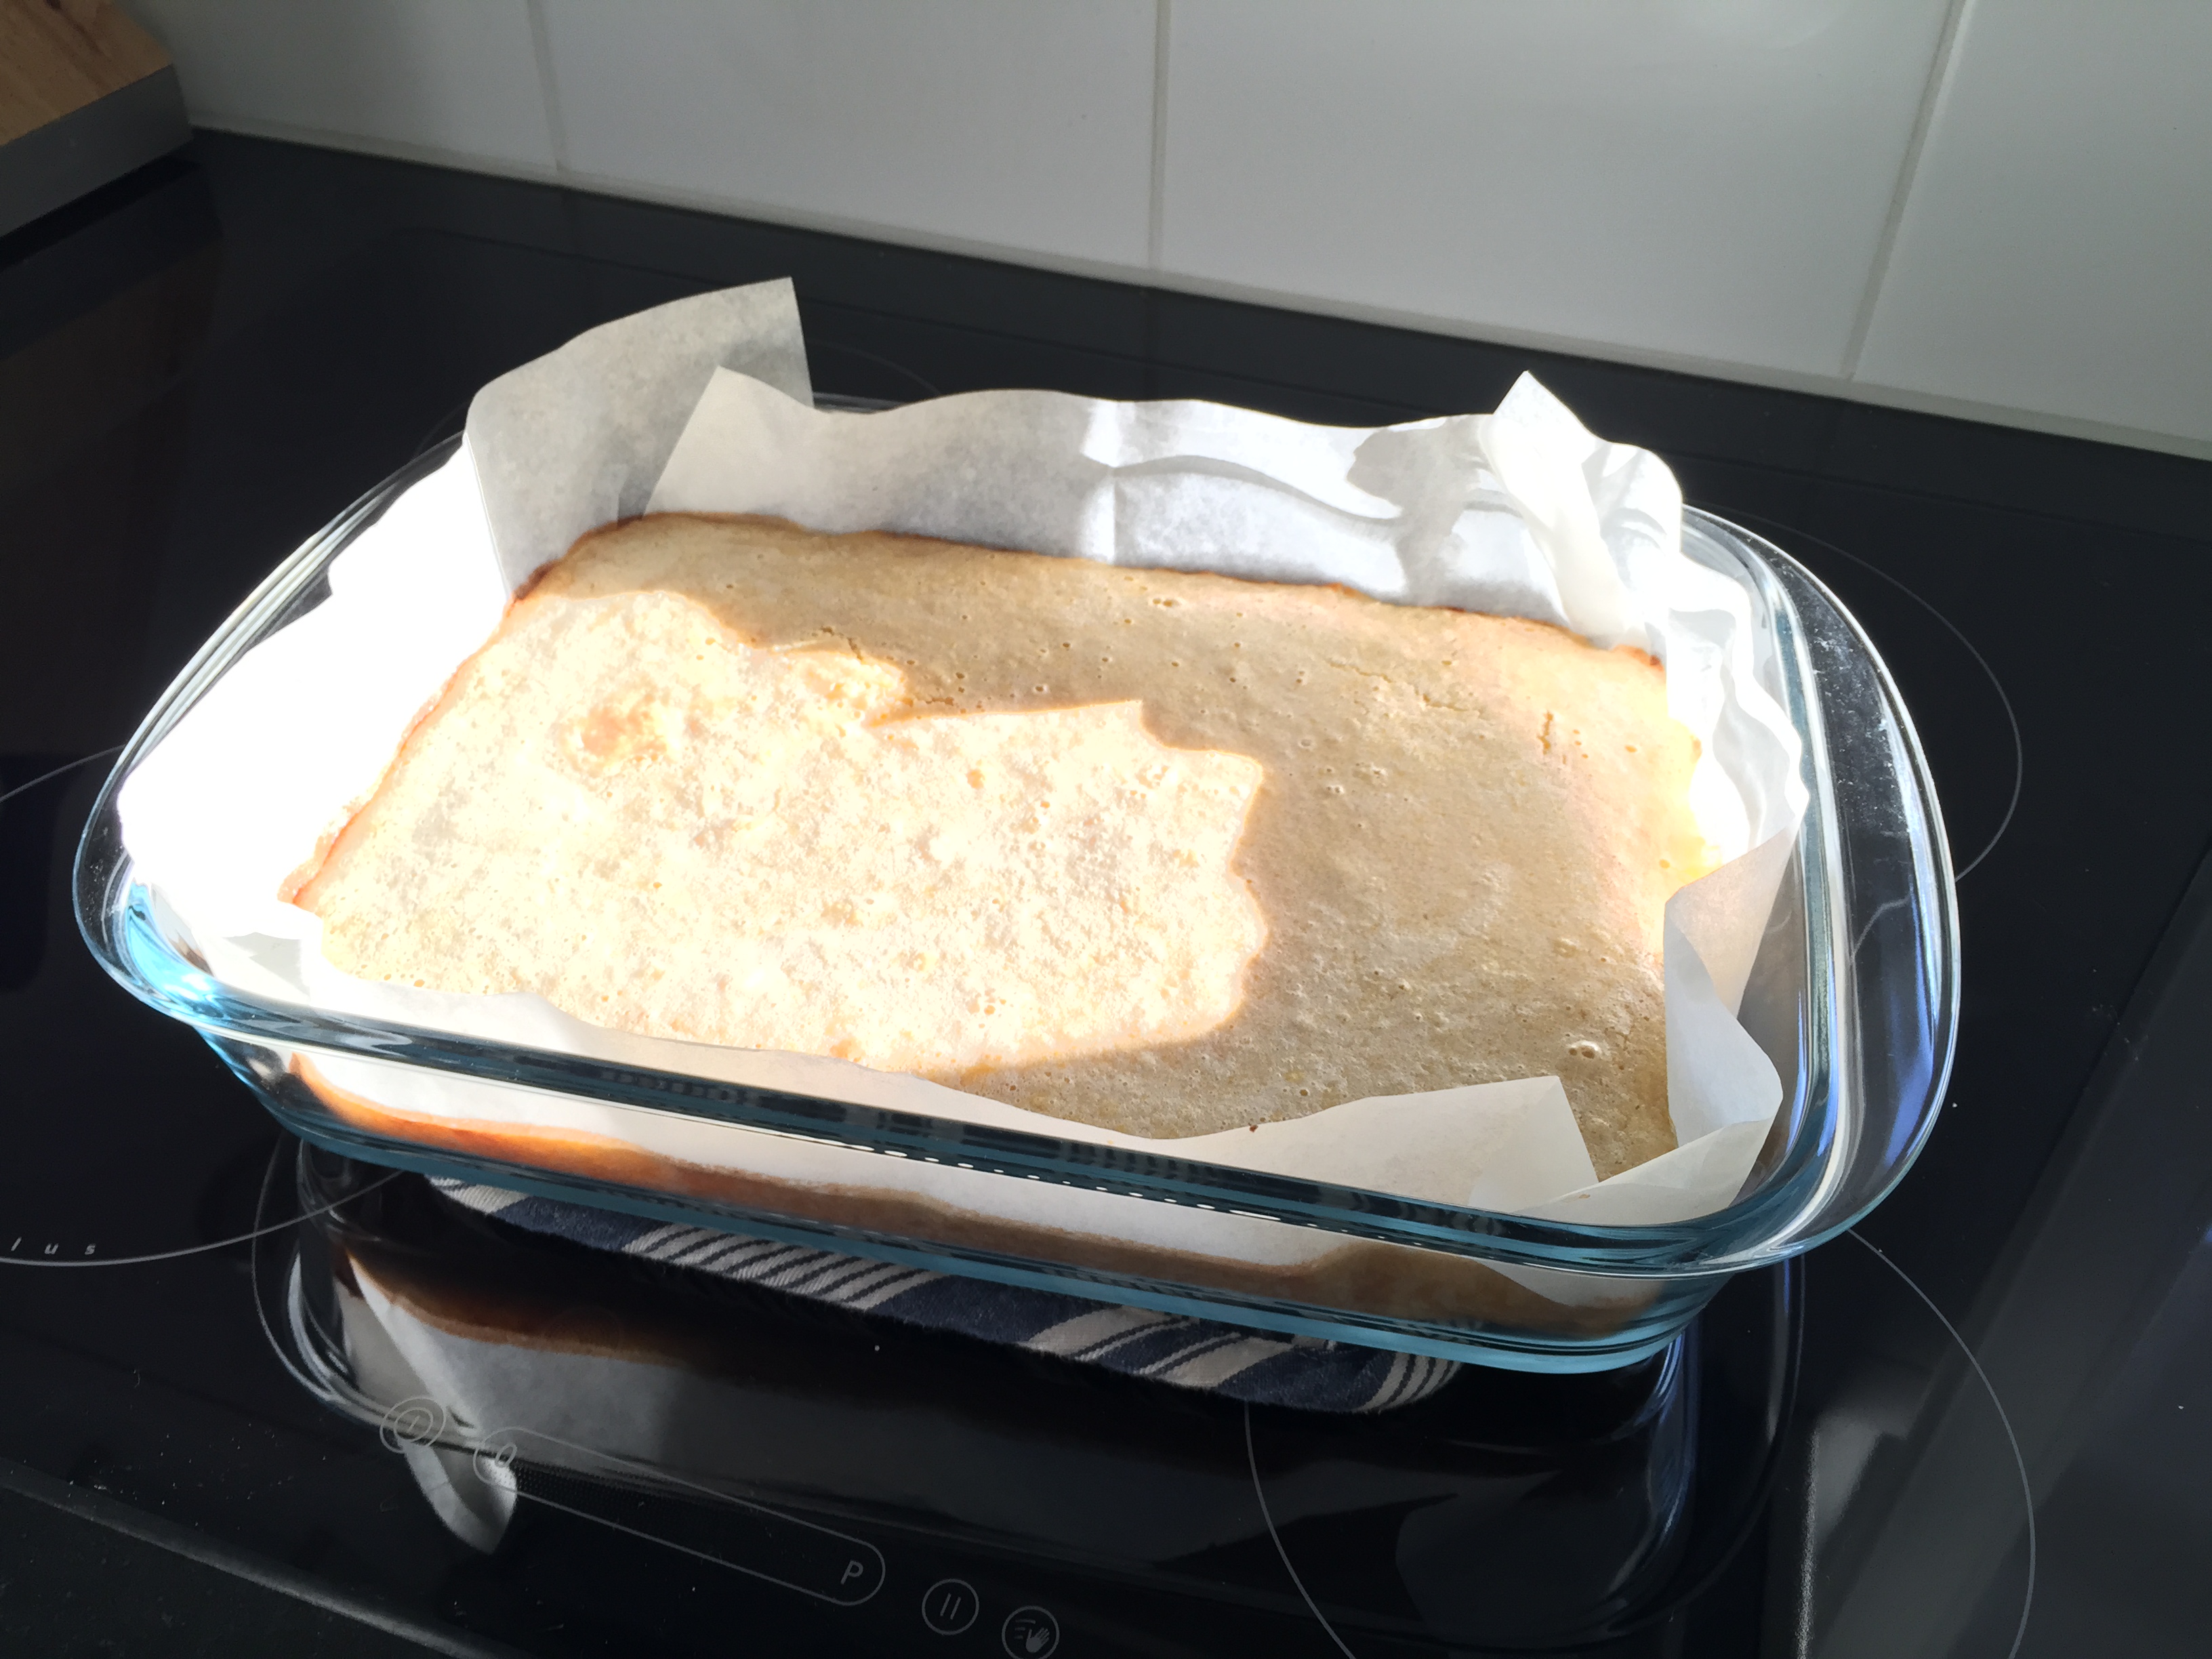 Look at them fresh out of the oven! The picture of joy.
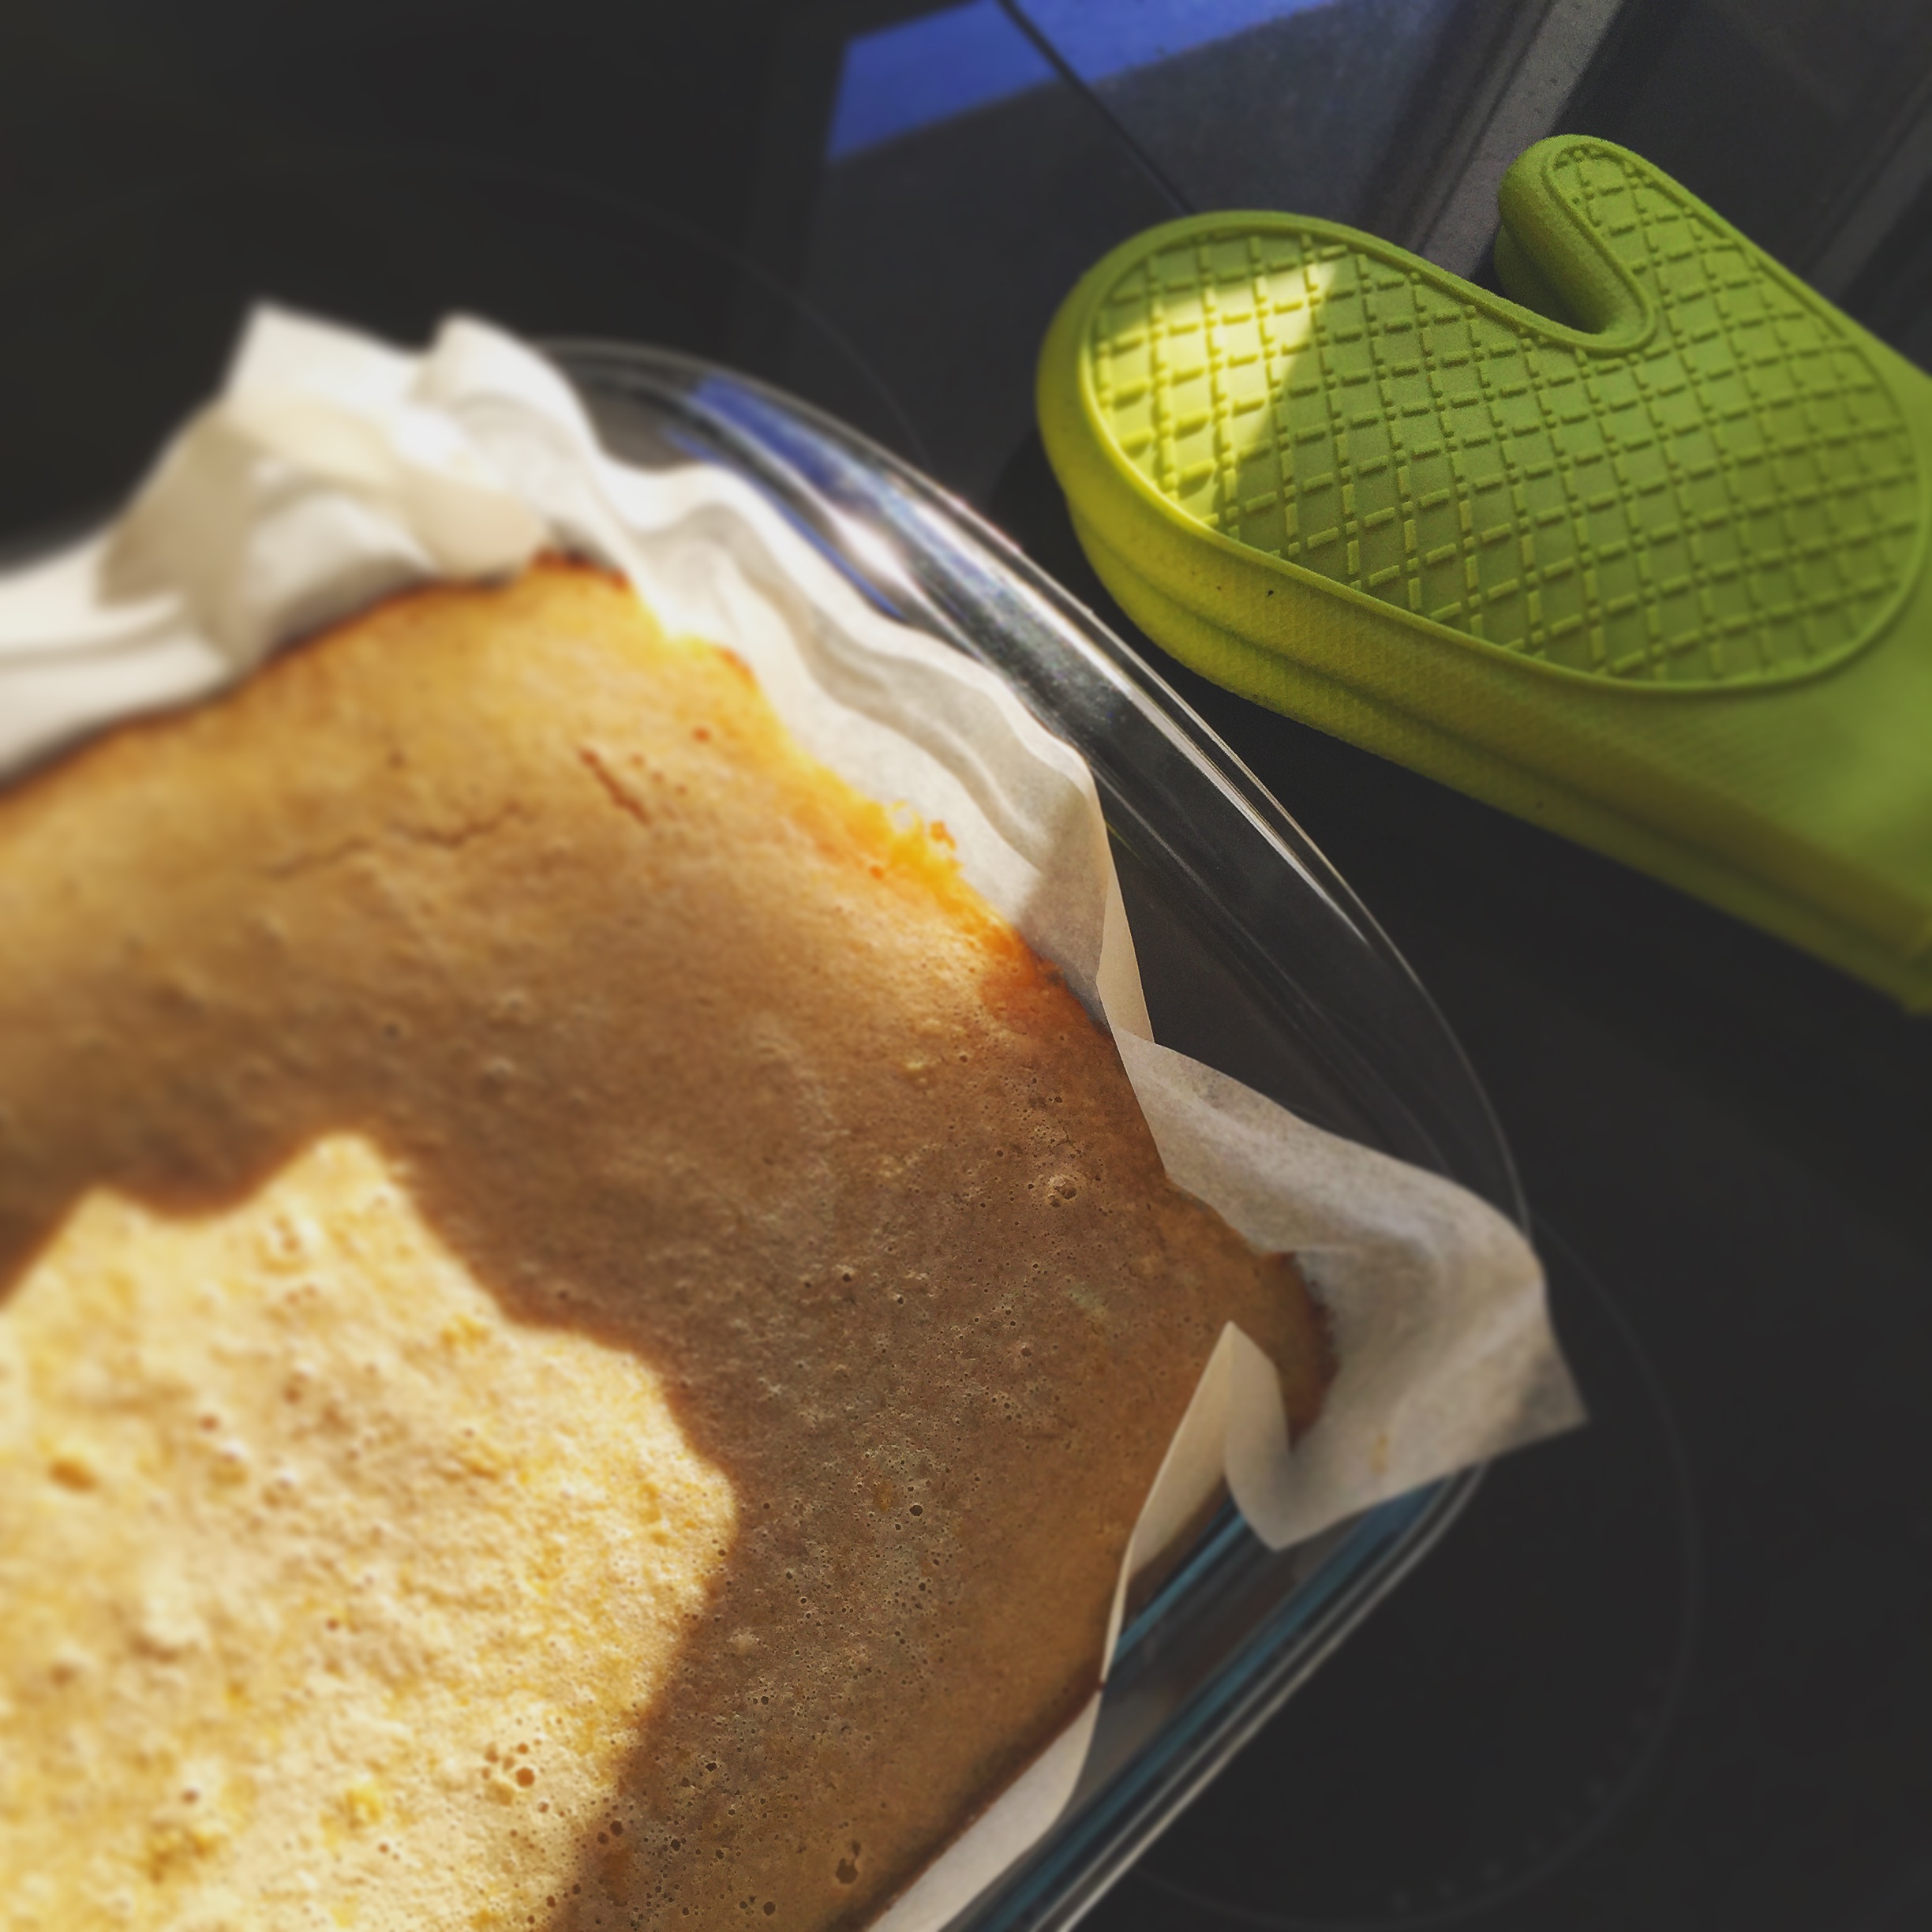 Sometimes past recipes have turned out insanely, really too sweet, but I liked the level of sweetness here. Very sweet of course, but not over the top and perfect when they are coming out of the fridge.
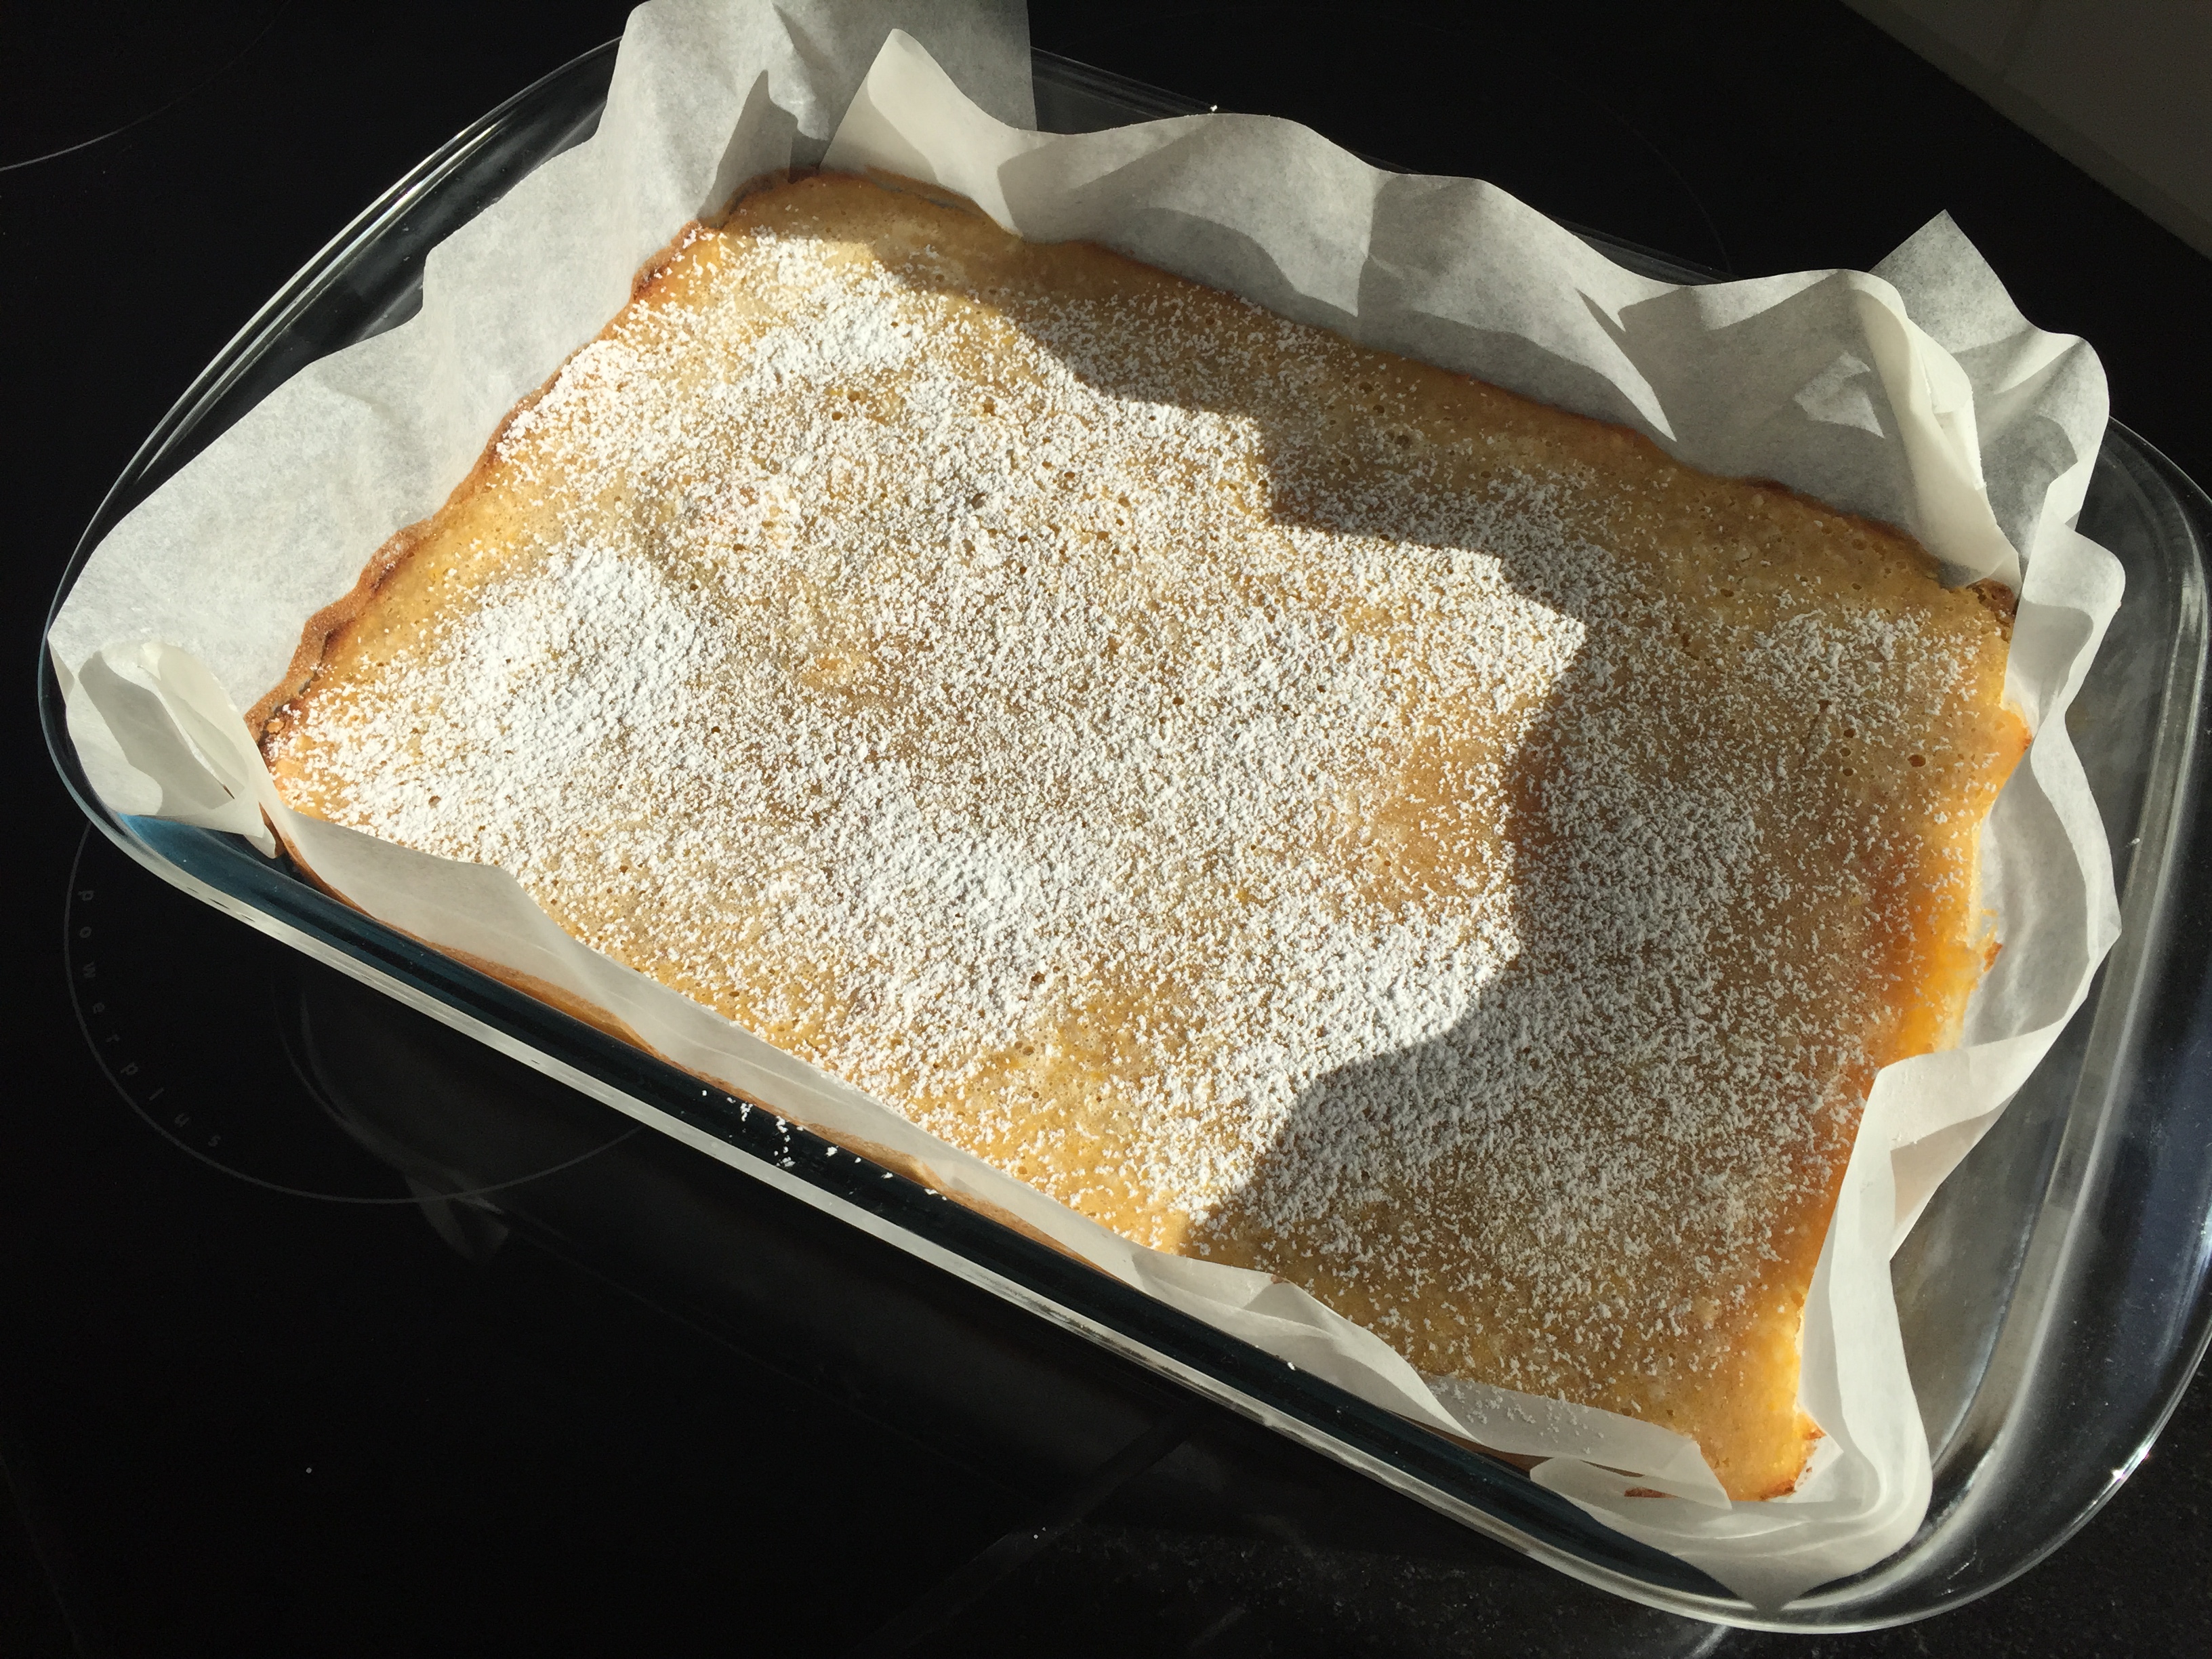 We left the rest of the bars with the neighbors, but I’m honestly already thinking about making some more… it’s just a lot of sugar! These also have eggs in them, but still no problems with those, so now I’m wondering if I was just having phantom egg problems. That would be lovely, because there are a ton of egg-based desserts that I am dying to try out!
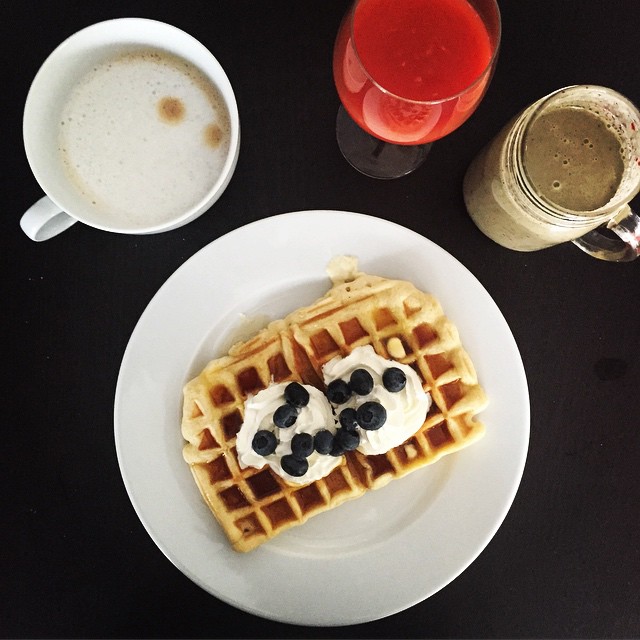
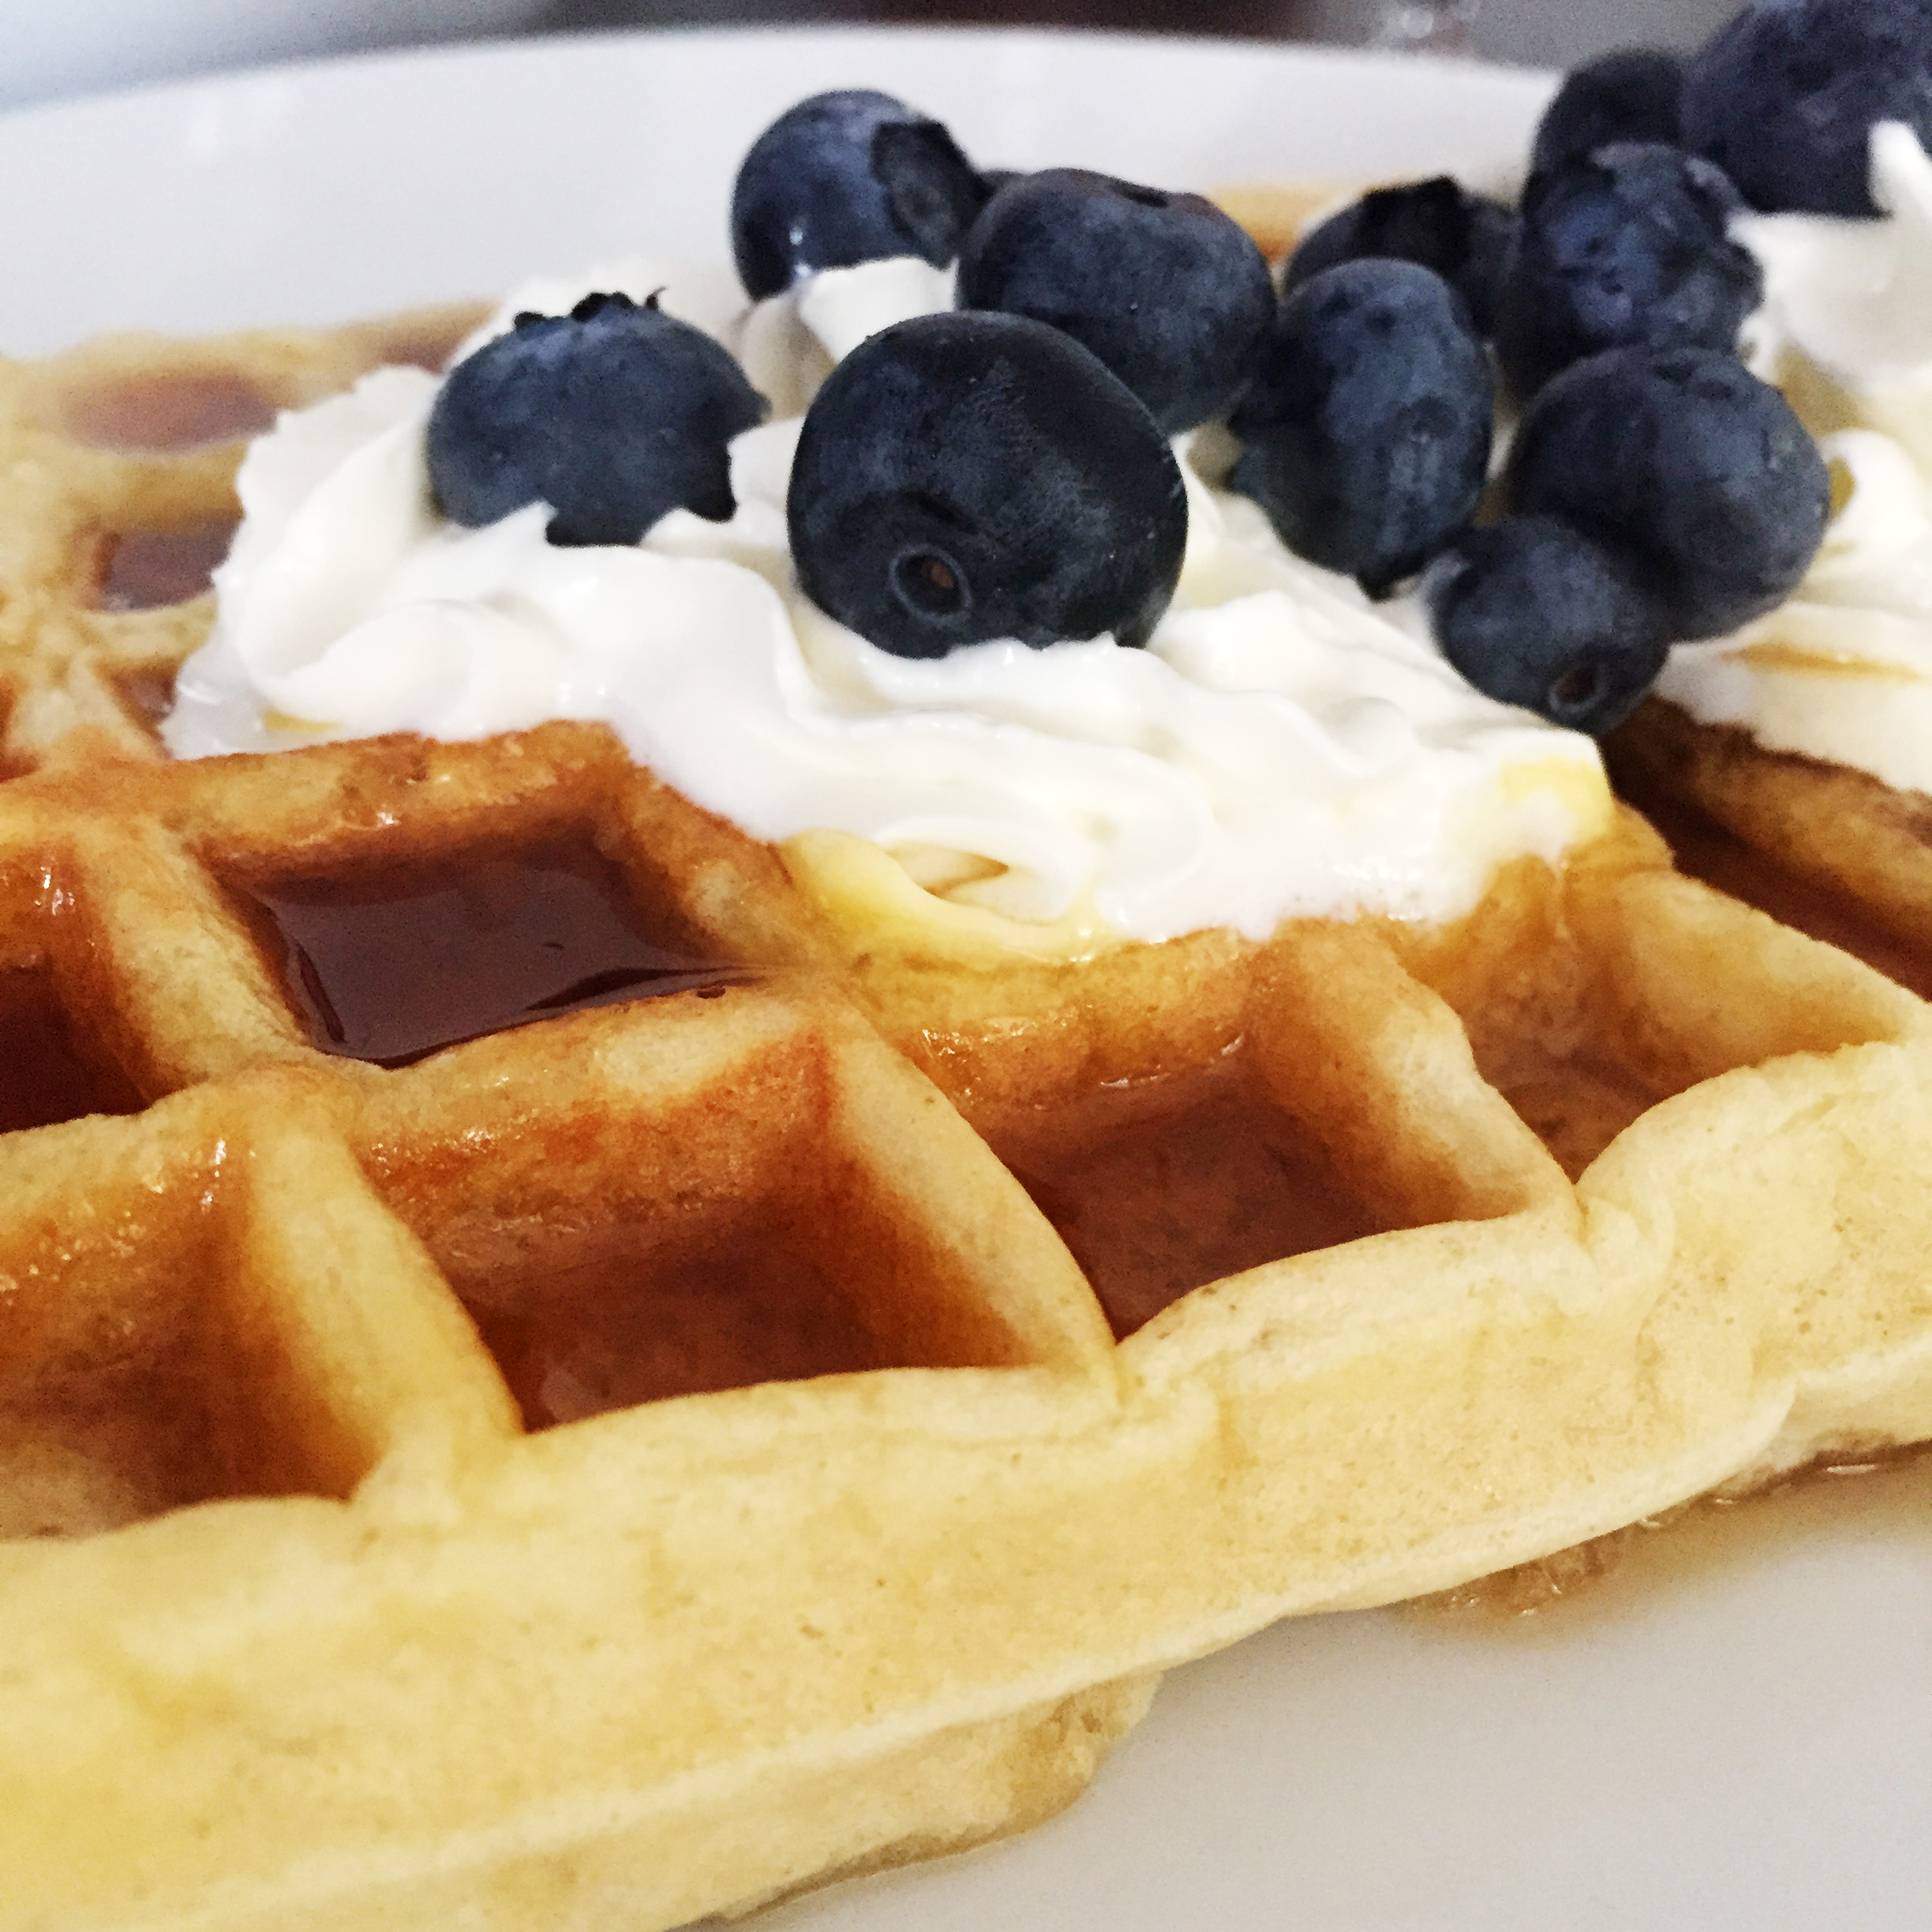 We were extra indulgent with butter, maple syrup, fresh blueberries and whipped cream. Kay and I eat so healthy during the week, I can’t help but indulge a little on the weekend.
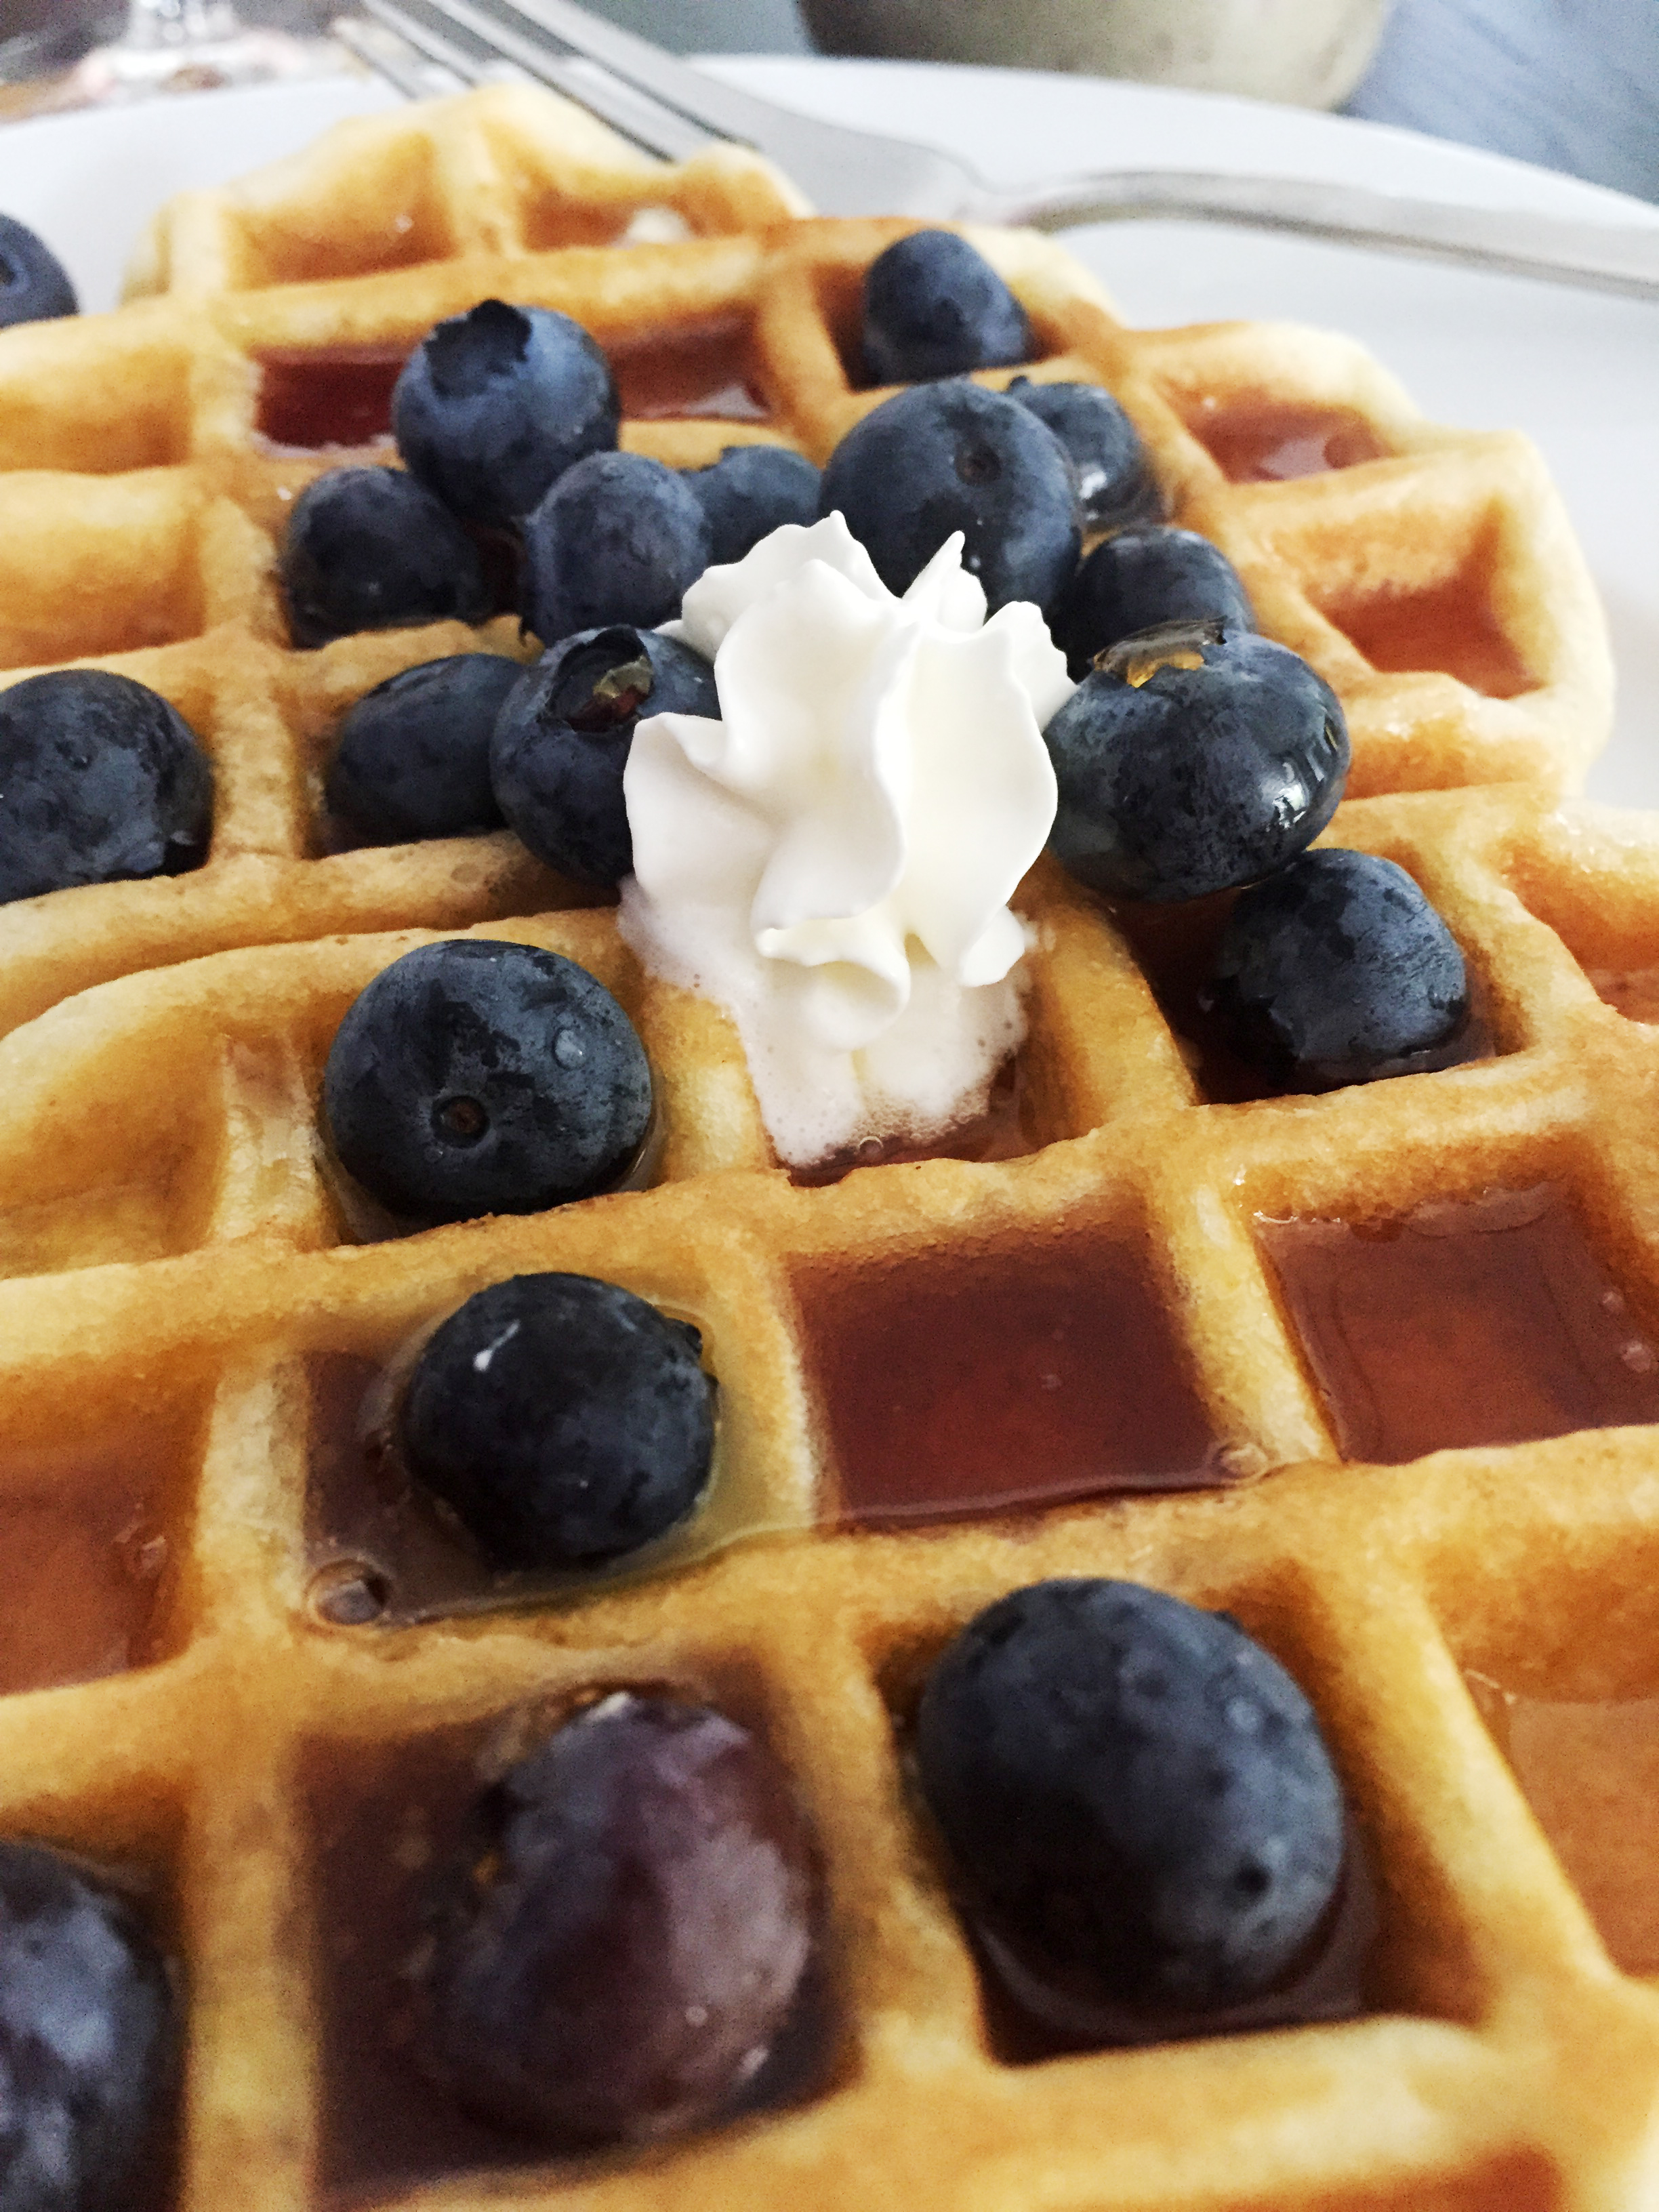 Ingredients:
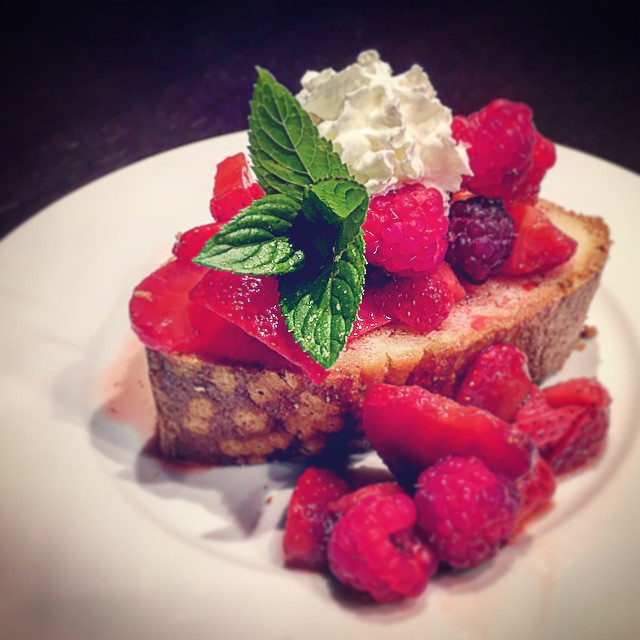
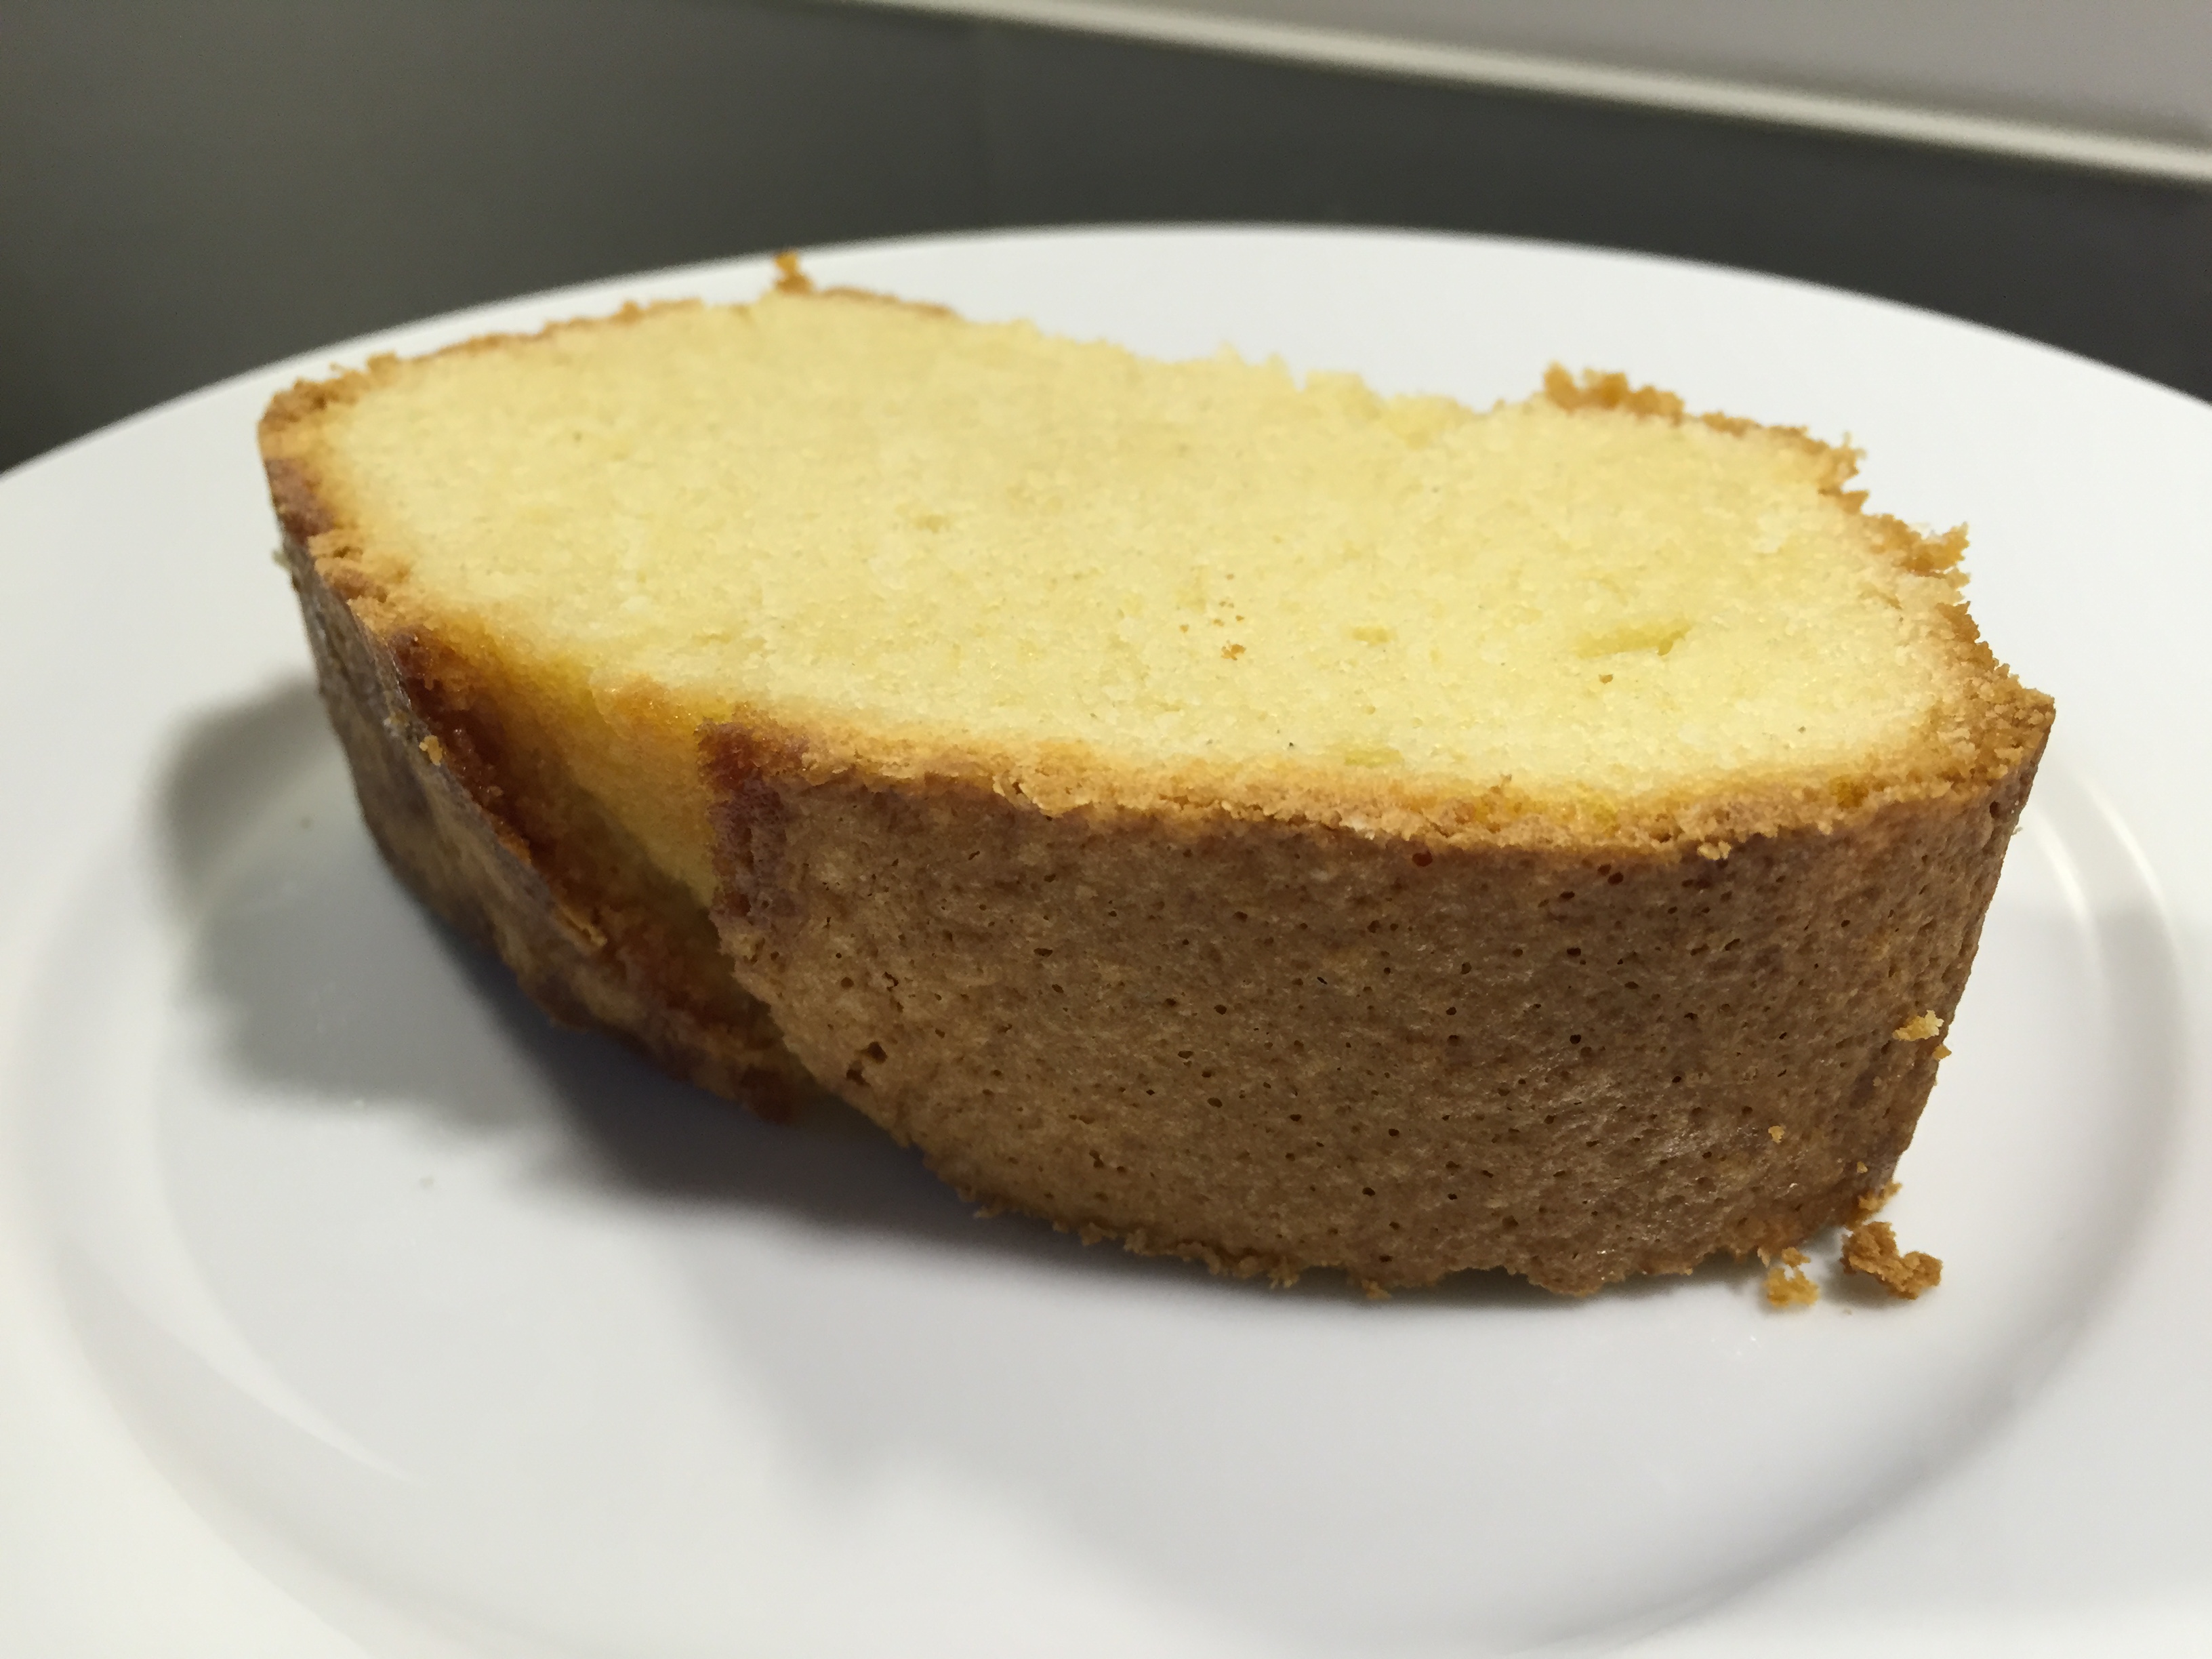 We enjoyed it the whole week of my FIL’s birthday by heaping strawberries and fresh raspberries from the garden on top, finishing with whipped cream and fresh peppermint.
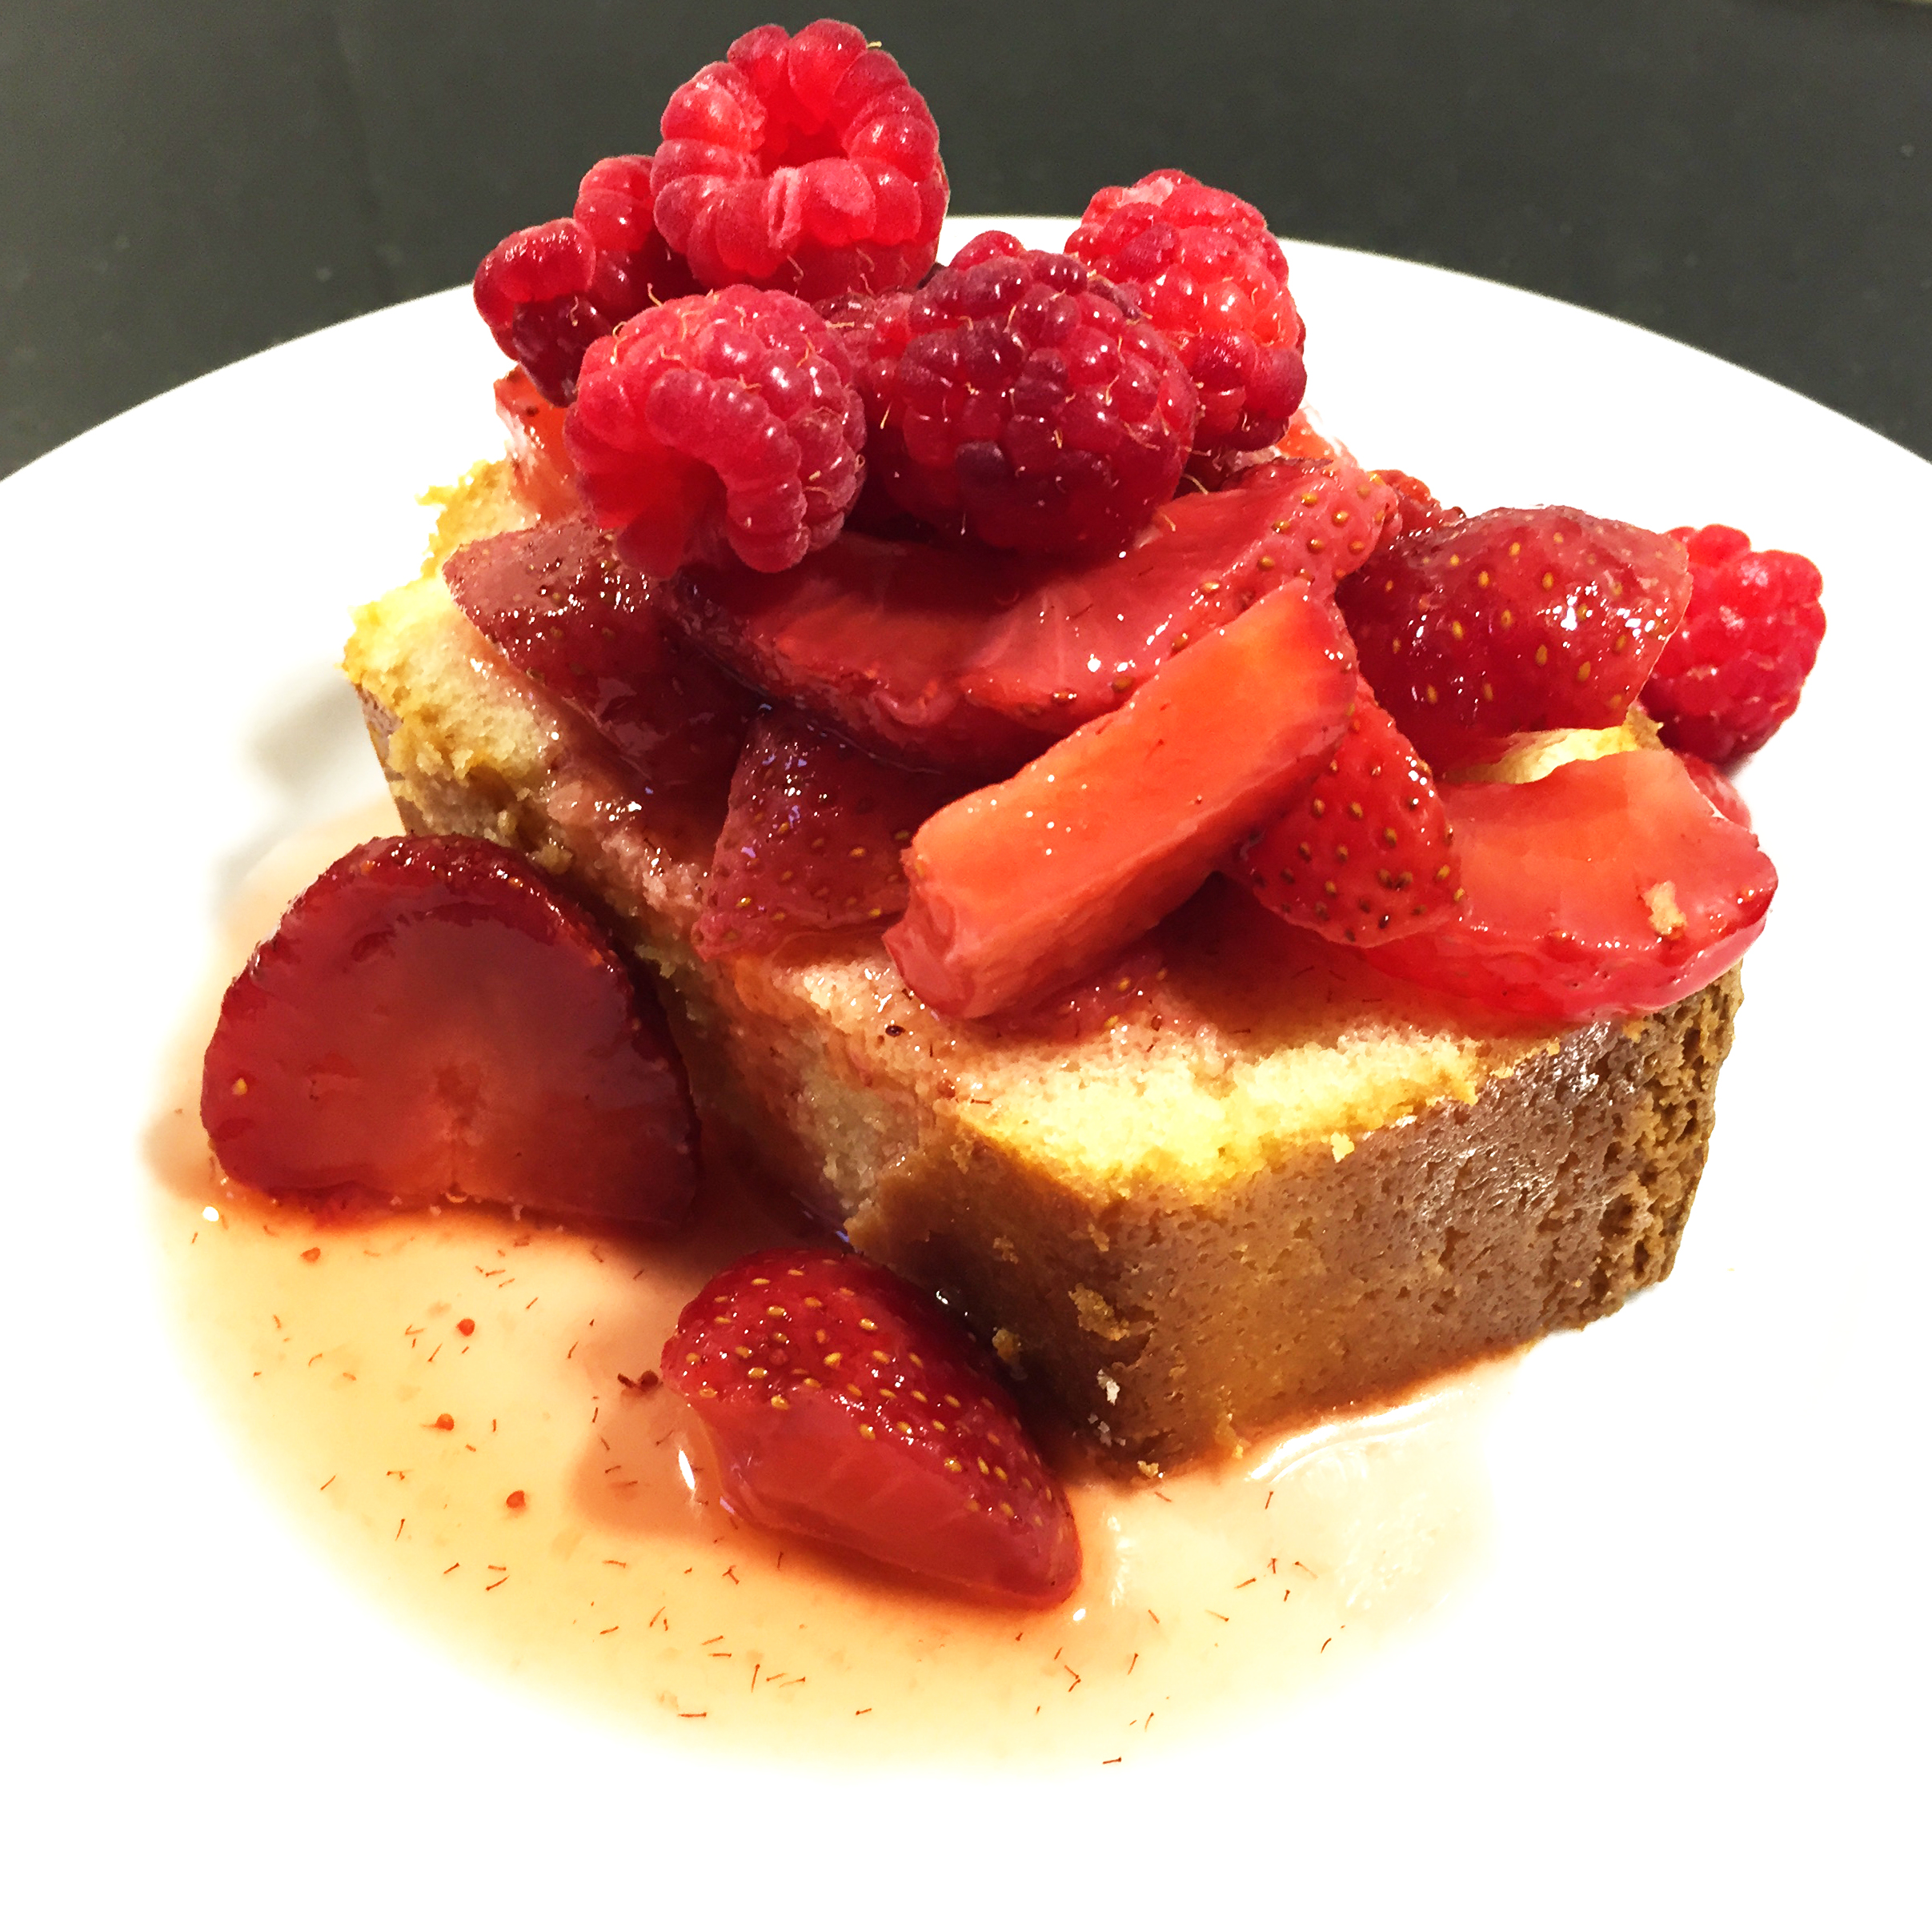 Of course below is how I really ate it… my family knows how obsessed I can be with whipped cream. If only we could buy
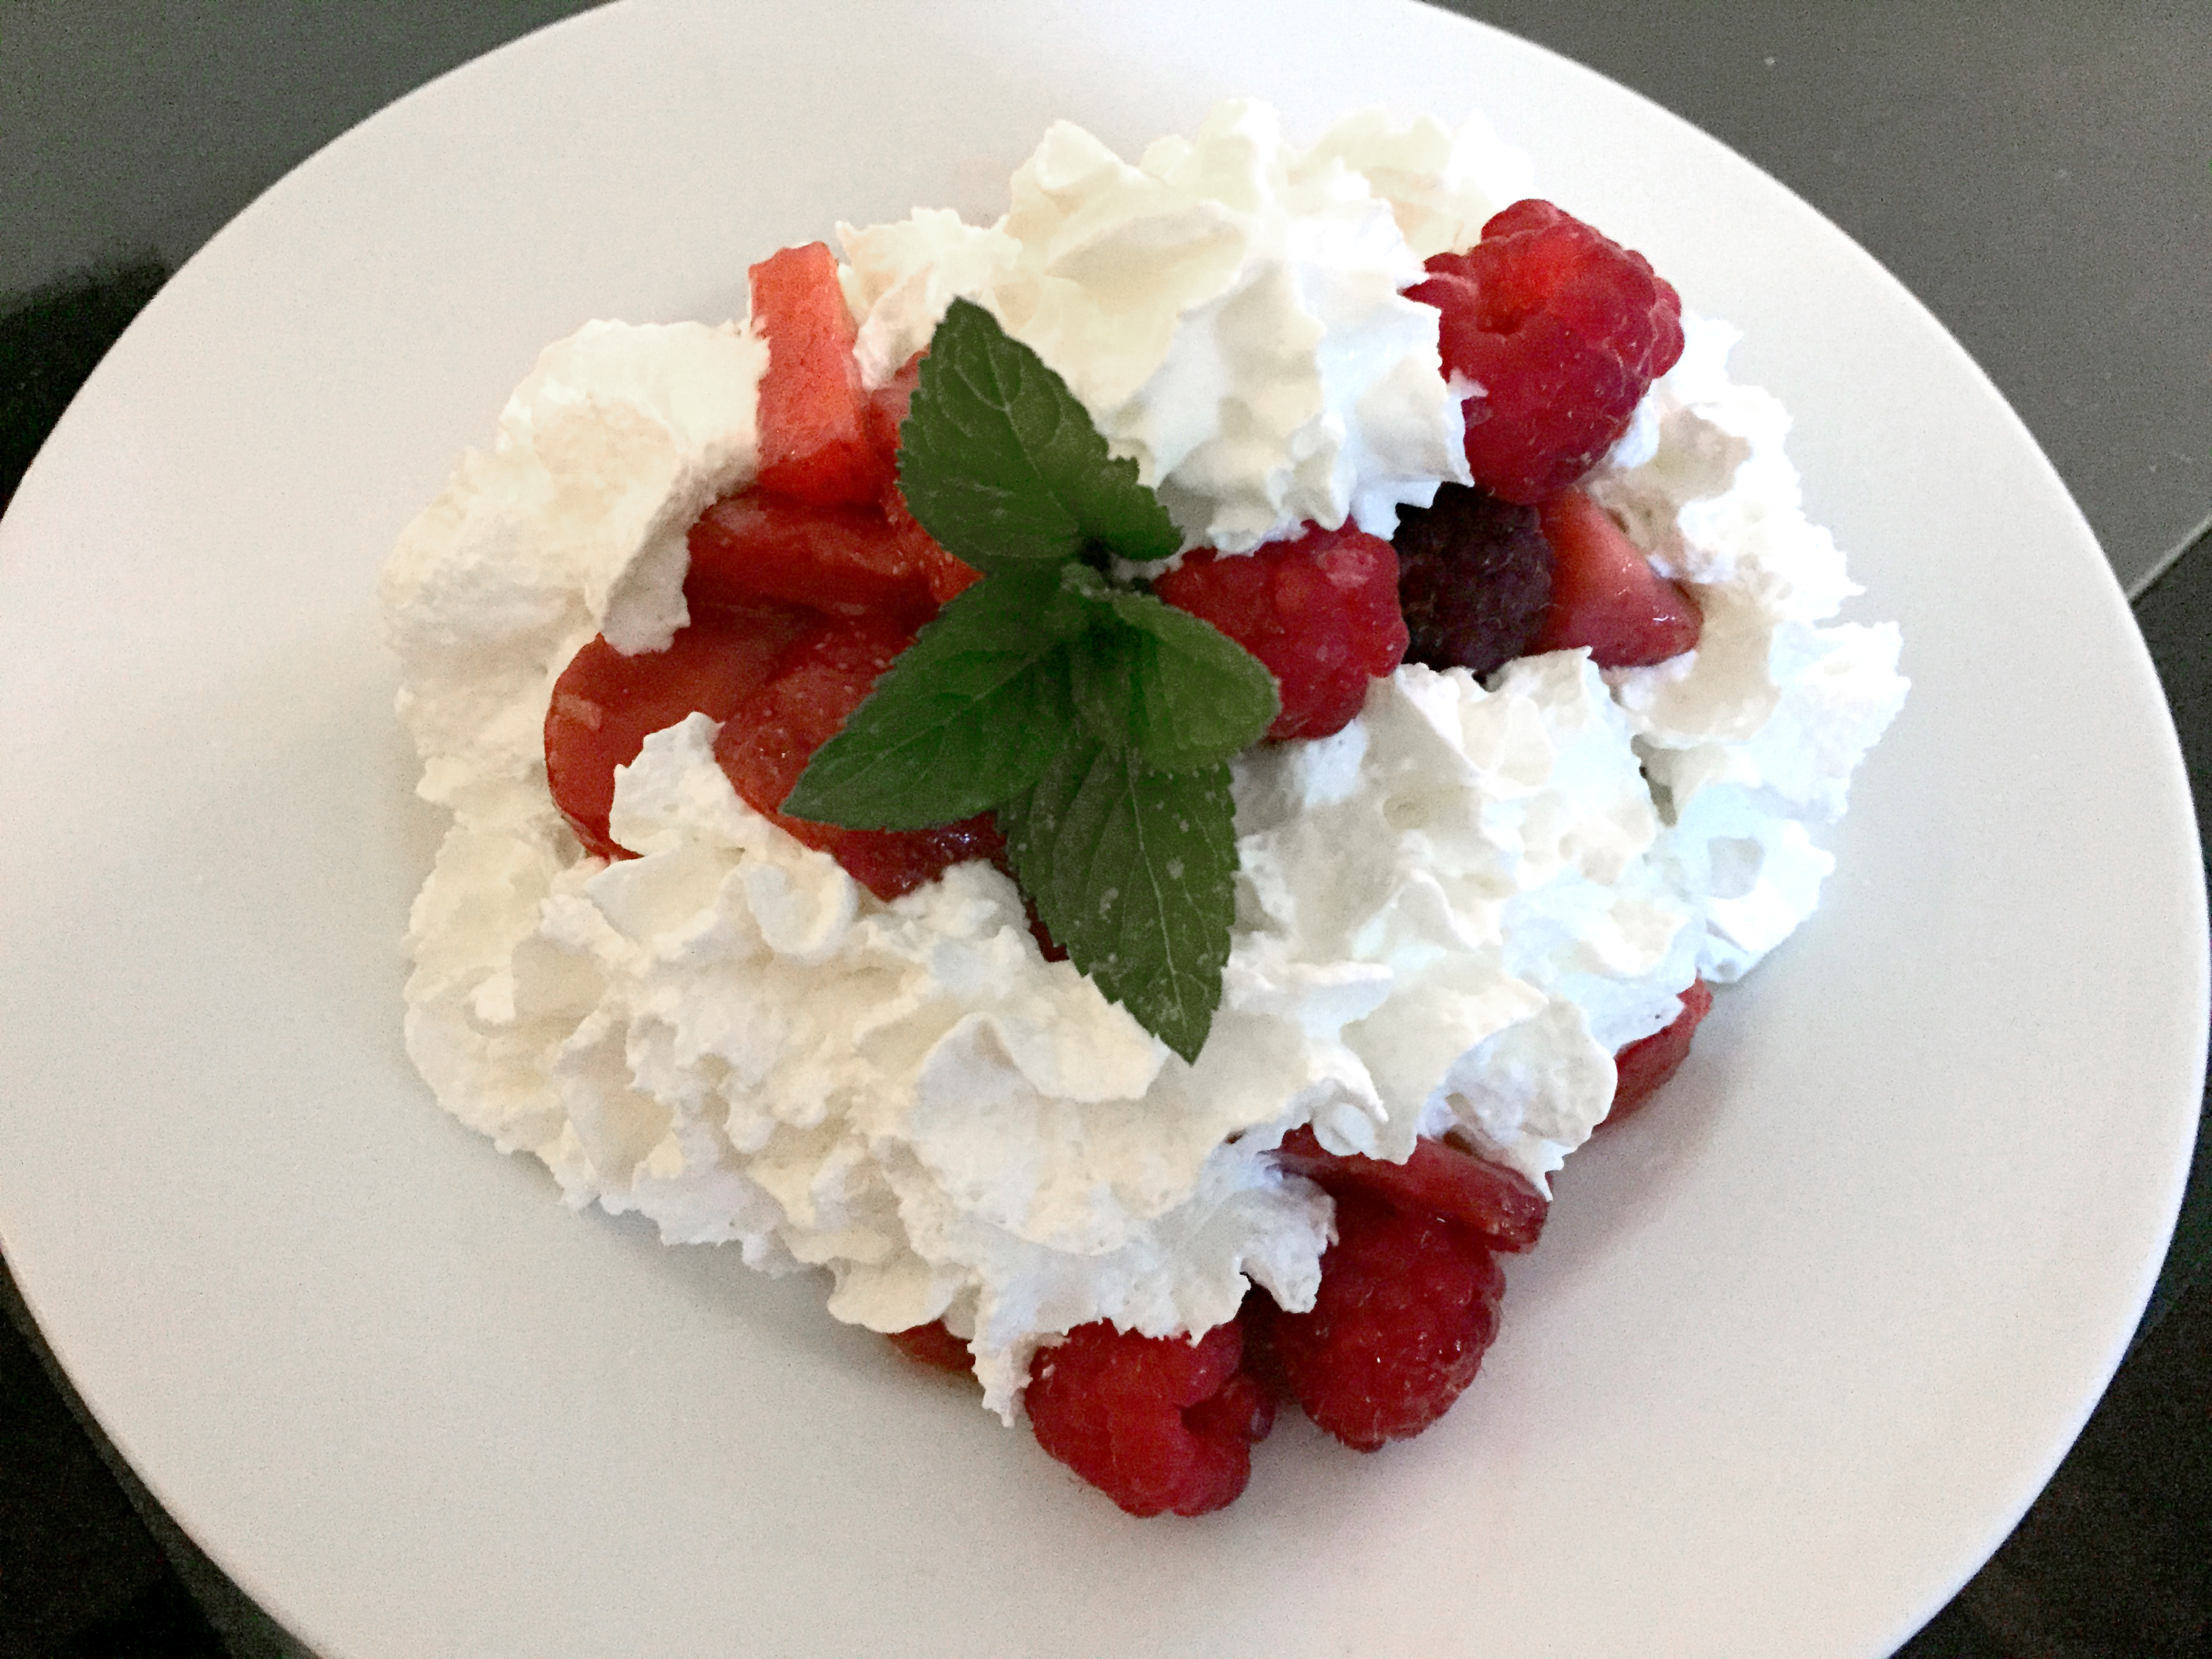 To be fair, at the end of the week, the cake was drying out more, so I needed that extra whipped cream.
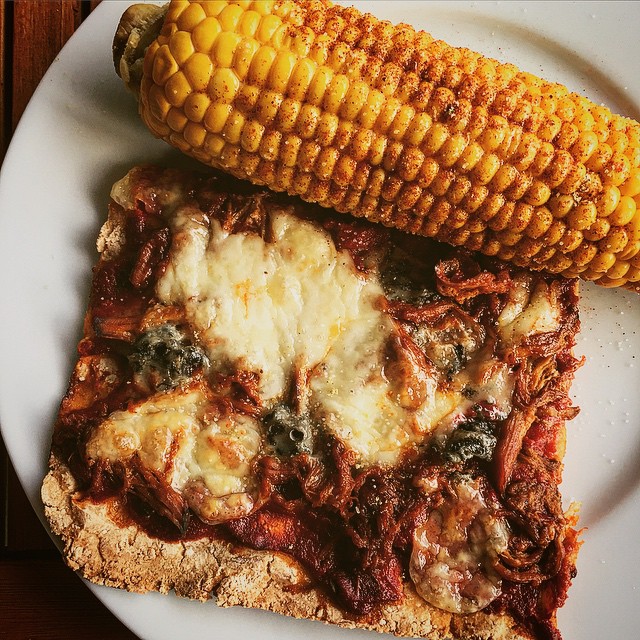
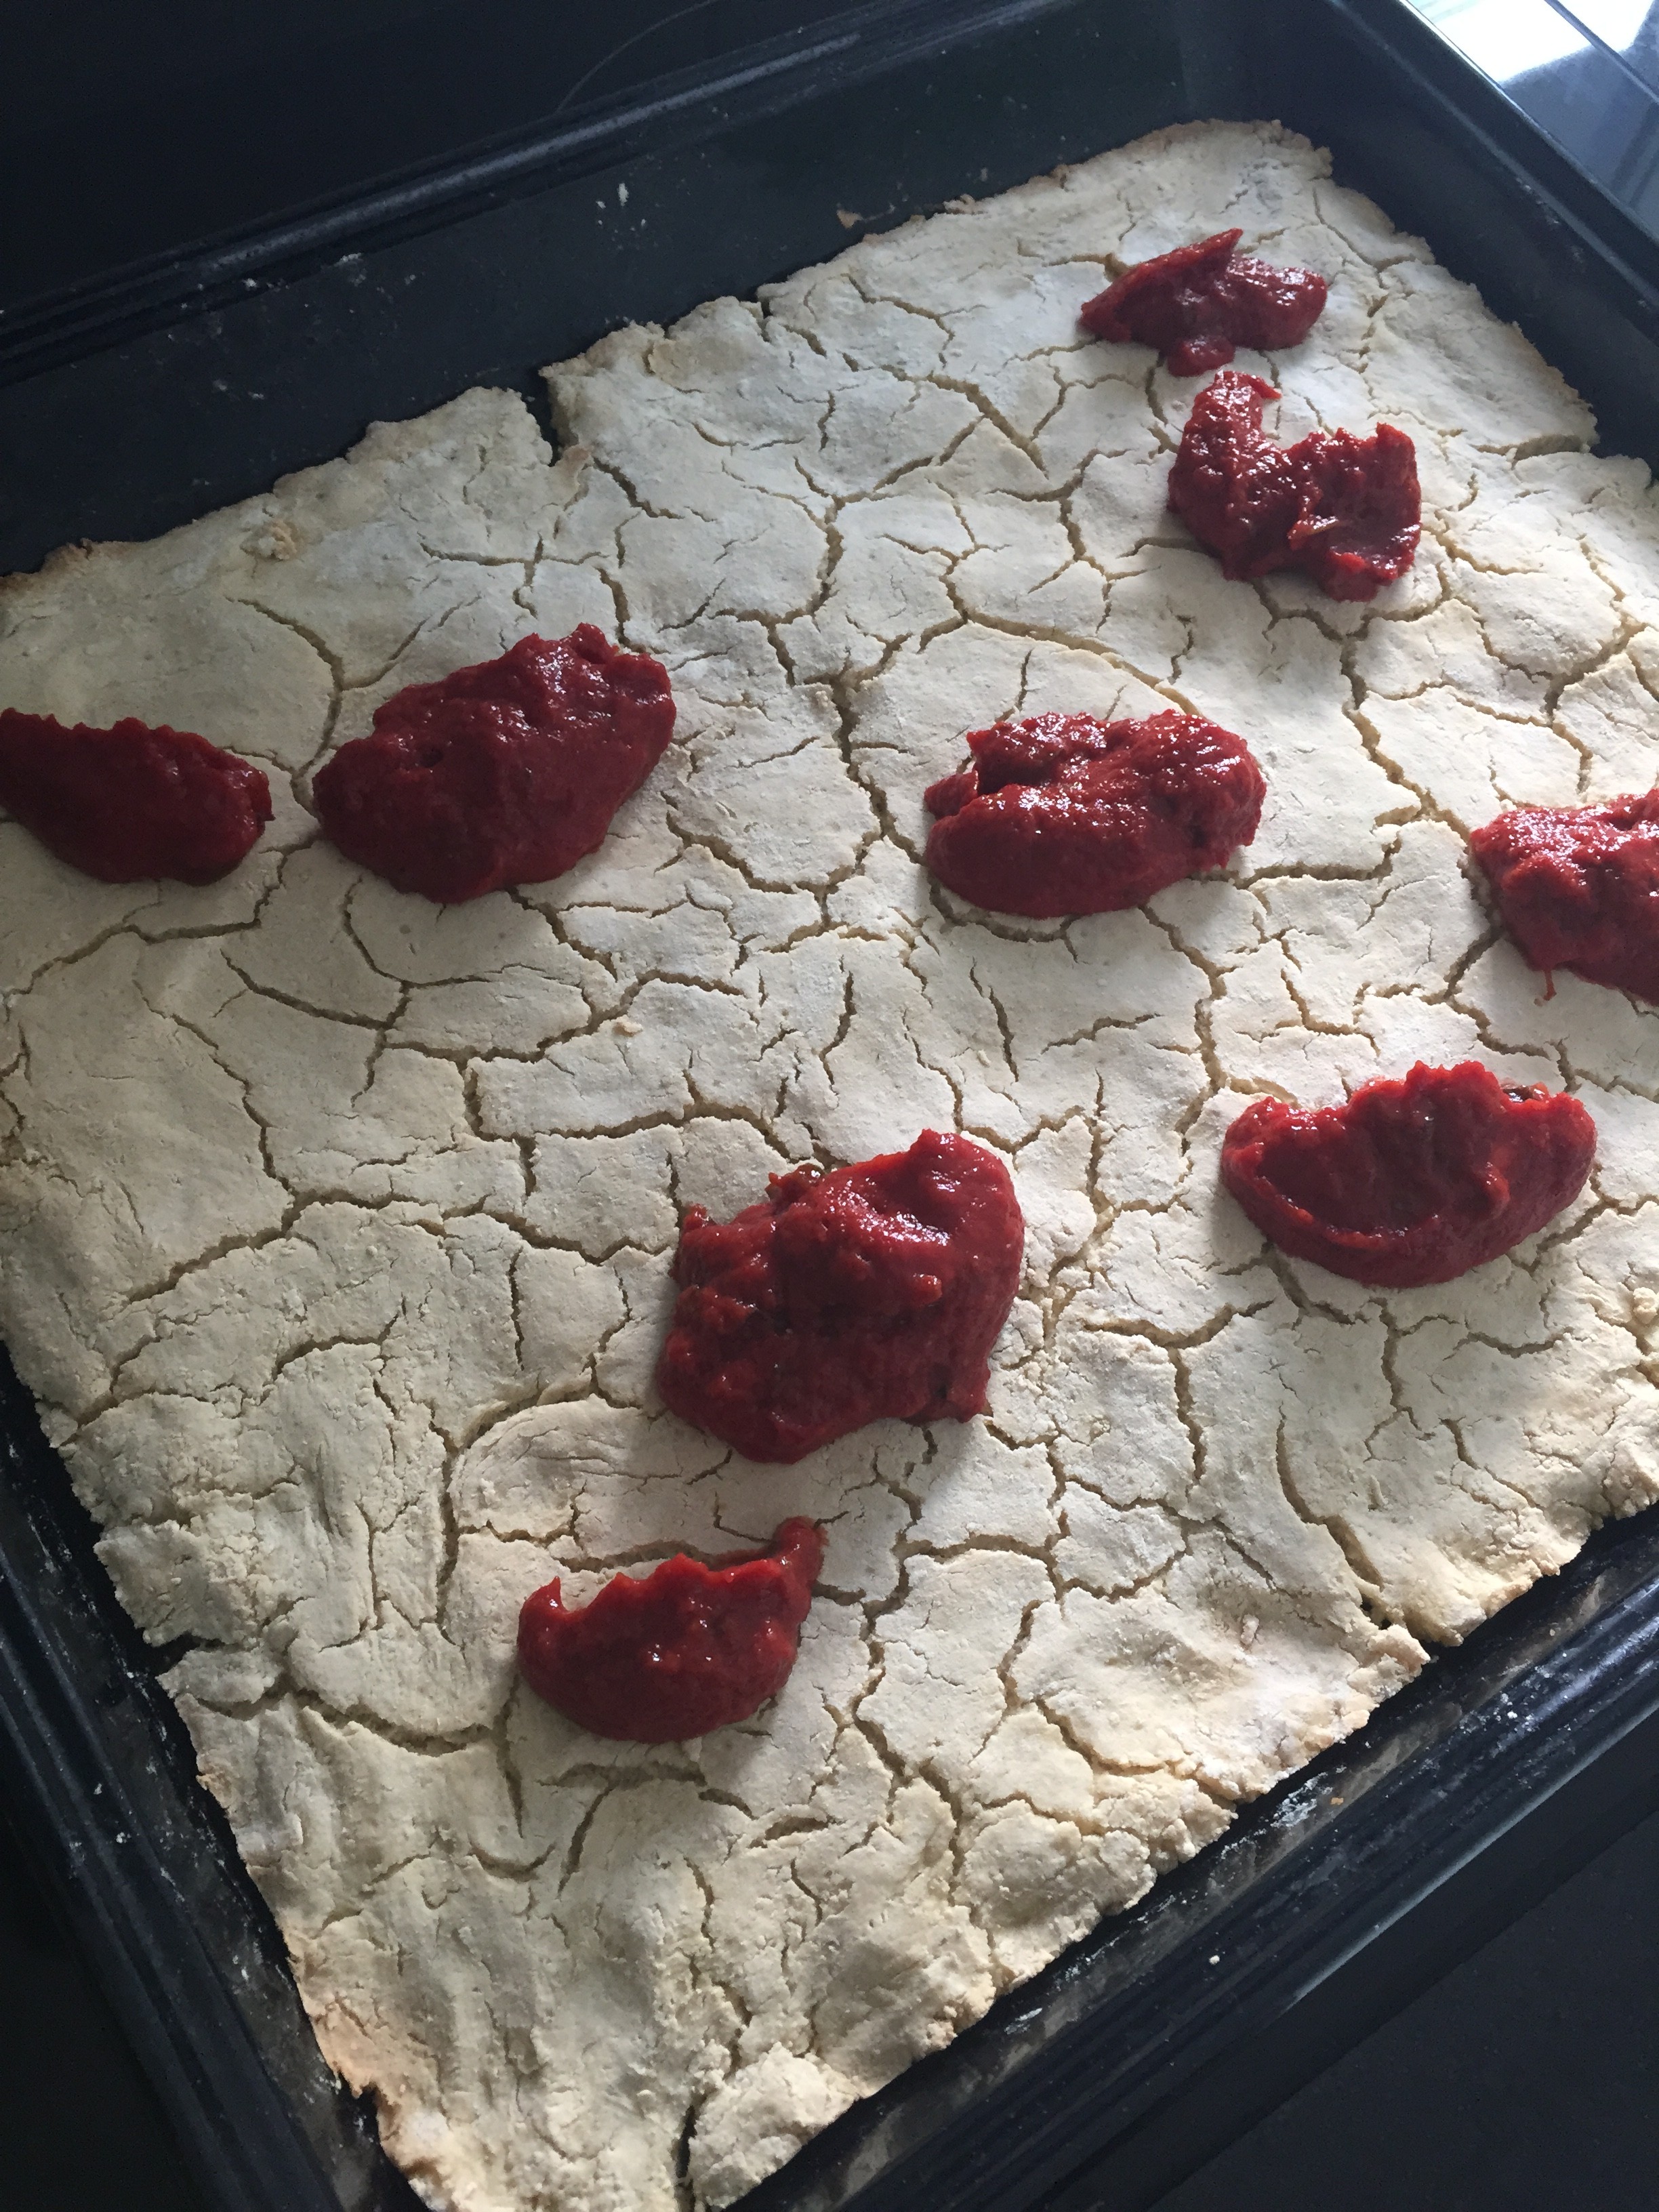
 After baking for 20 minutes, I pulled that pizza out and started laying on the toppings, starting with the sauce.